
The floor in the basement is just a poured concrete floor. It’s in pretty good shape with only a few cracks. But it’s boring. So we decided to jazz it up a bit. But first there was some prep work.
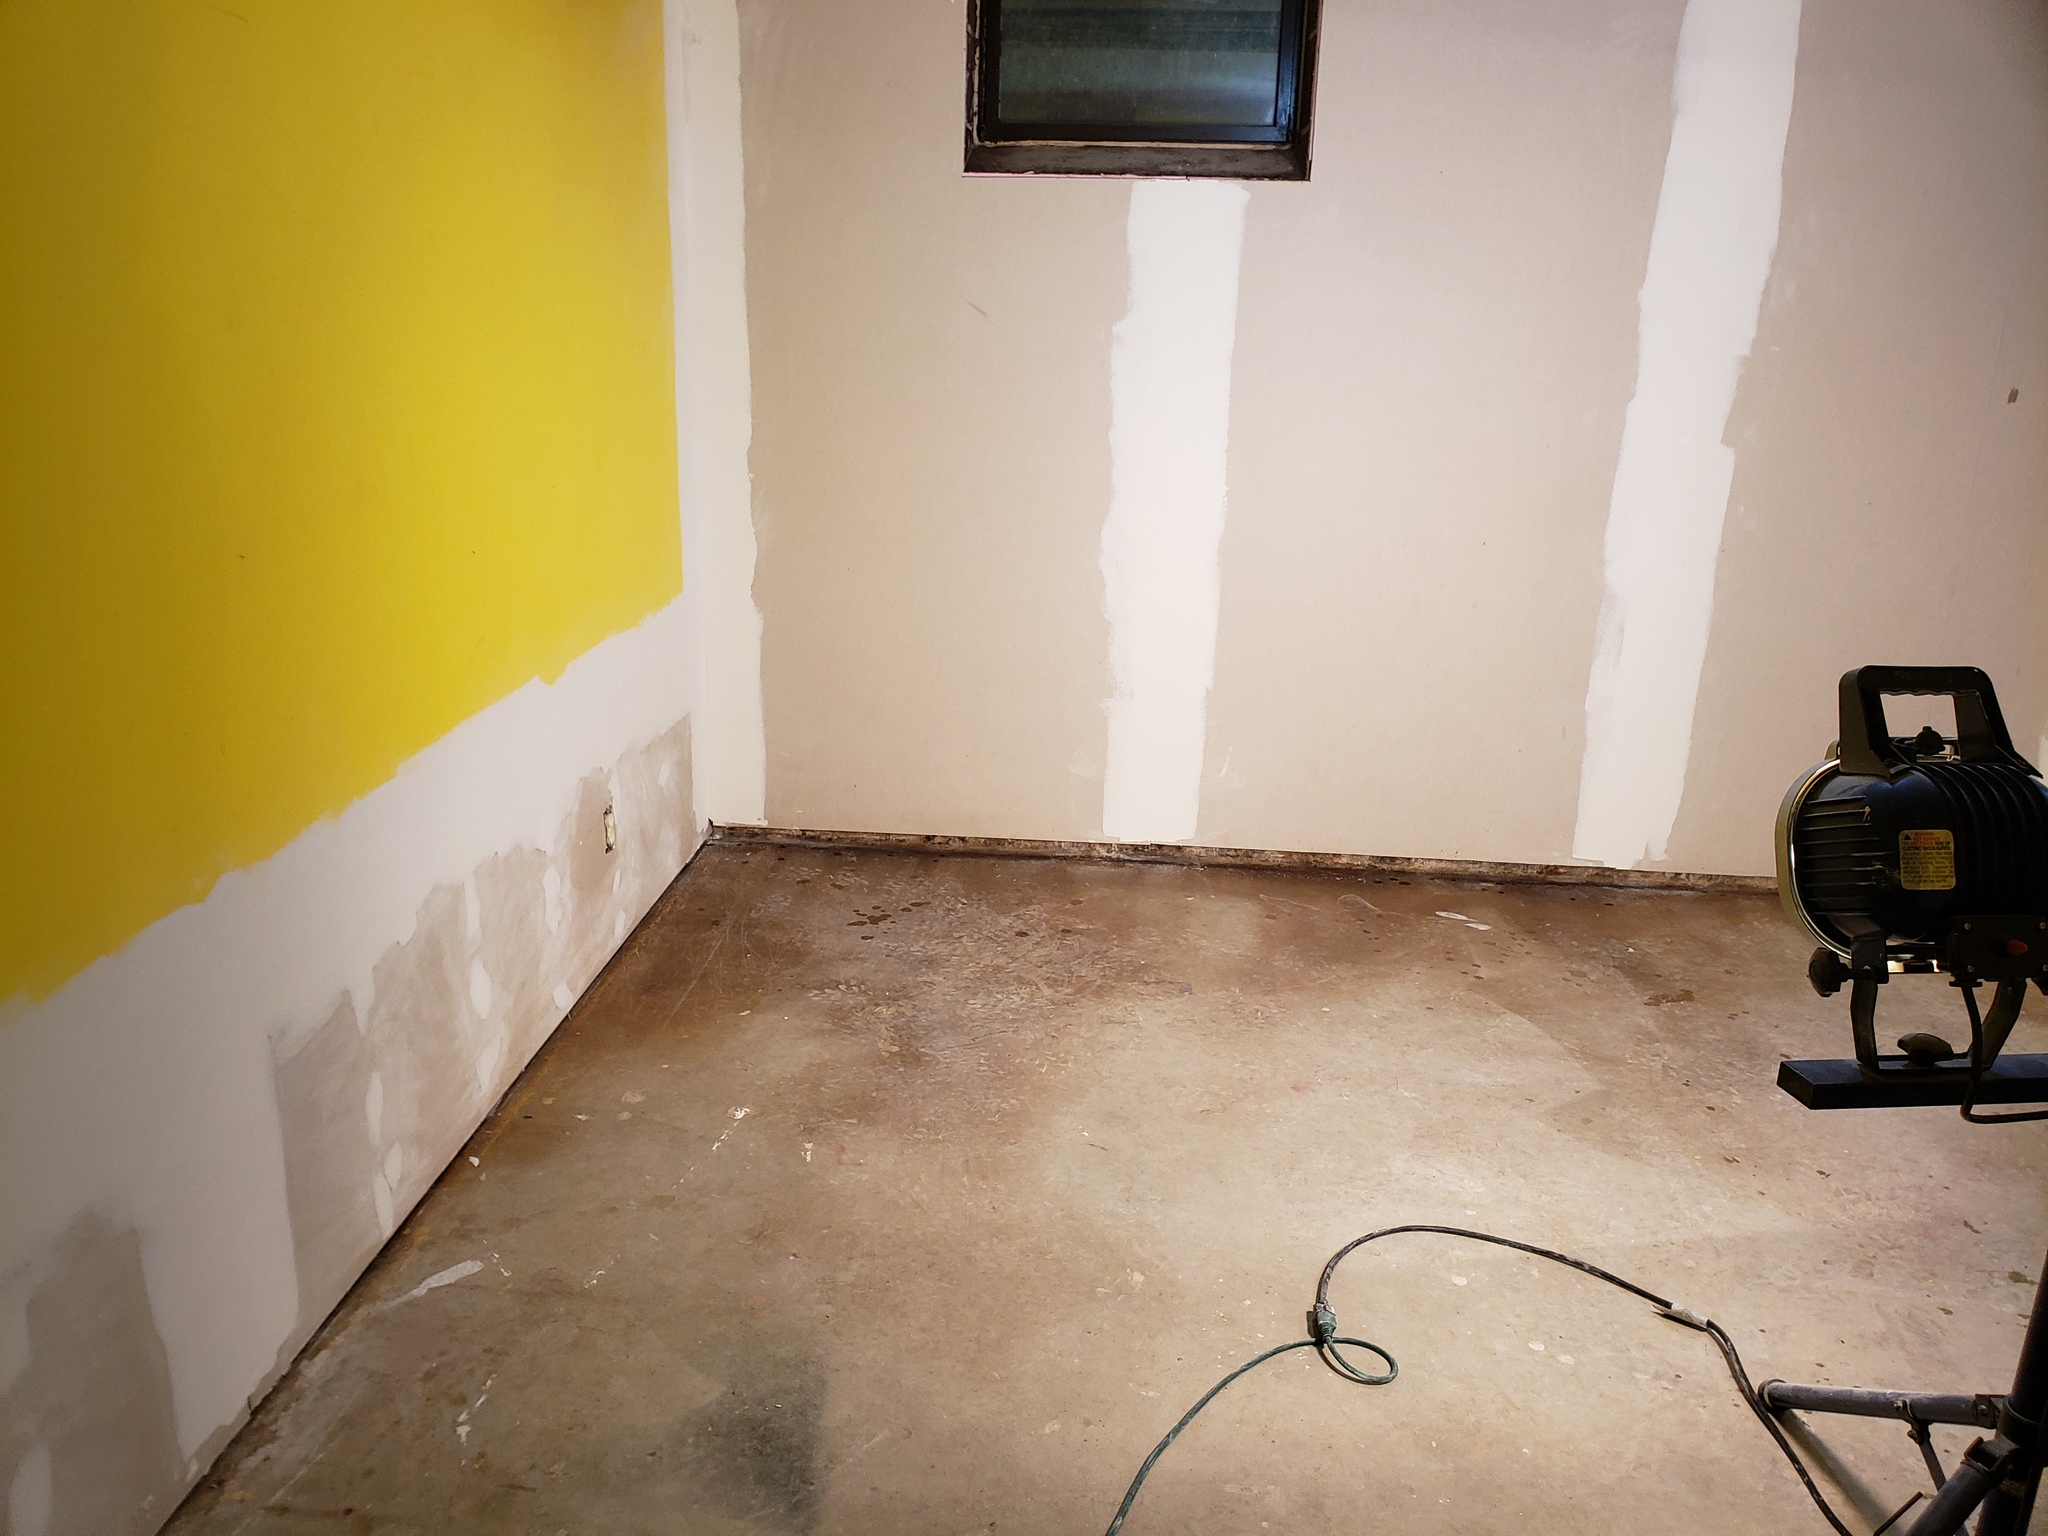
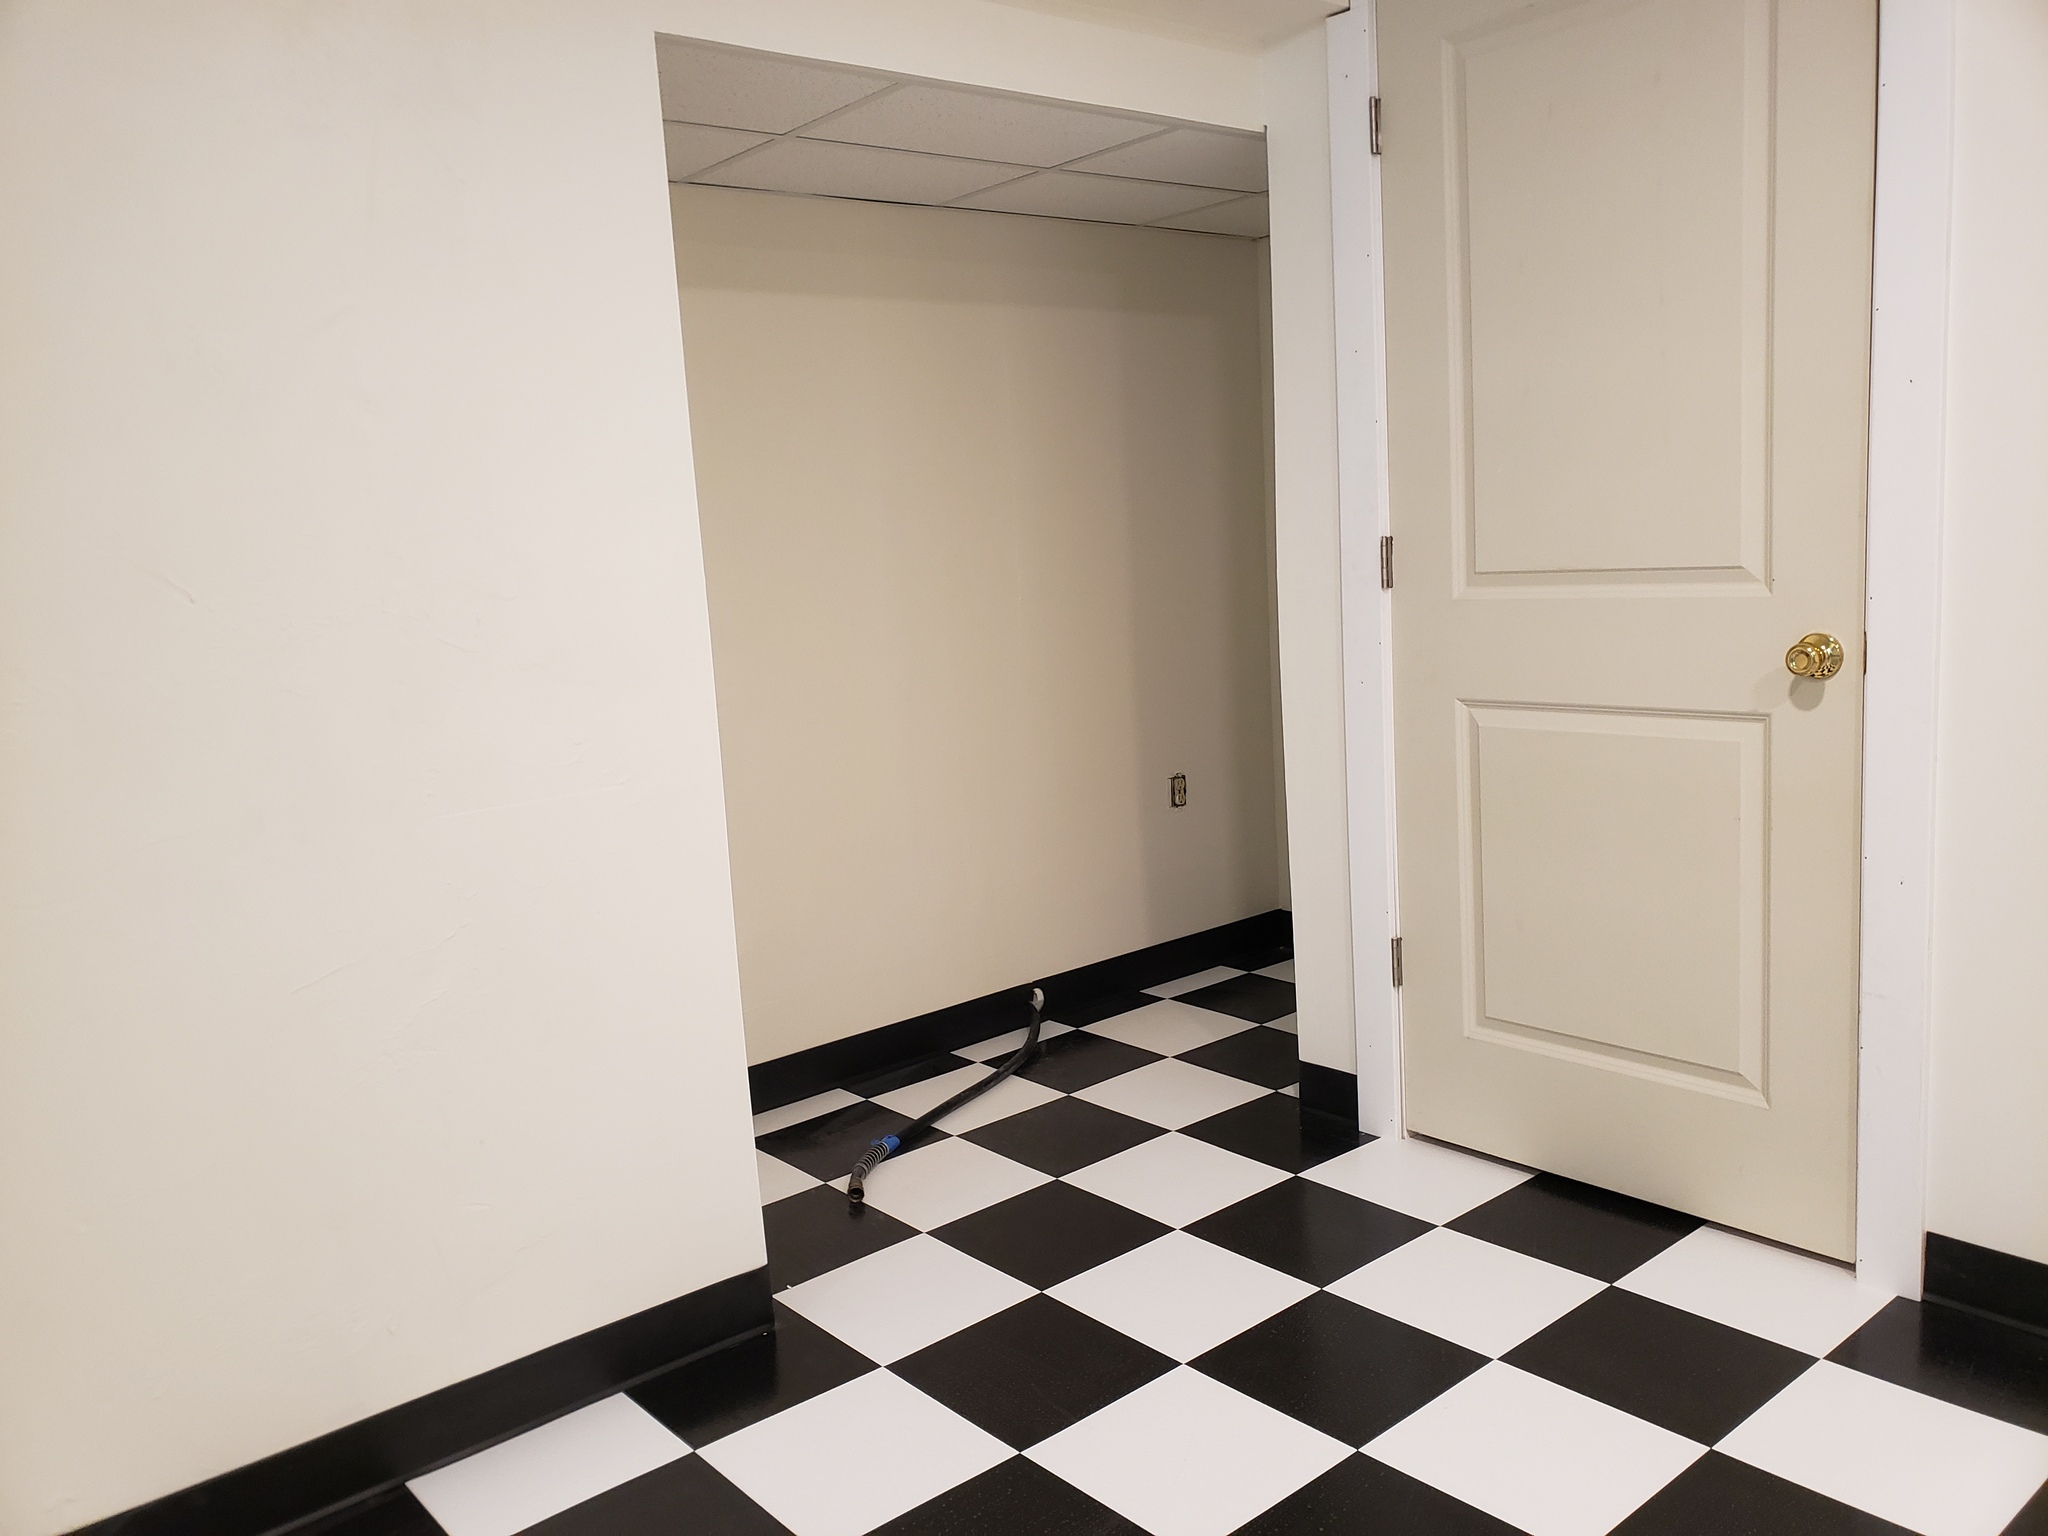
As I mentioned before there had been a water issue of some kind in the past and it appears the worst of it was in the far back room. This is what the floor looked like.
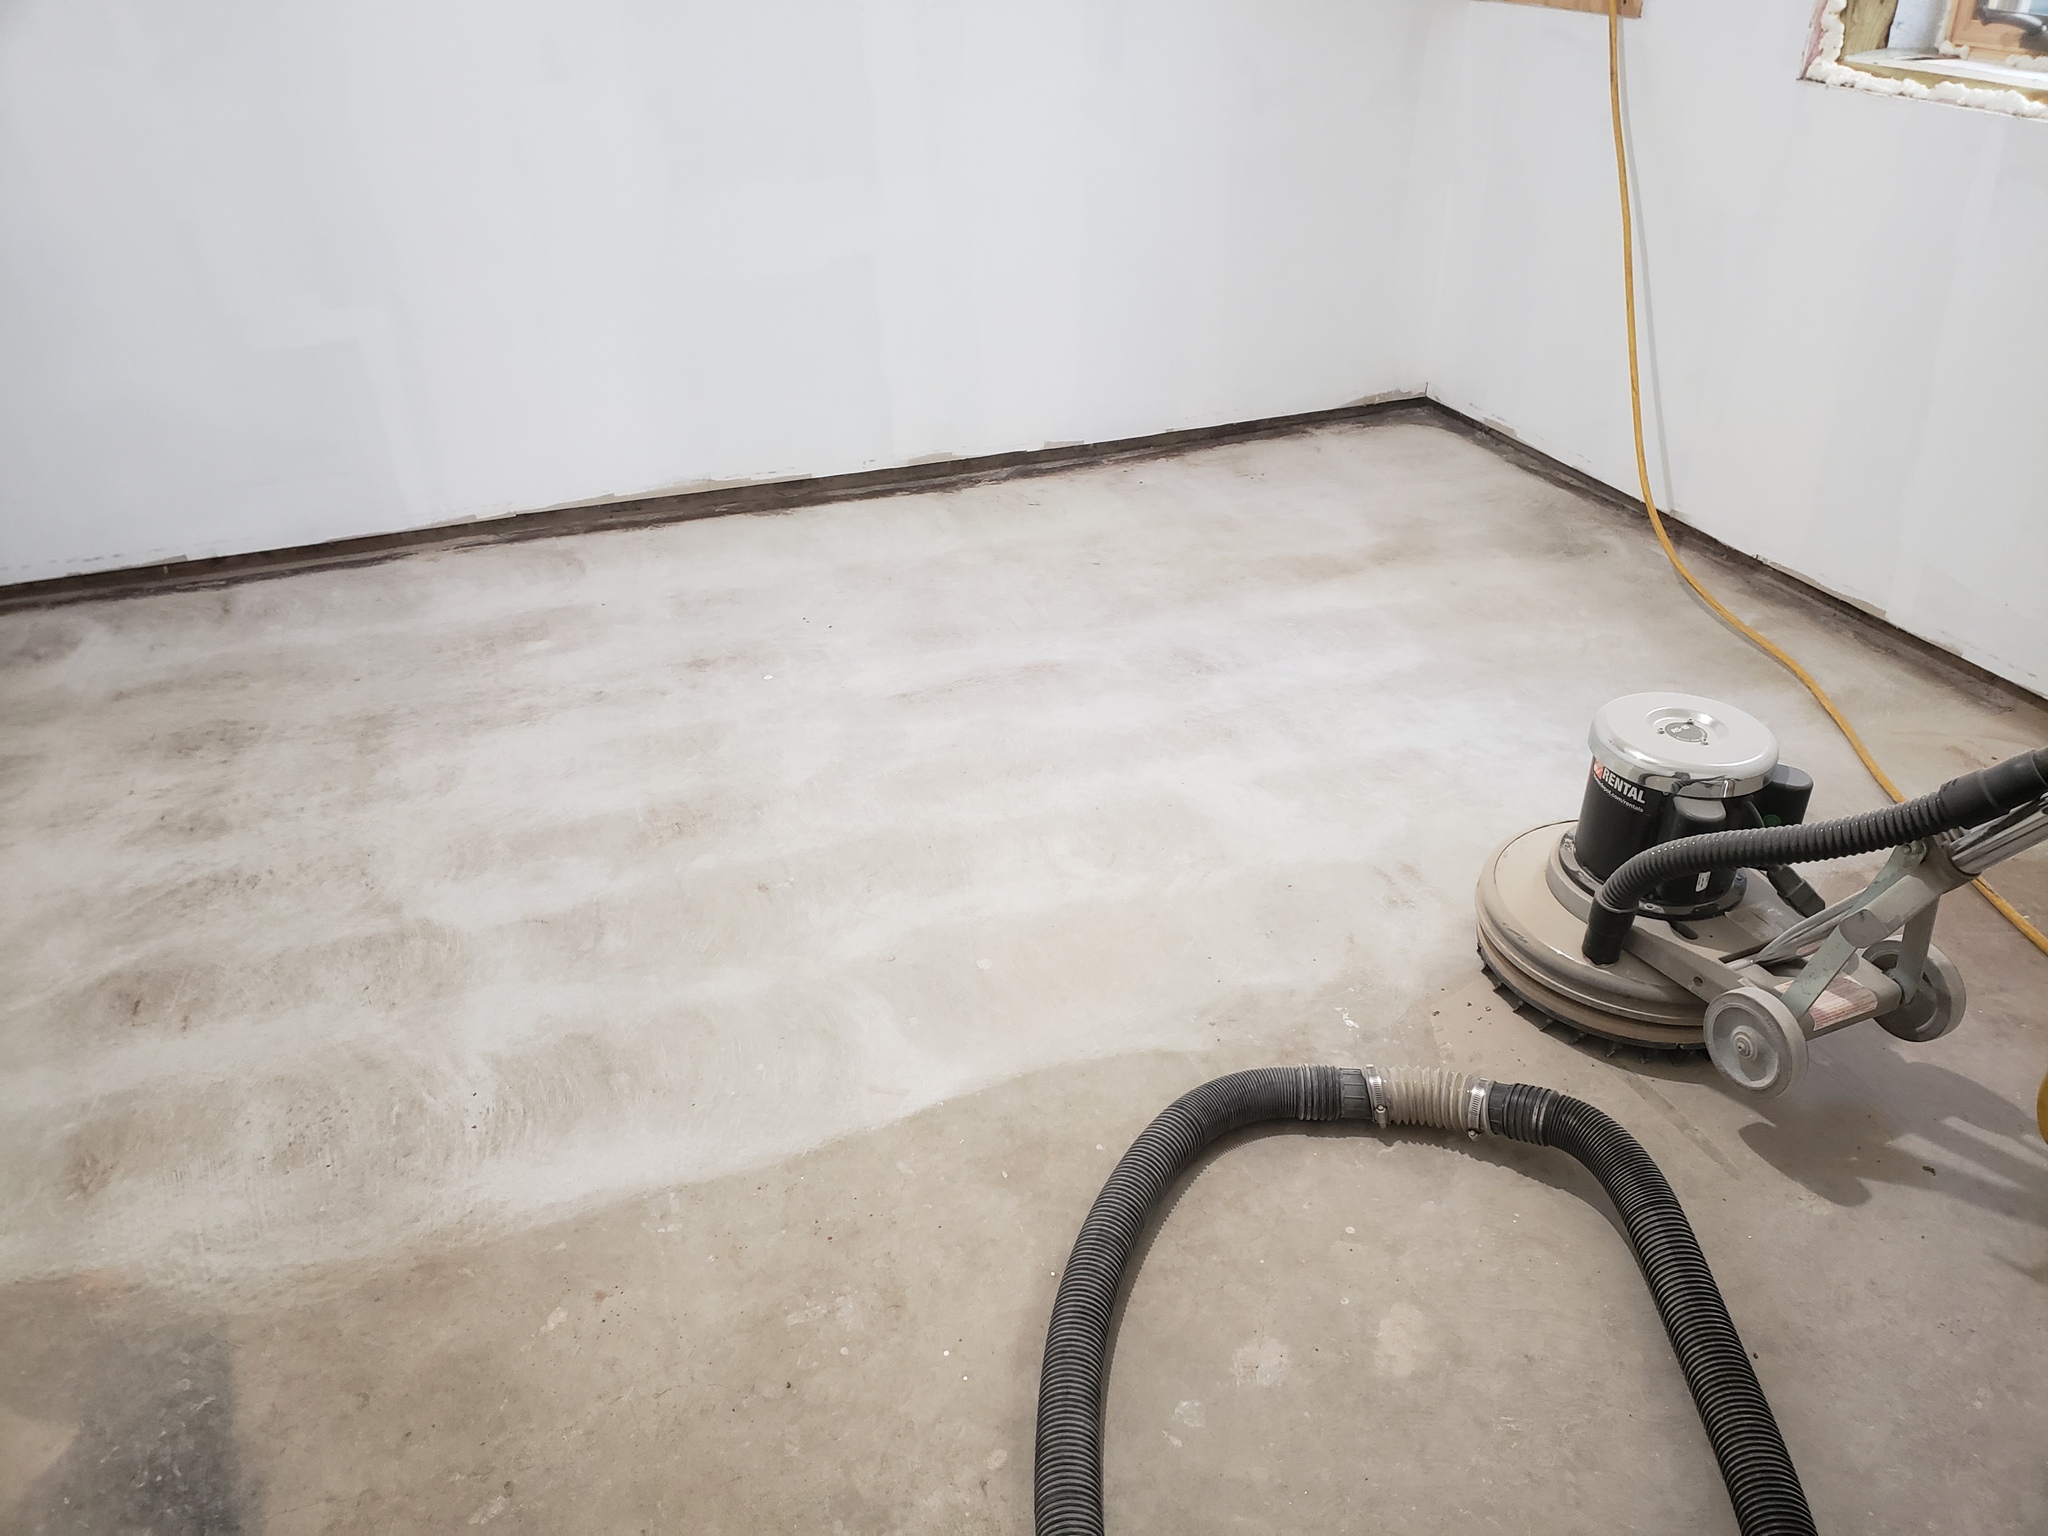
So I did some research and determined that renting a floor buffer with a diamond “concrete prep” wheel on it was the thing to do. And then I buffed the entire basement.
This is a photo of the same room in process. It sure looks a lot better.
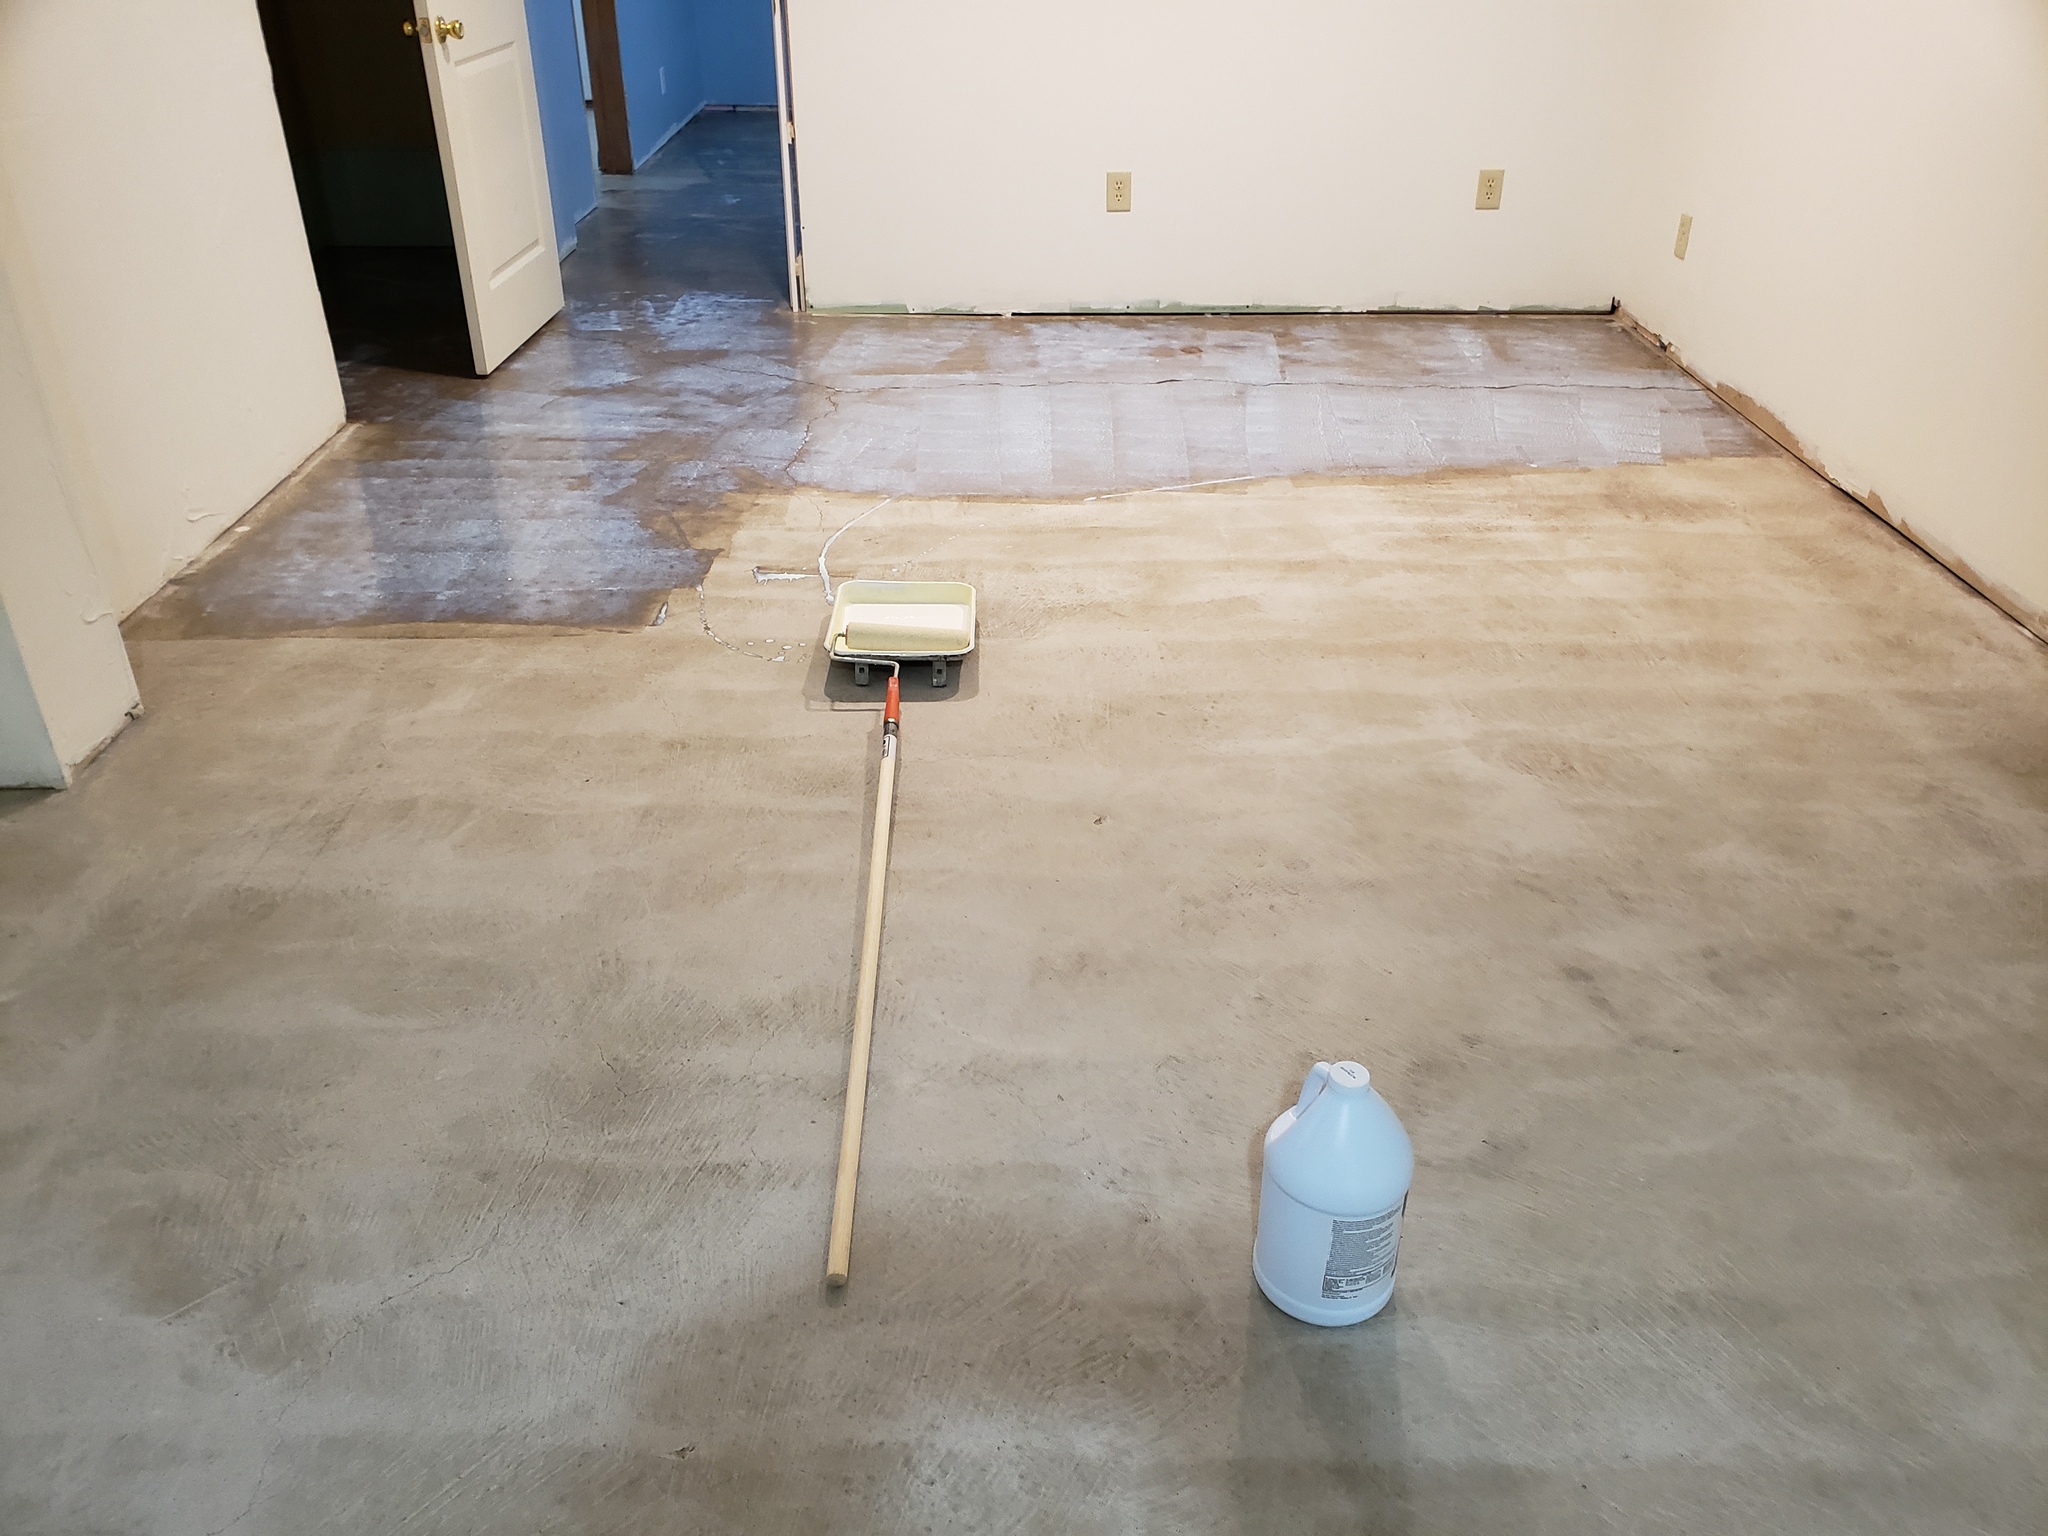
When I ordered the vinyl tile one of the recommended products was a concrete floor primer that was supposed to improve adhesion. Since we were using peel and stick tiles and I wasn’t planning on using extra glue I thought this would be a good idea. So we rolled the primer onto the floor.
It was interesting and entertaining. The primer was barely thicker than water so rolling it was more like mopping it around. But we got it spread all around.
Frankly I’m not convinced that the primer made any difference. The tiles are stuck down, but not very firmly. If I were to do it again I think I would skip the primer and go with plain backed tiles and glue. But hopefully I won’t have to do it again.
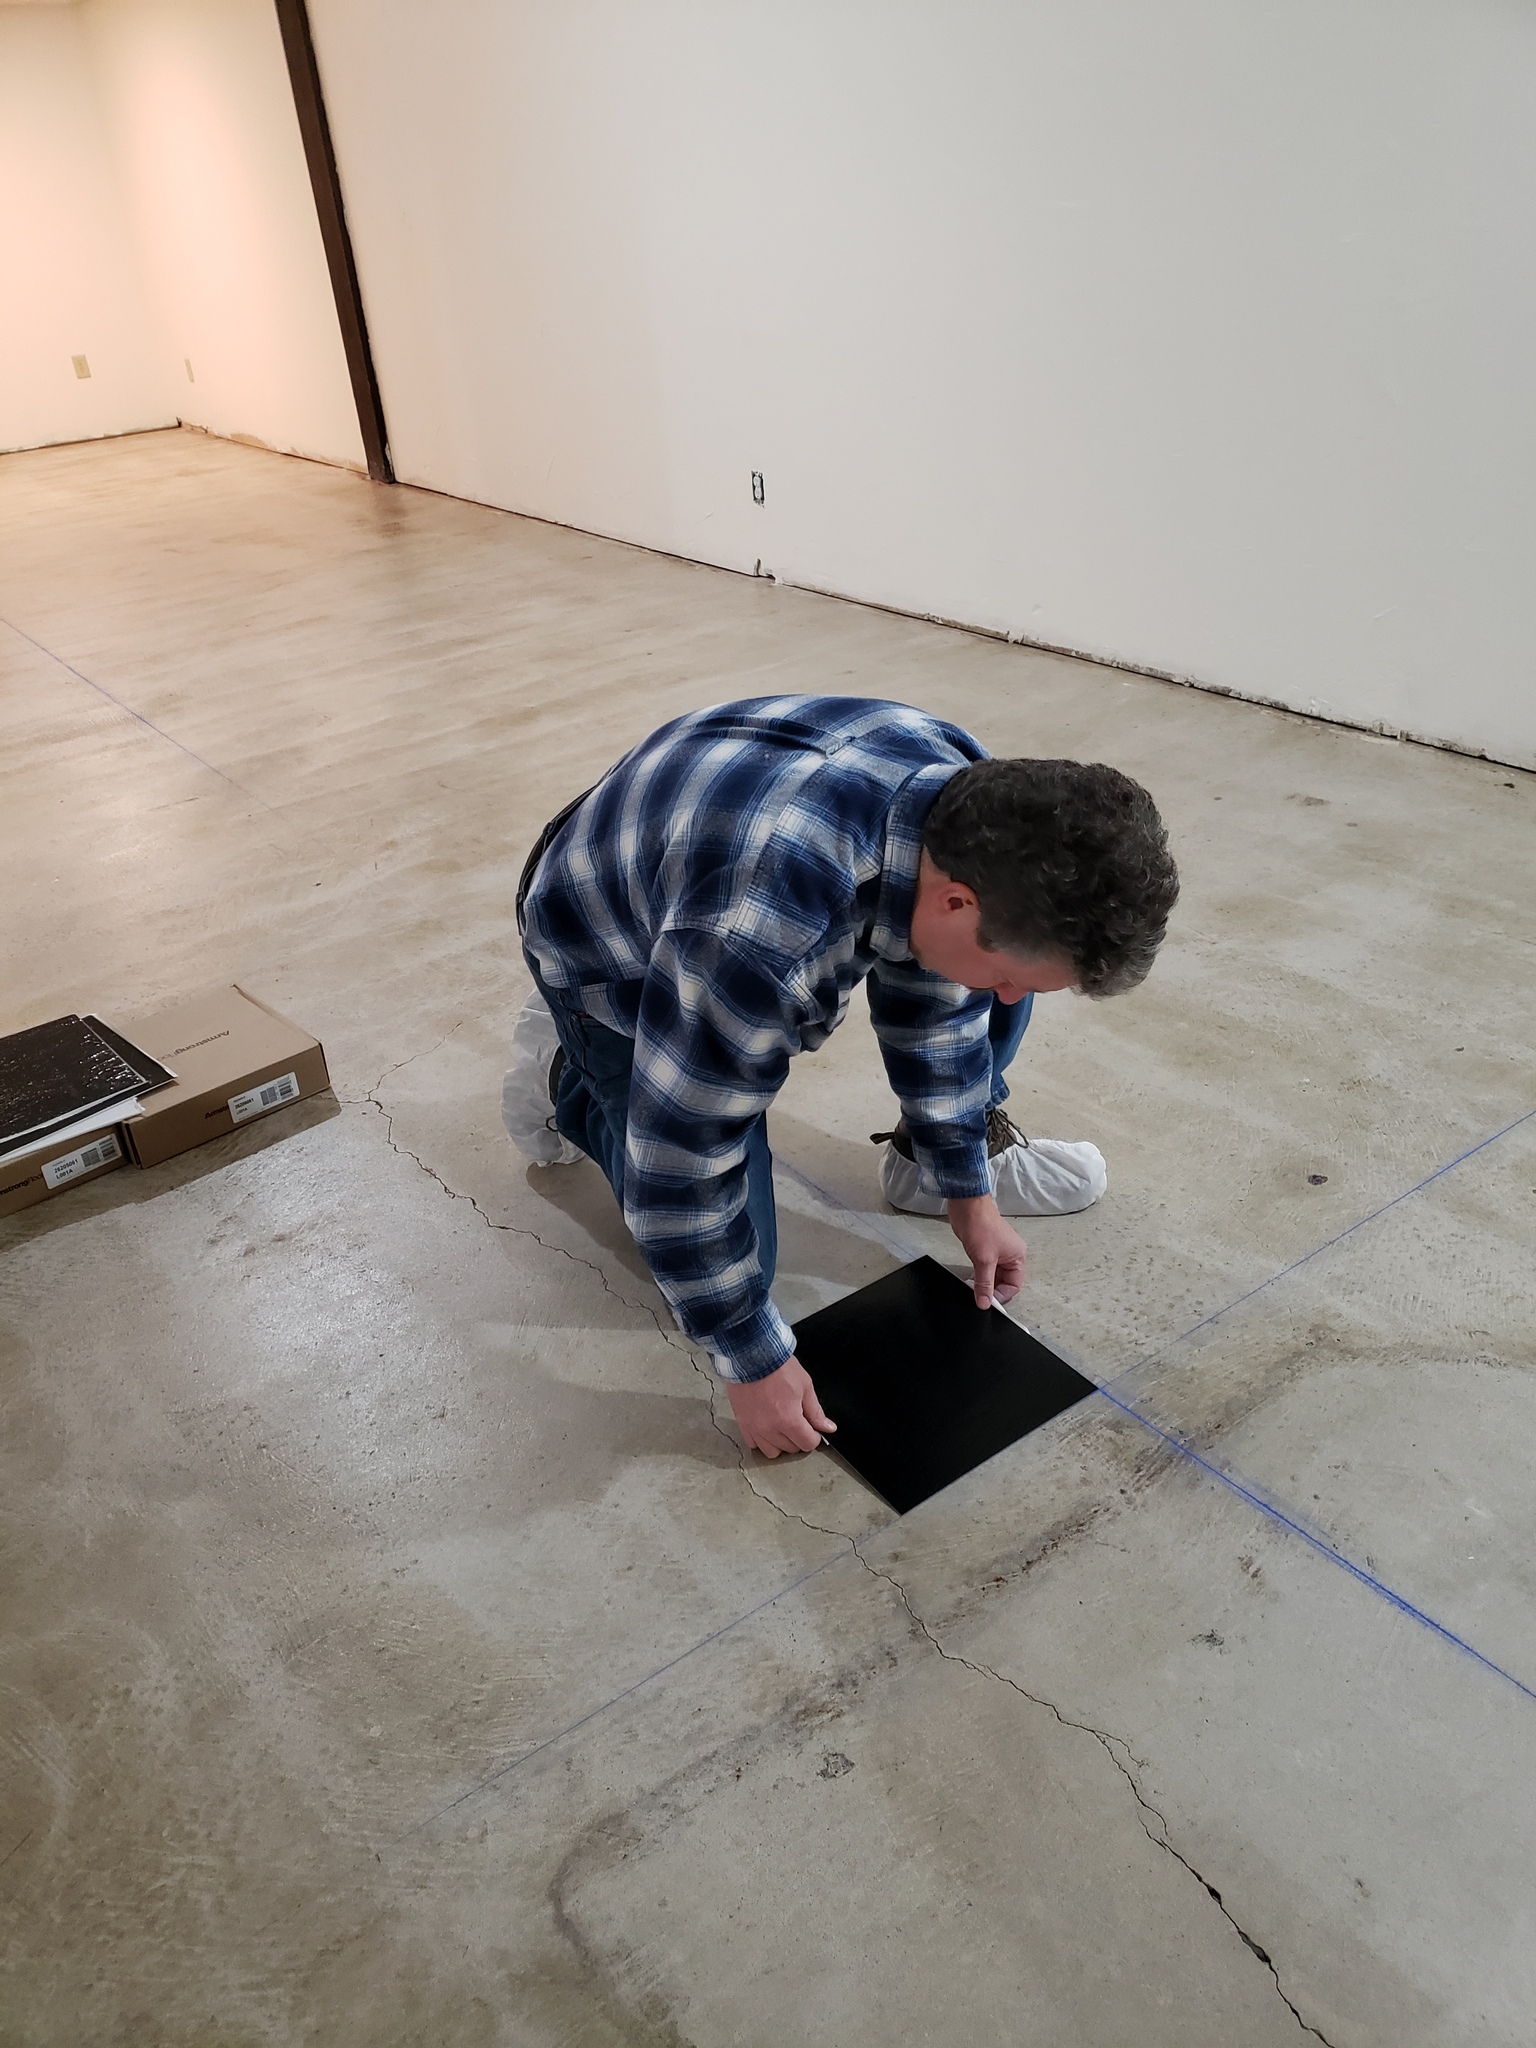
After the primer dried we figured out where we wanted to start and snapped some chalk lines. Then we put down the first row of tiles.
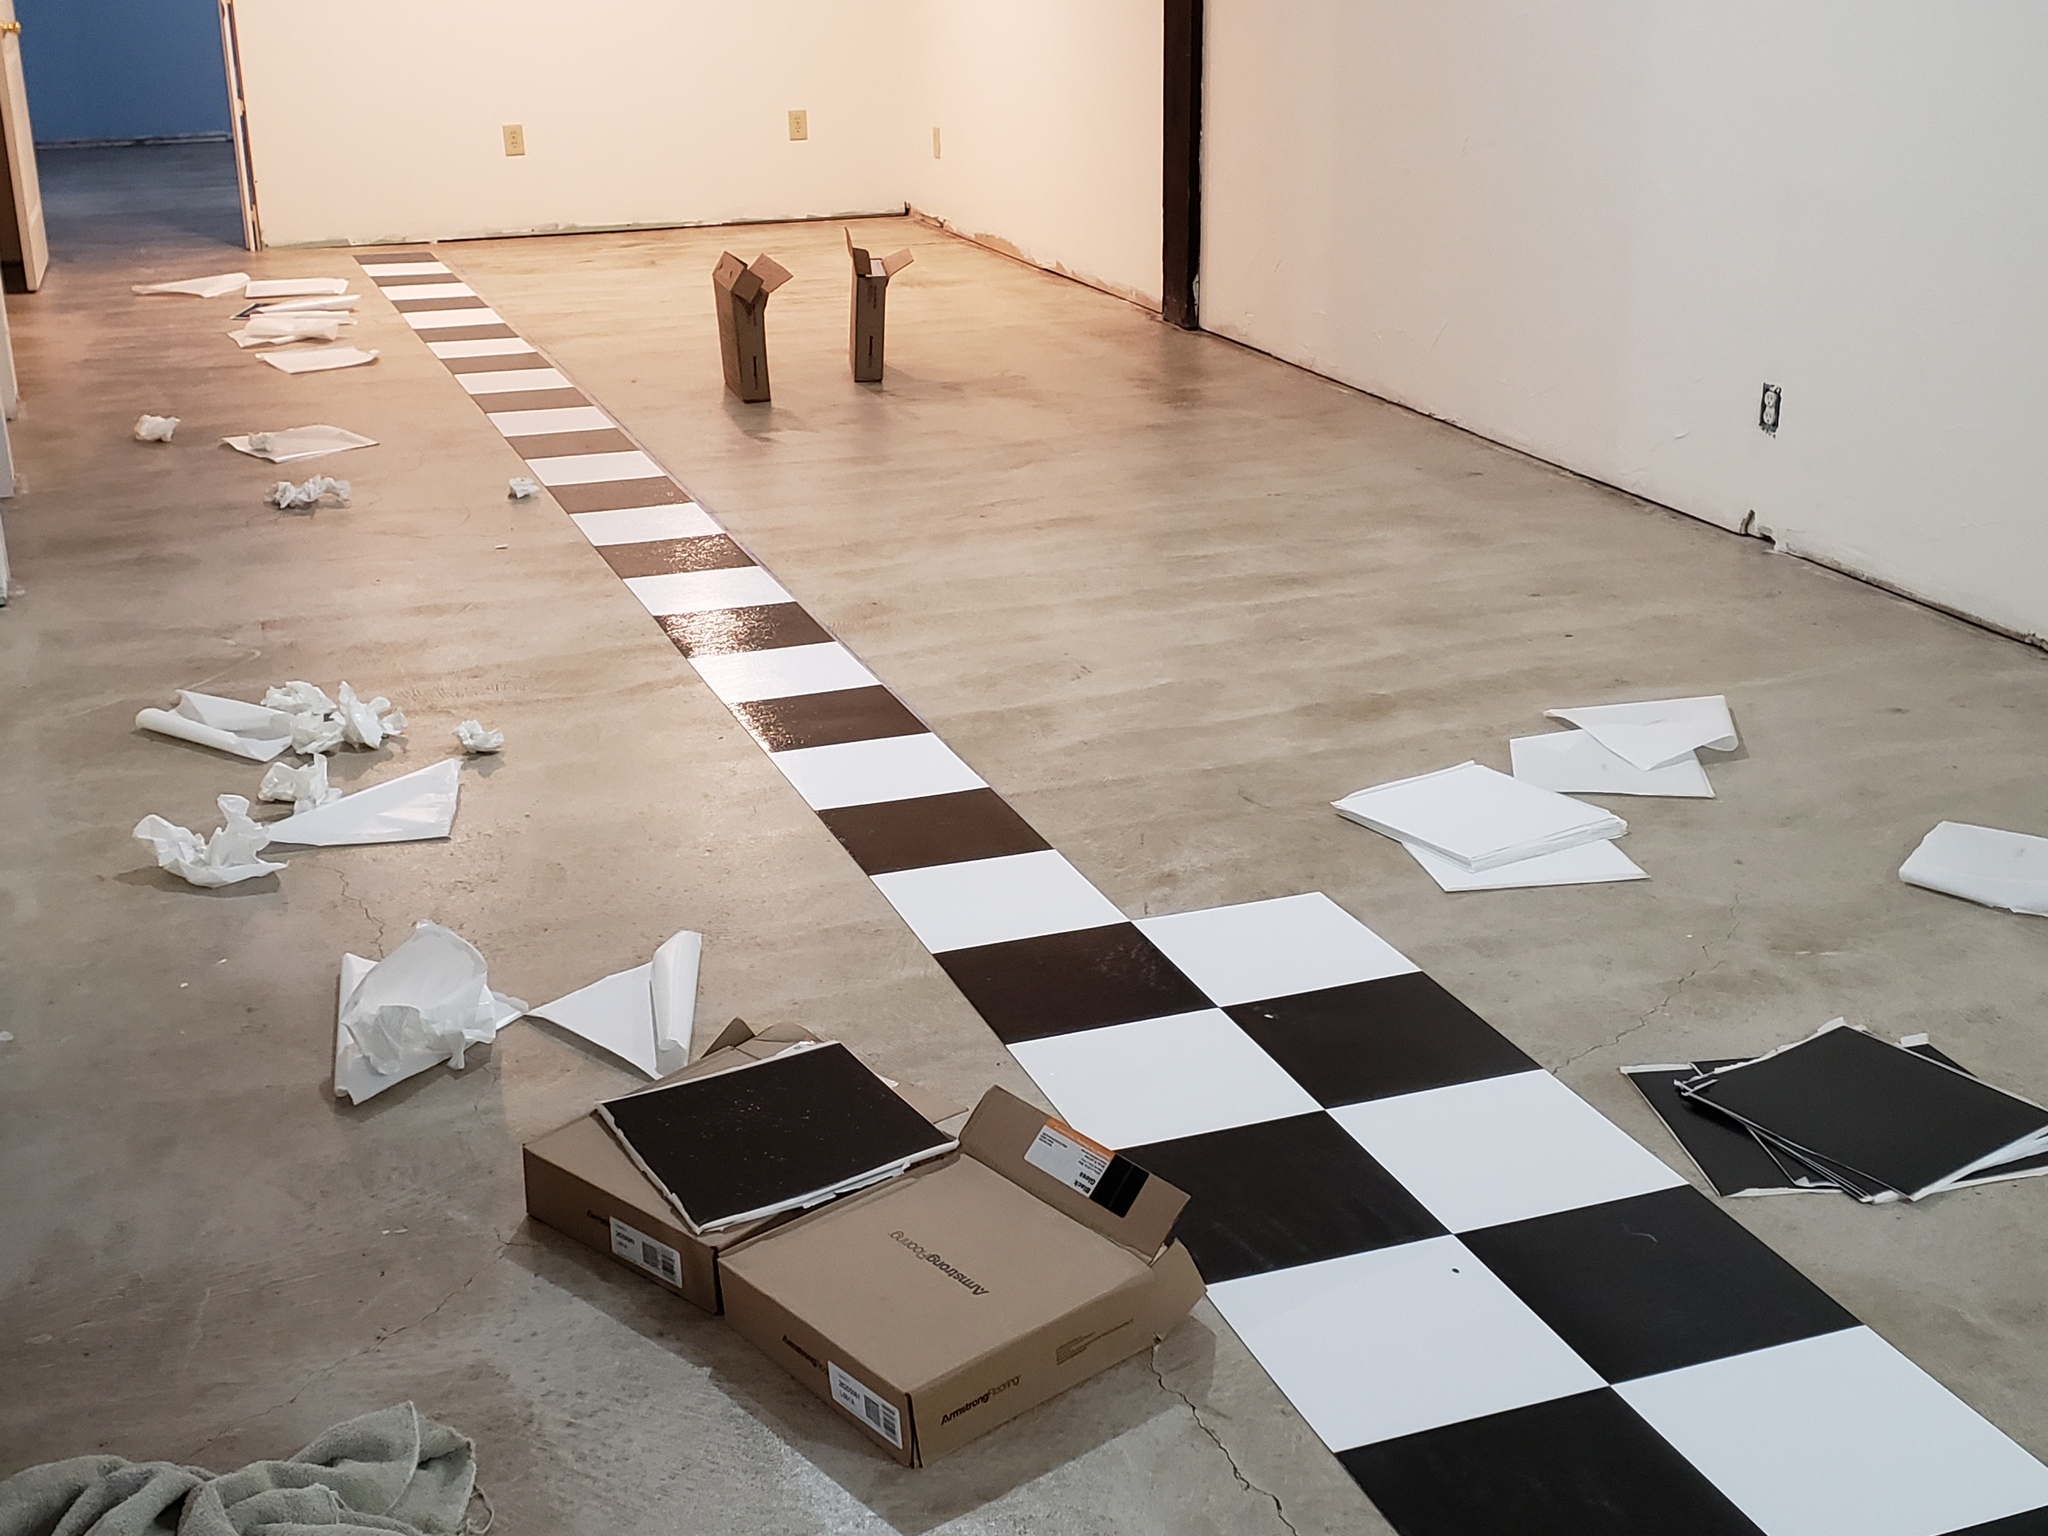
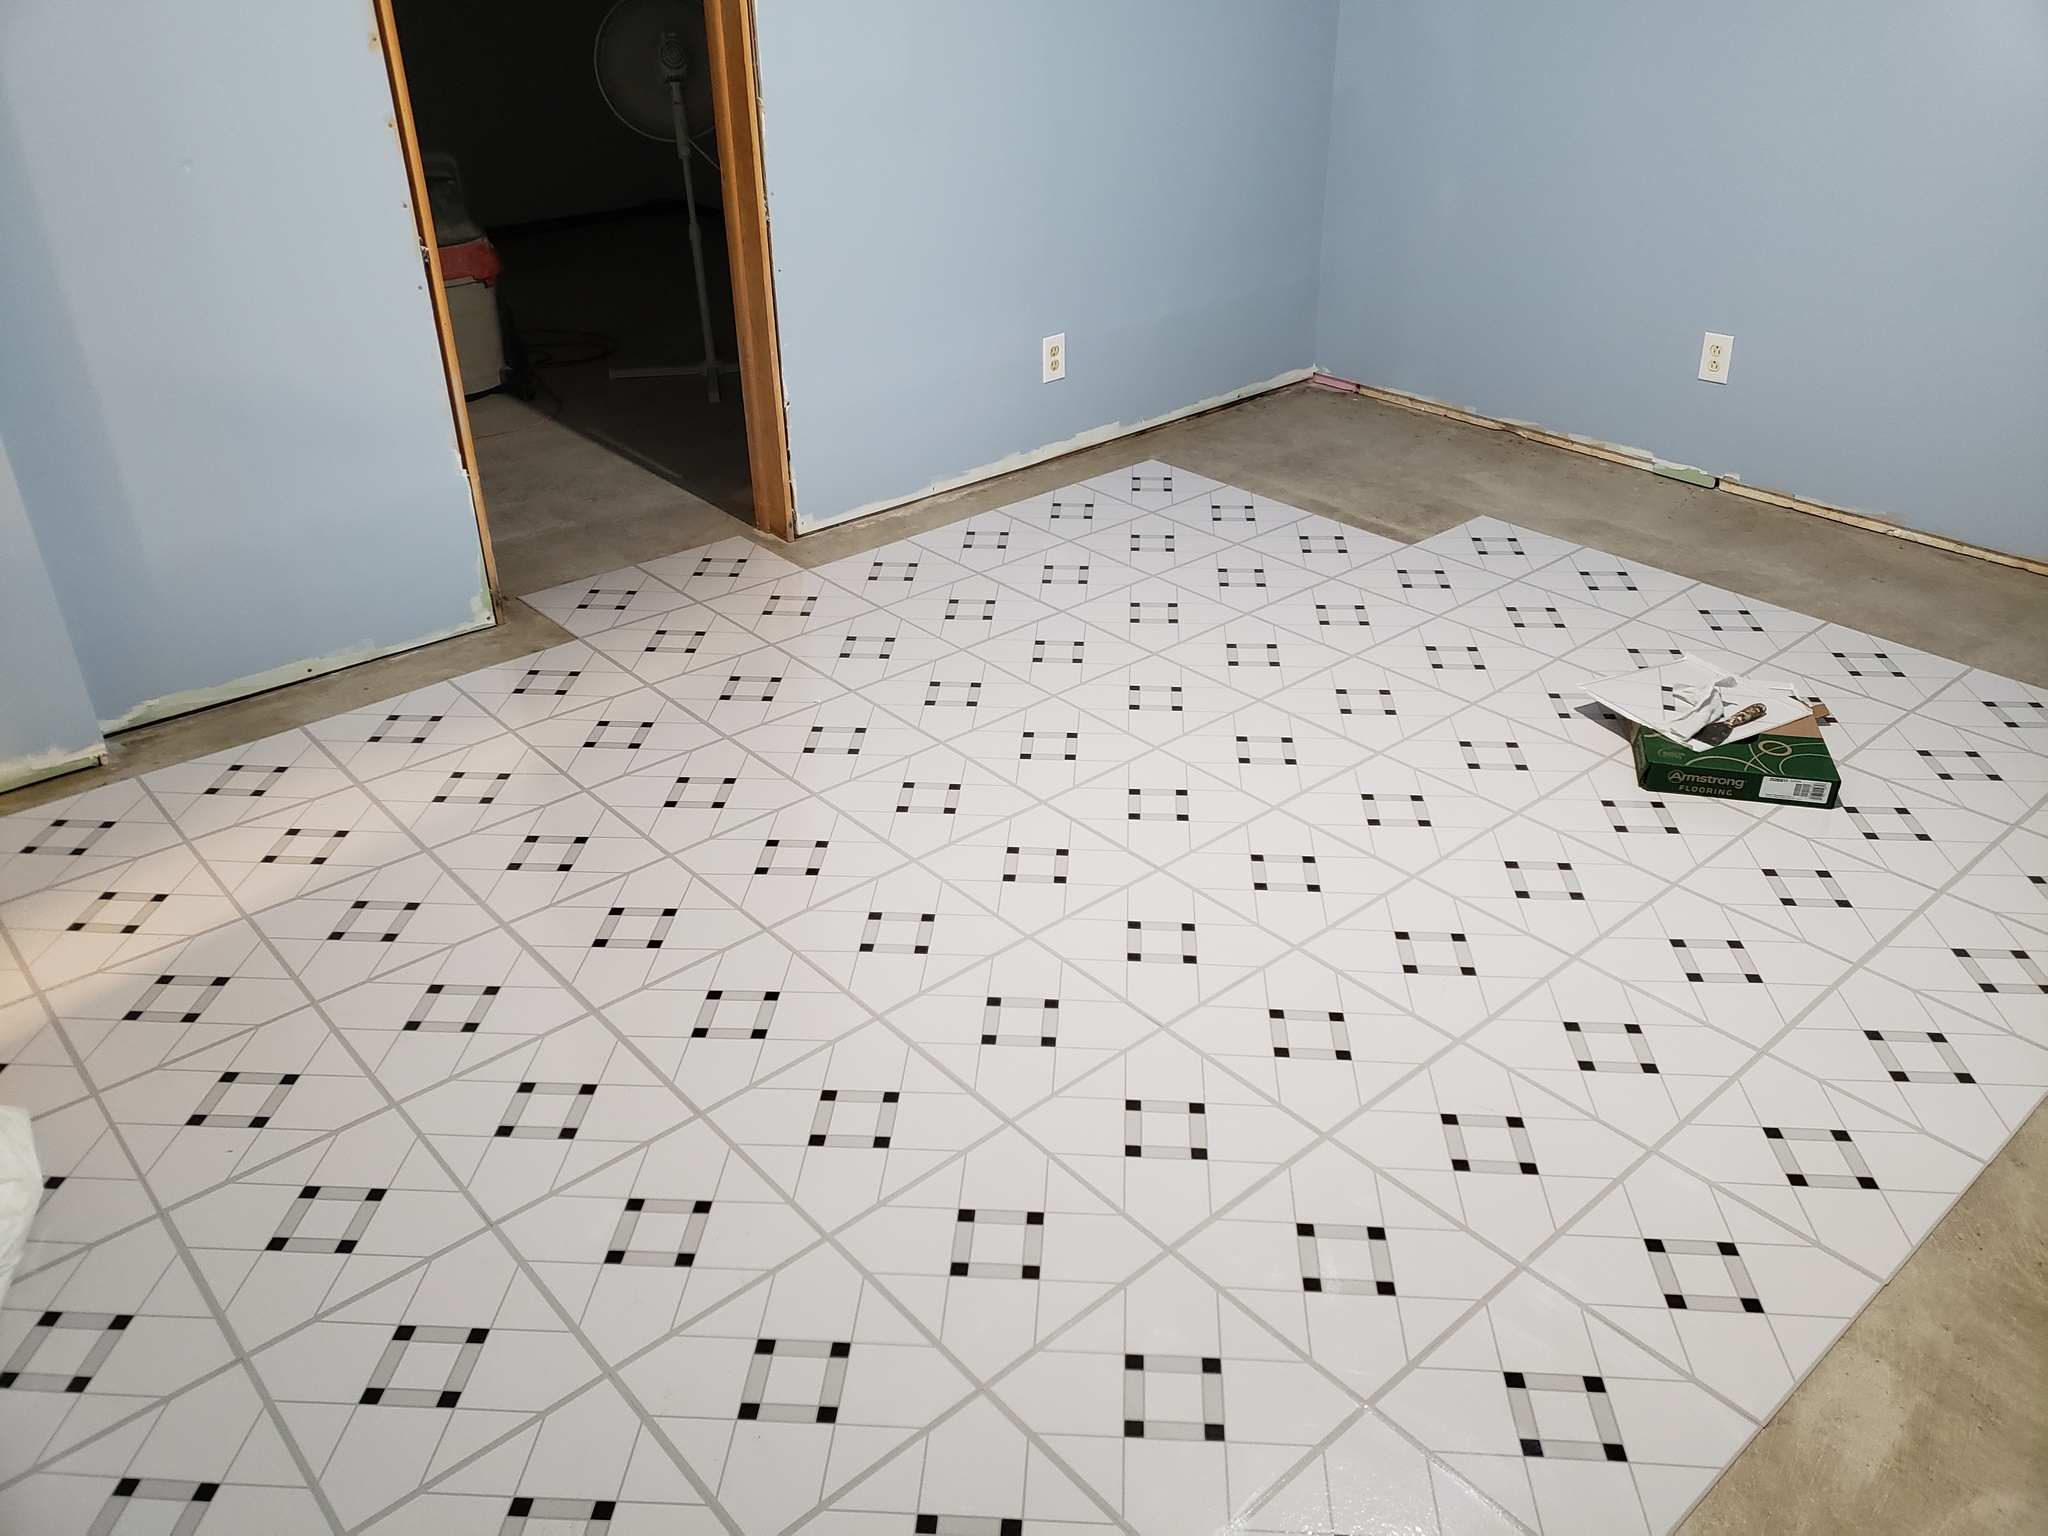
After that it was just a matter of putting down rows of tile. I think it took us four days including cutting all the edge pieces.
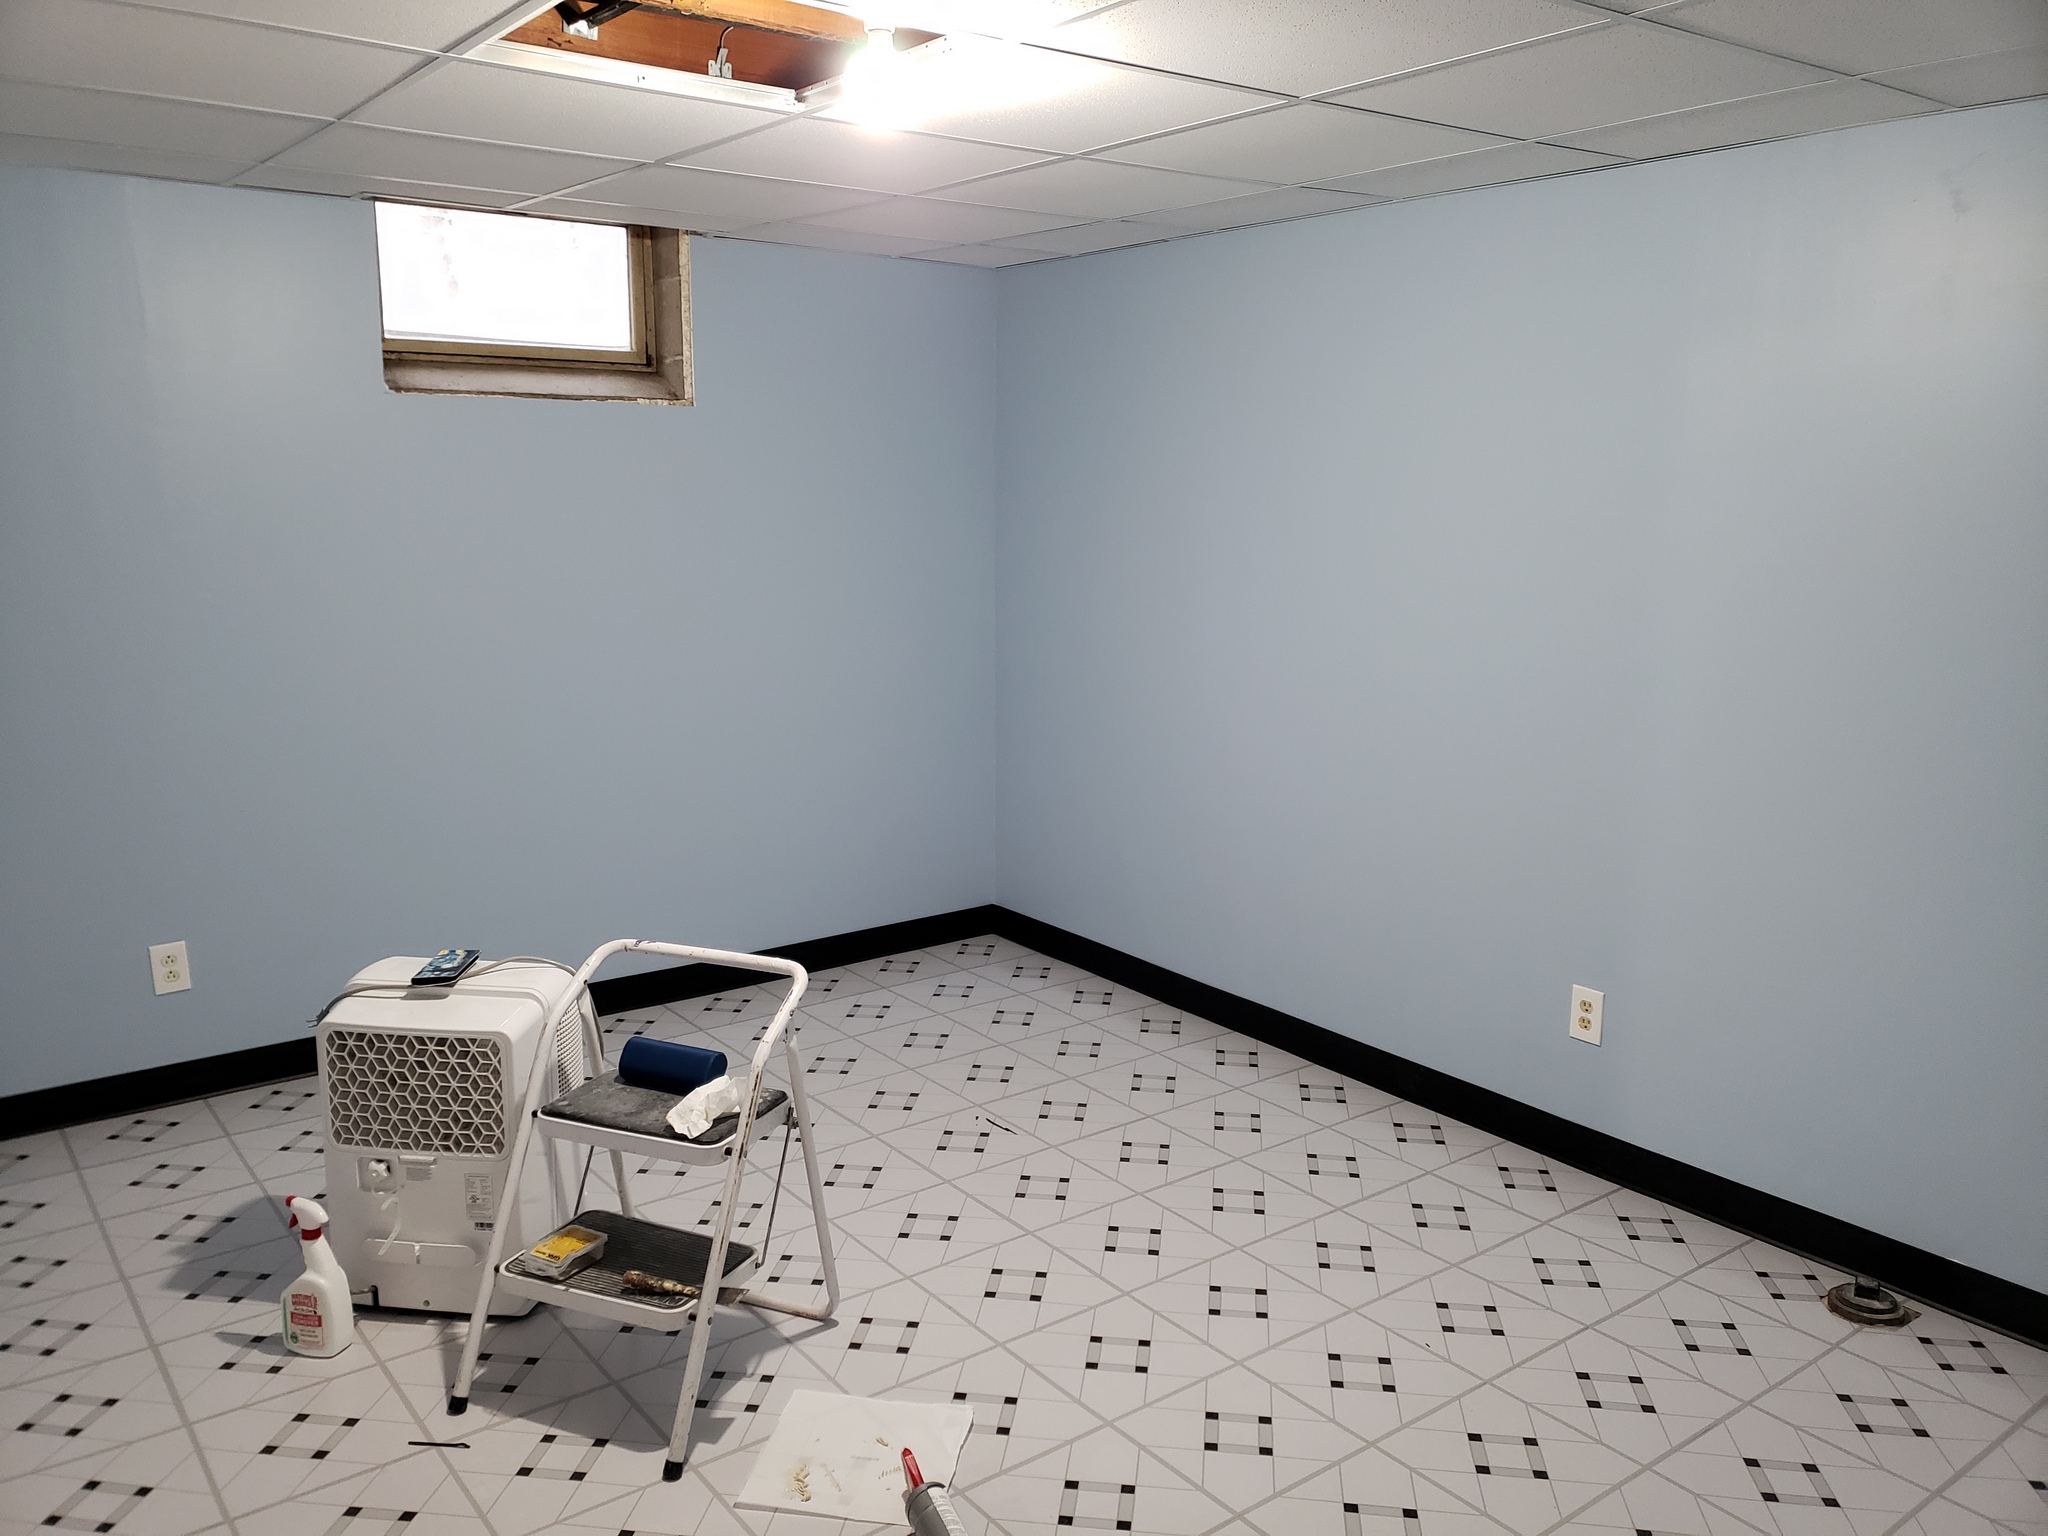
Just for variety (and because I didn’t want the stark black and white in the train room) we installed different tiles in the train room and way back room.
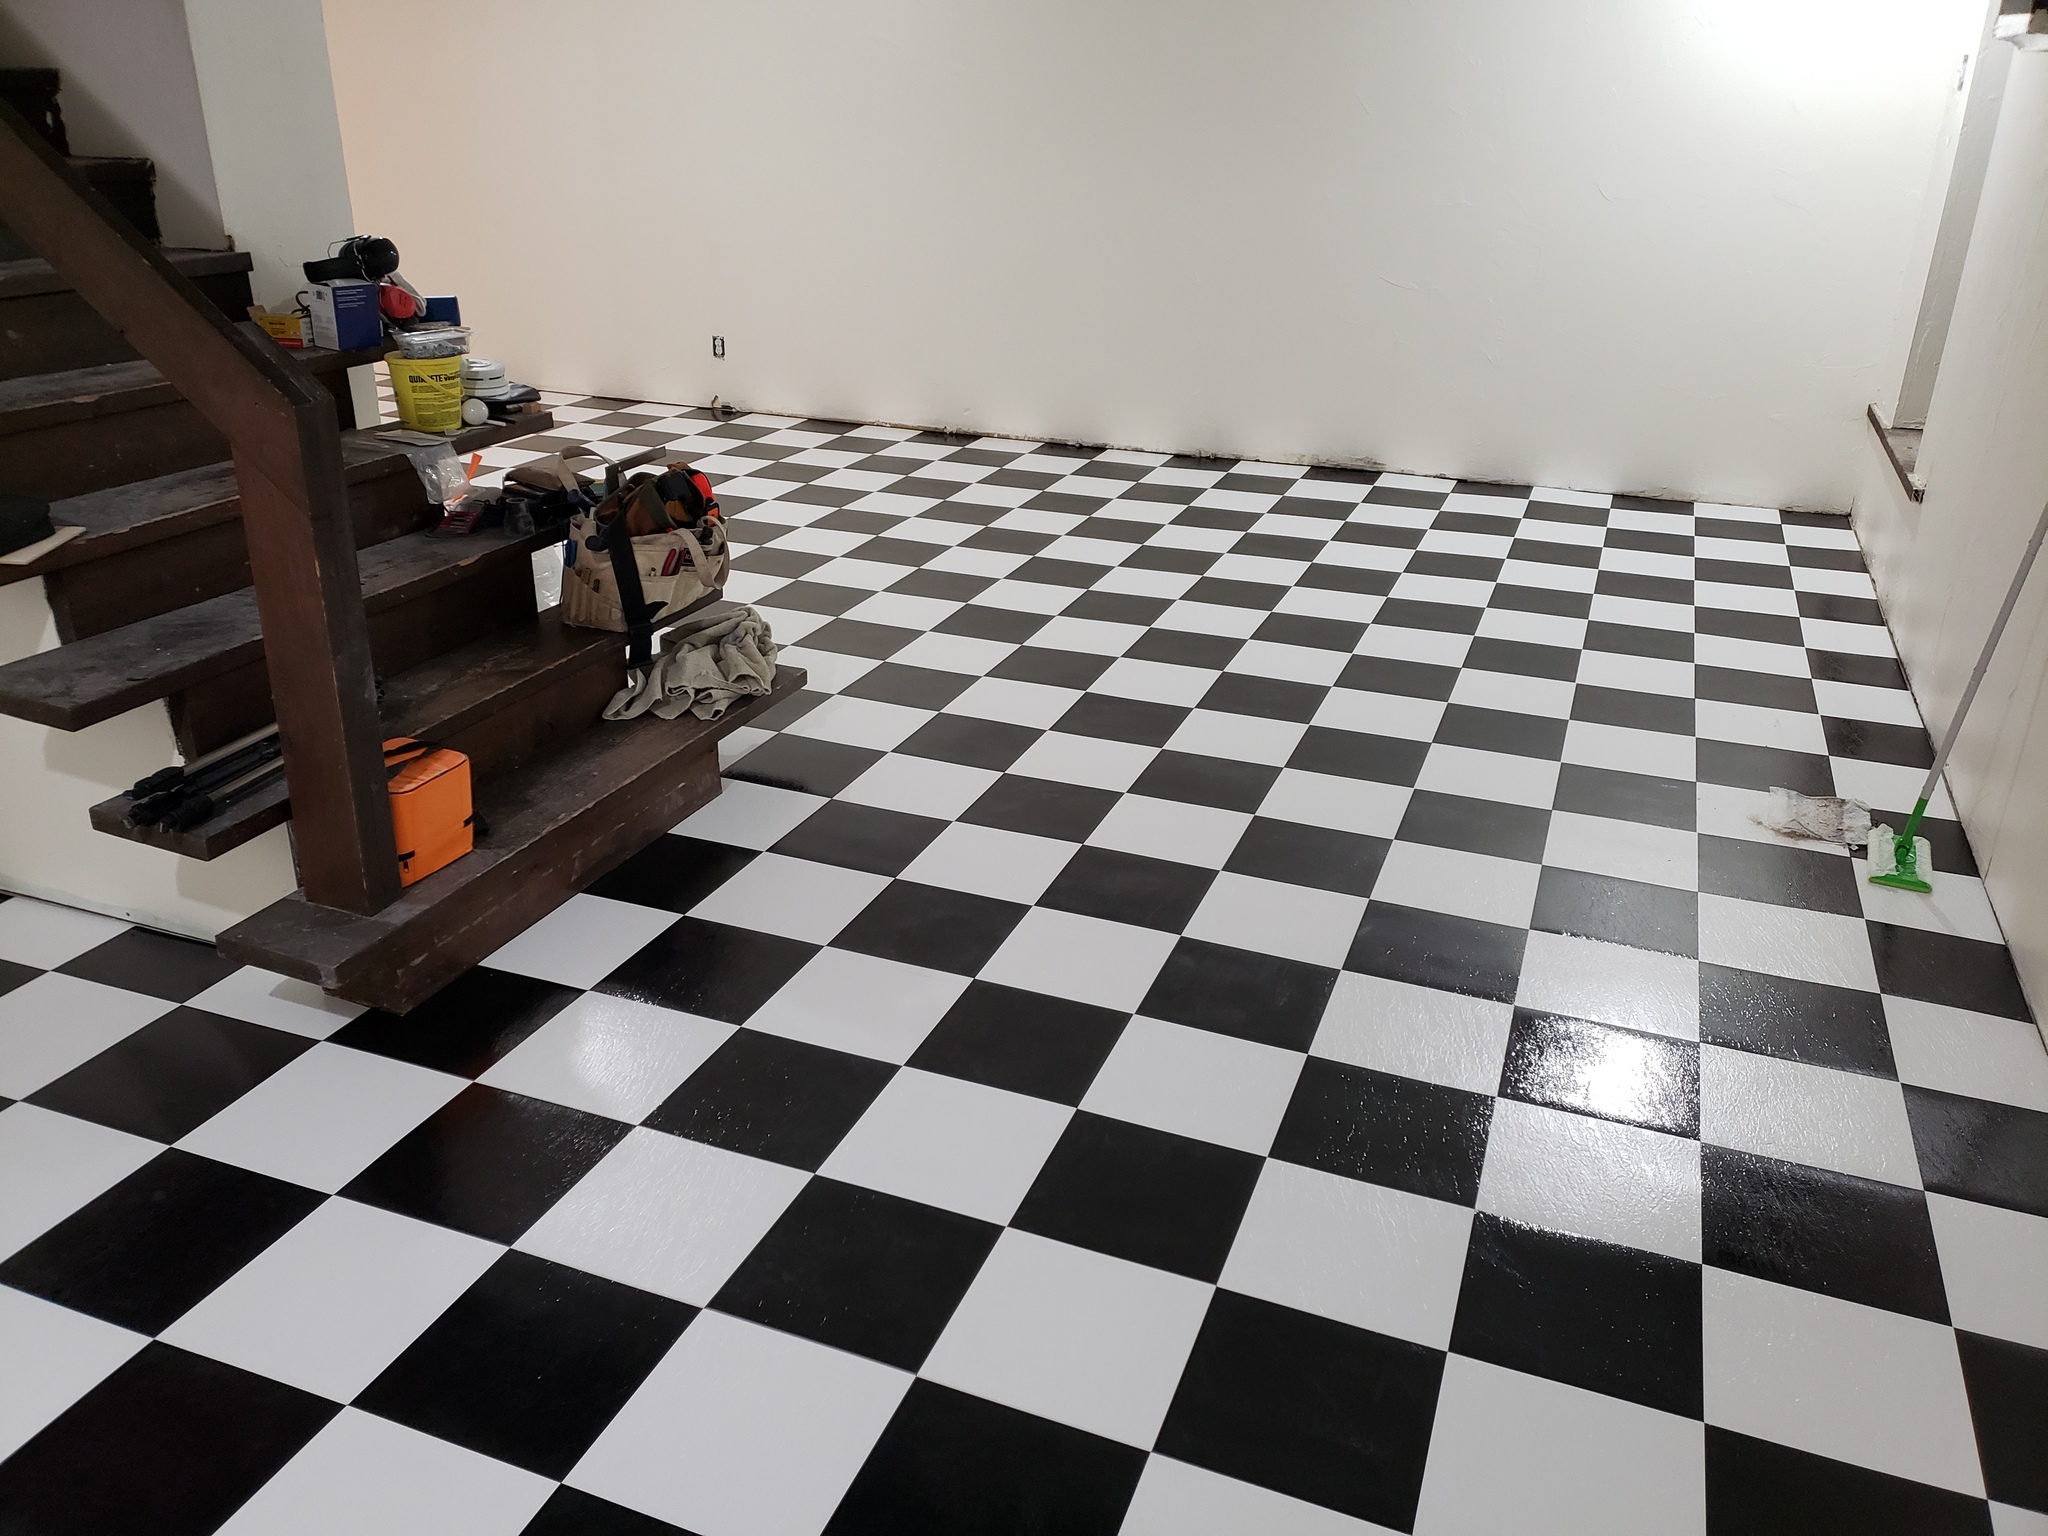
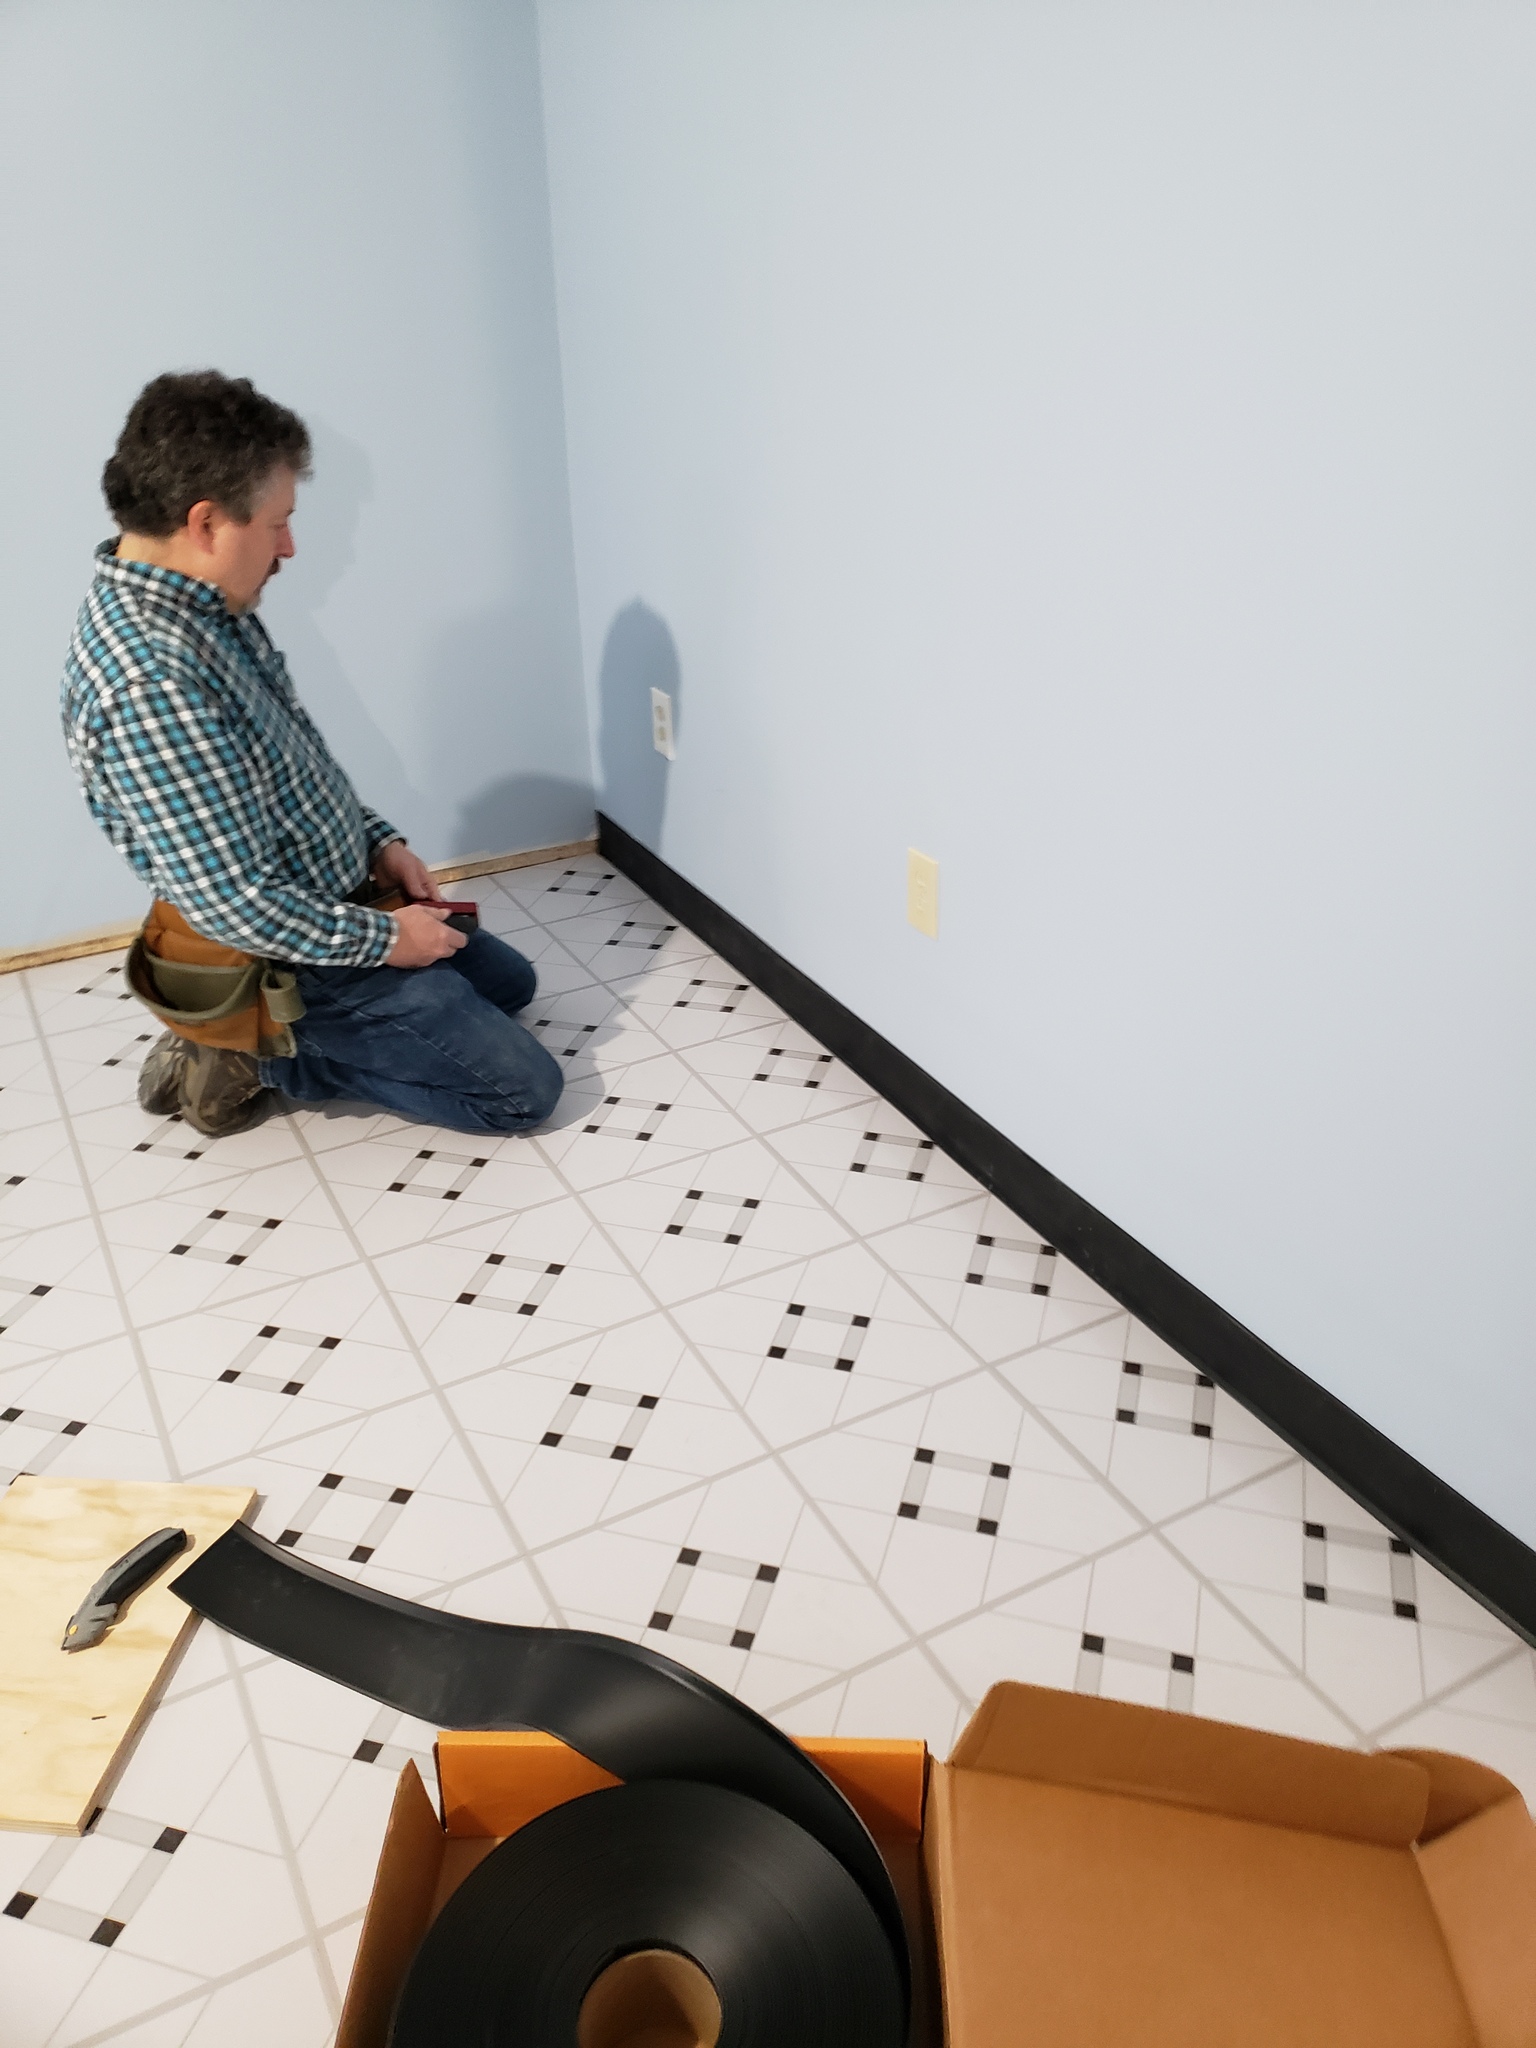
The last step was to glue on some vinyl baseboard material.
Then Leslie decided that the stain on the stairs was too dark. She was worried about not being able to see the individual steps because they were a sea of black. So we sanded them down and put three coats of polyurethane on them. They look great now. I think we’ll have to do the railing to match at some point. (Probably should have done it at the same time before we moved in.)

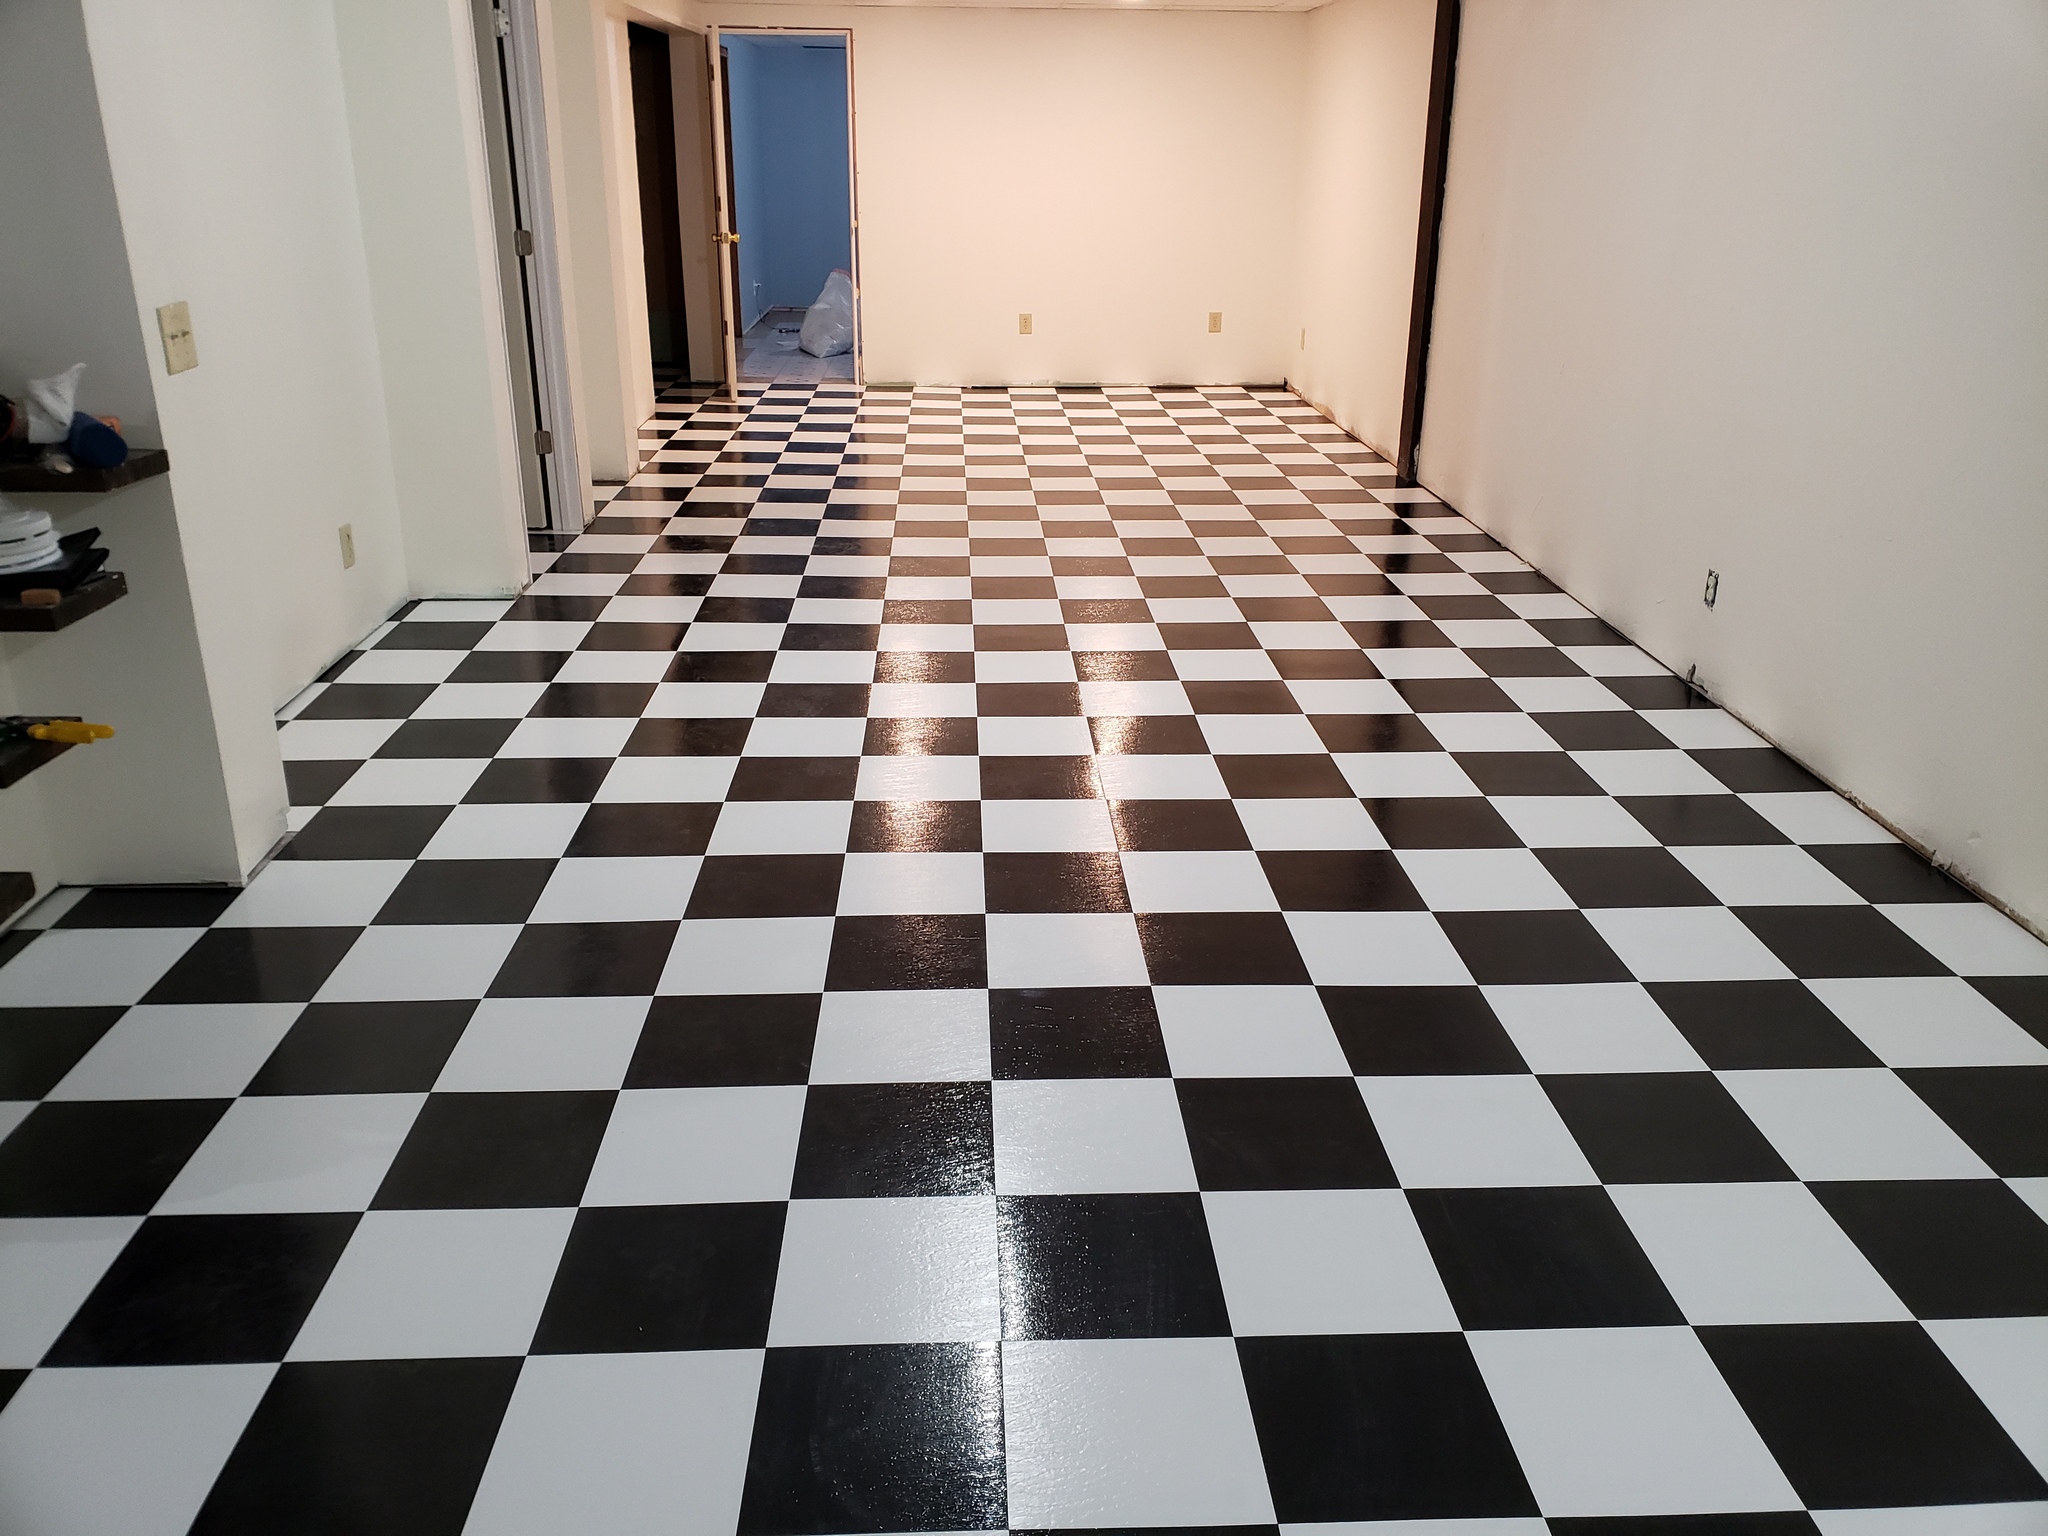
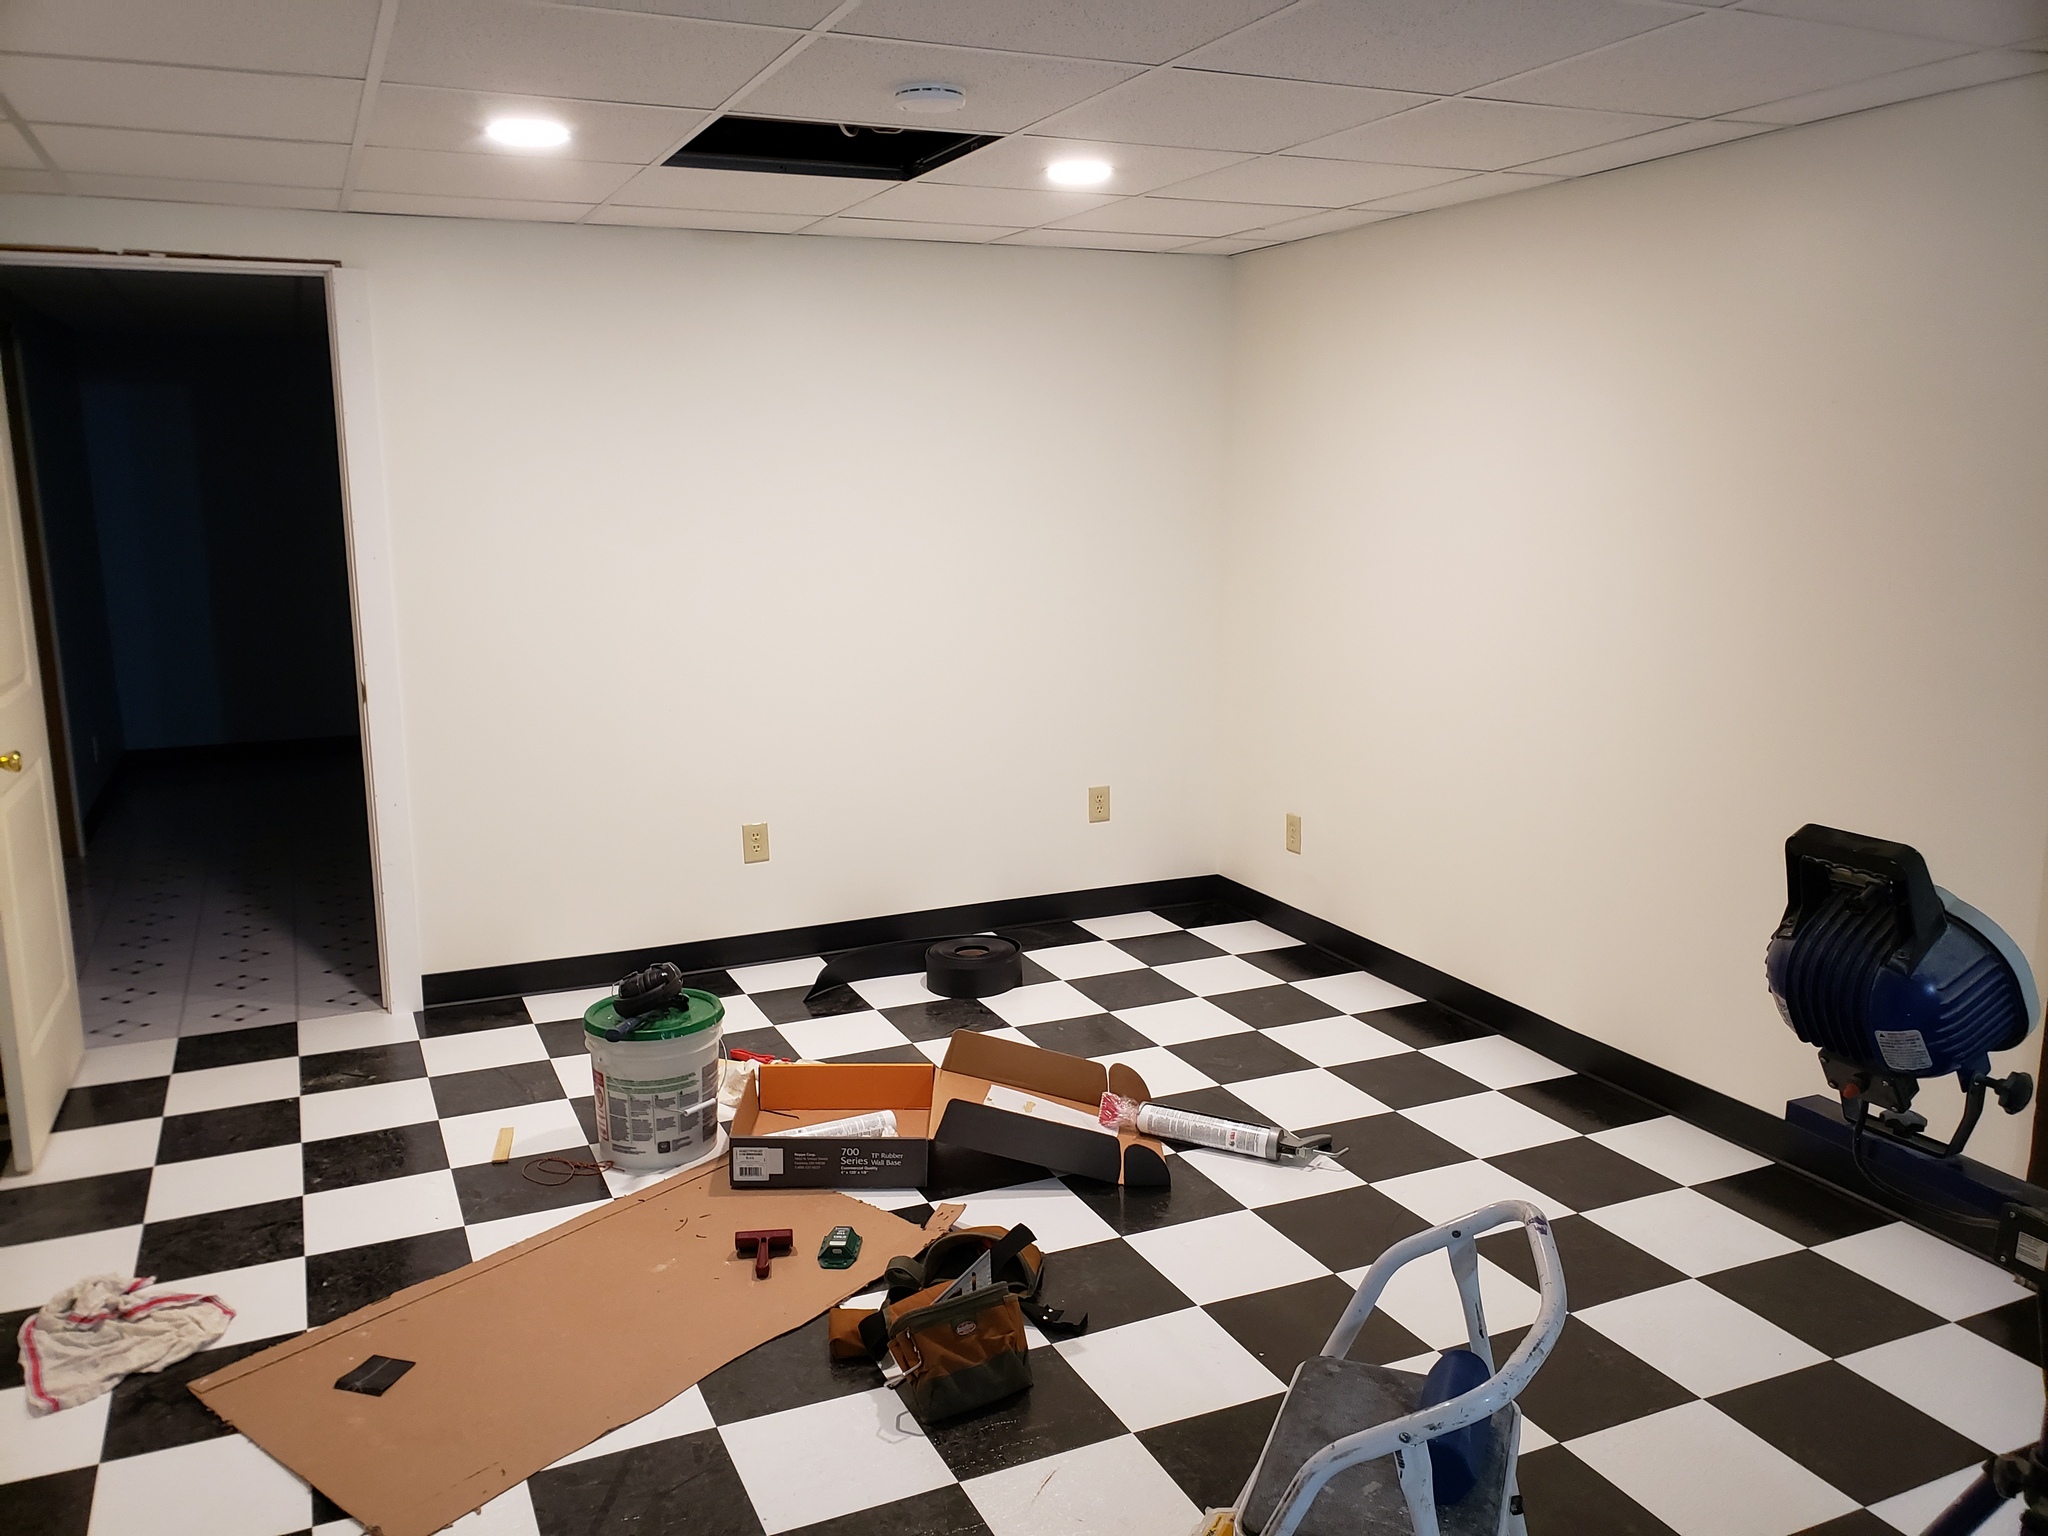
And now the main room looks like this.
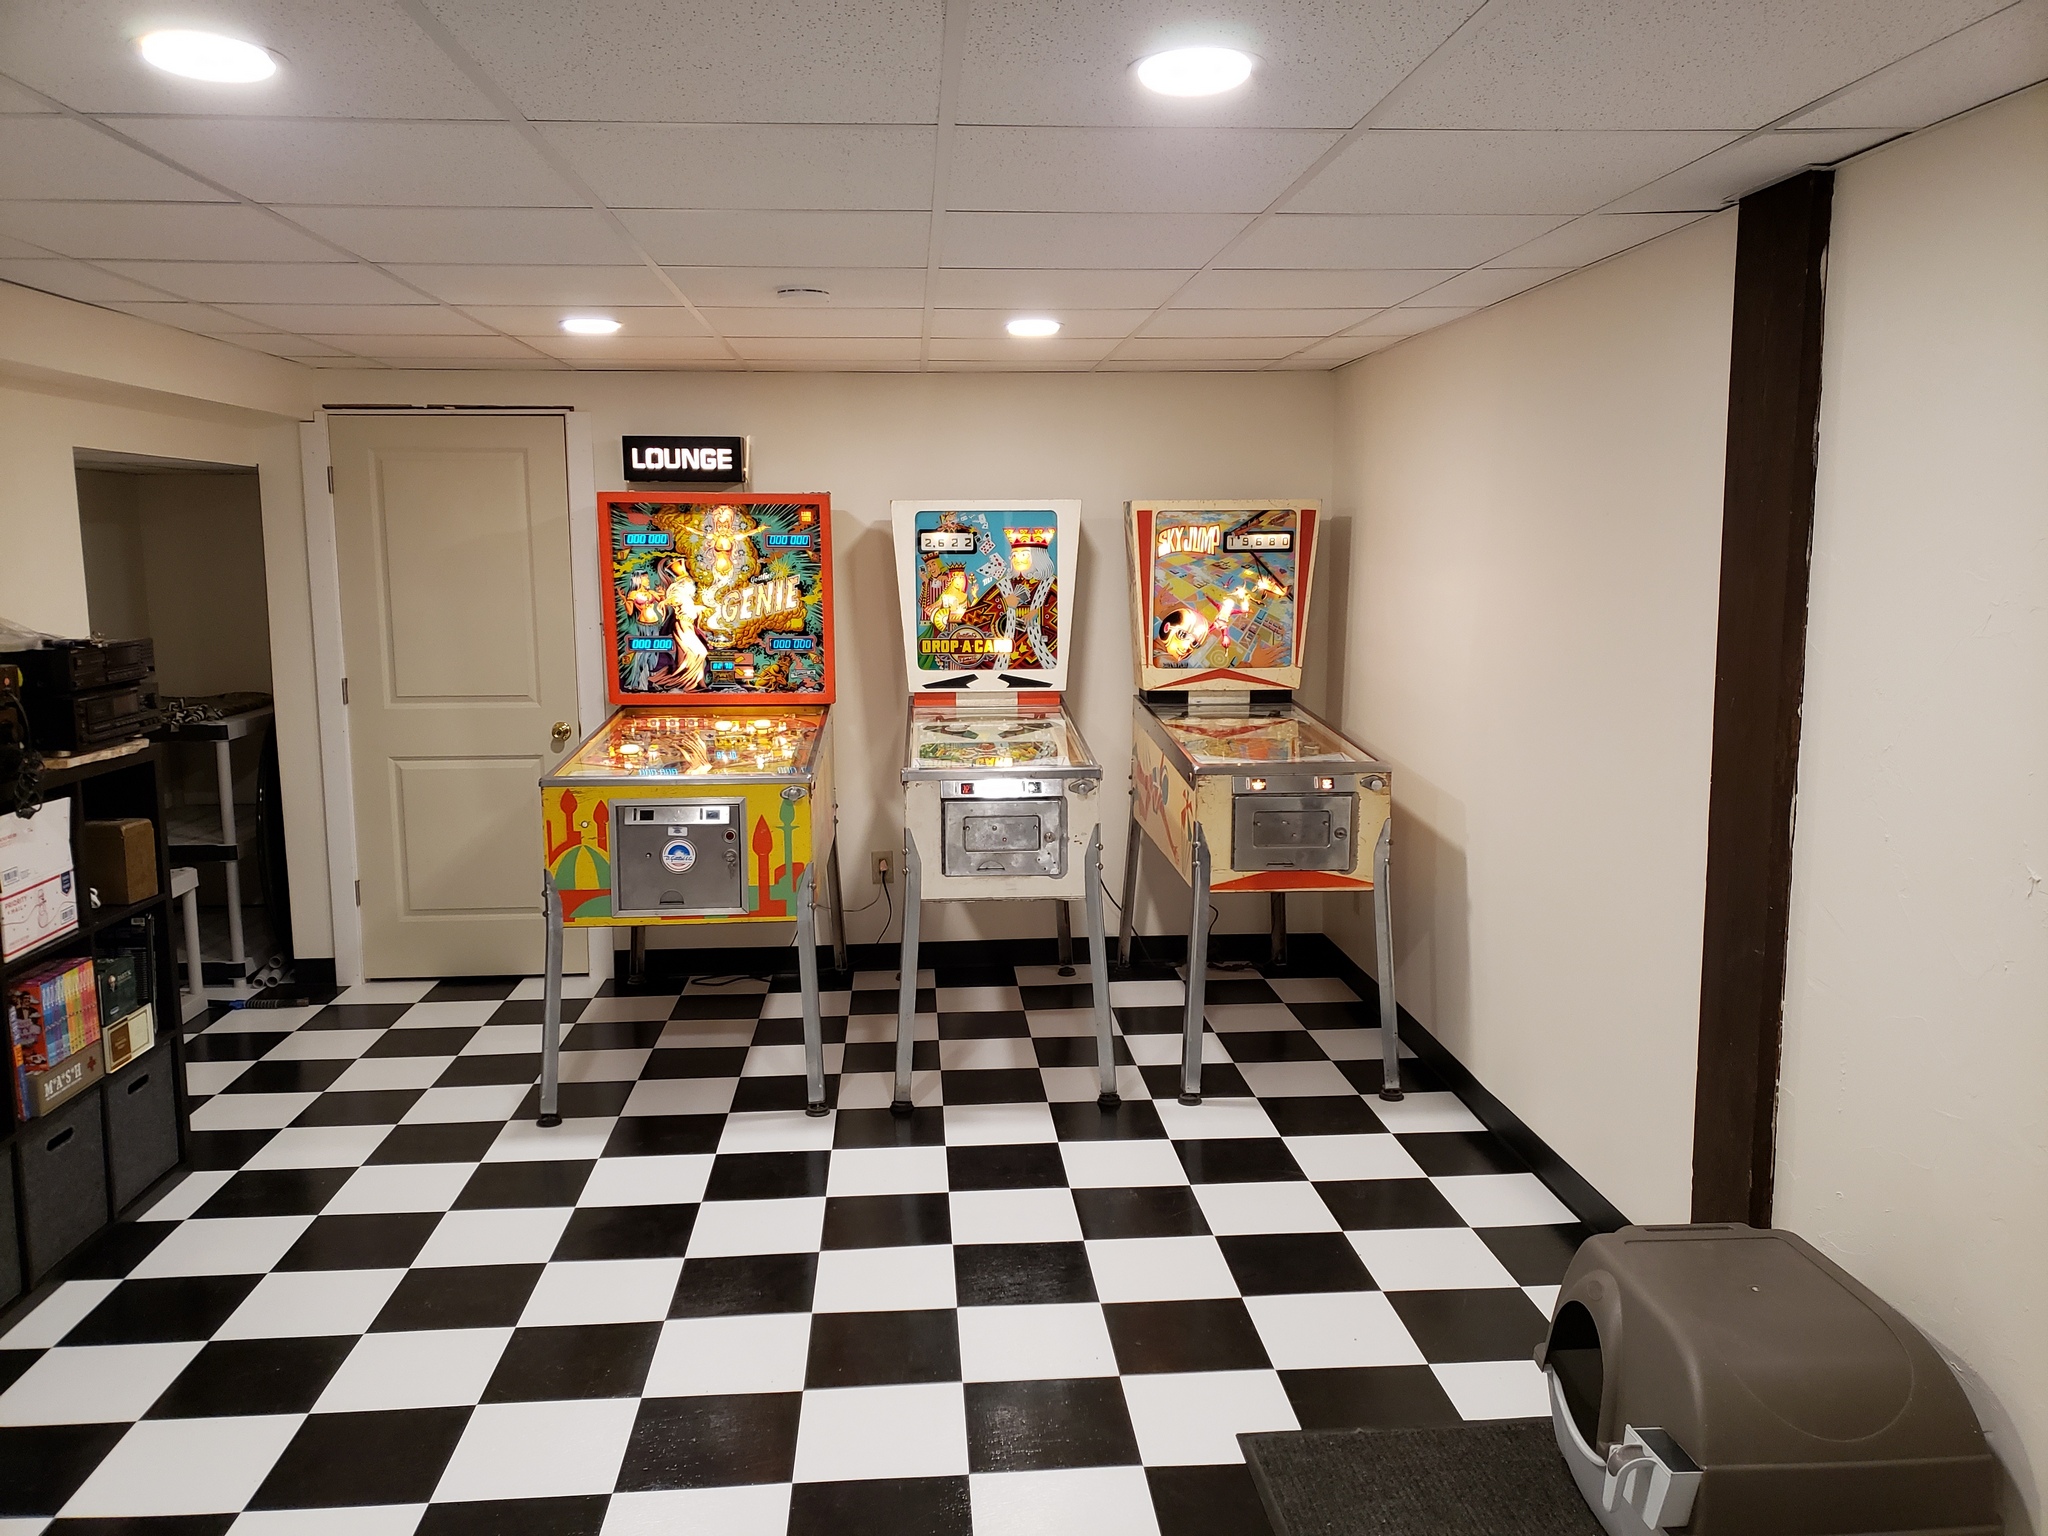
Contrast that with the photo from the first blog post. A major improvement.