
We decided that the simplest way to deal with the exposed beams in the basement was to cover them up with a suspended ceiling. I measured all the rooms and used the online calculator to figure out how many moldings, t-bars, cross-bars and panels to buy and ordered them up.
I called my friend Mark to see if he would be interested in helping me and he told me they had just finished installing a suspended ceiling in his daughter’s basement! How serendipitous.
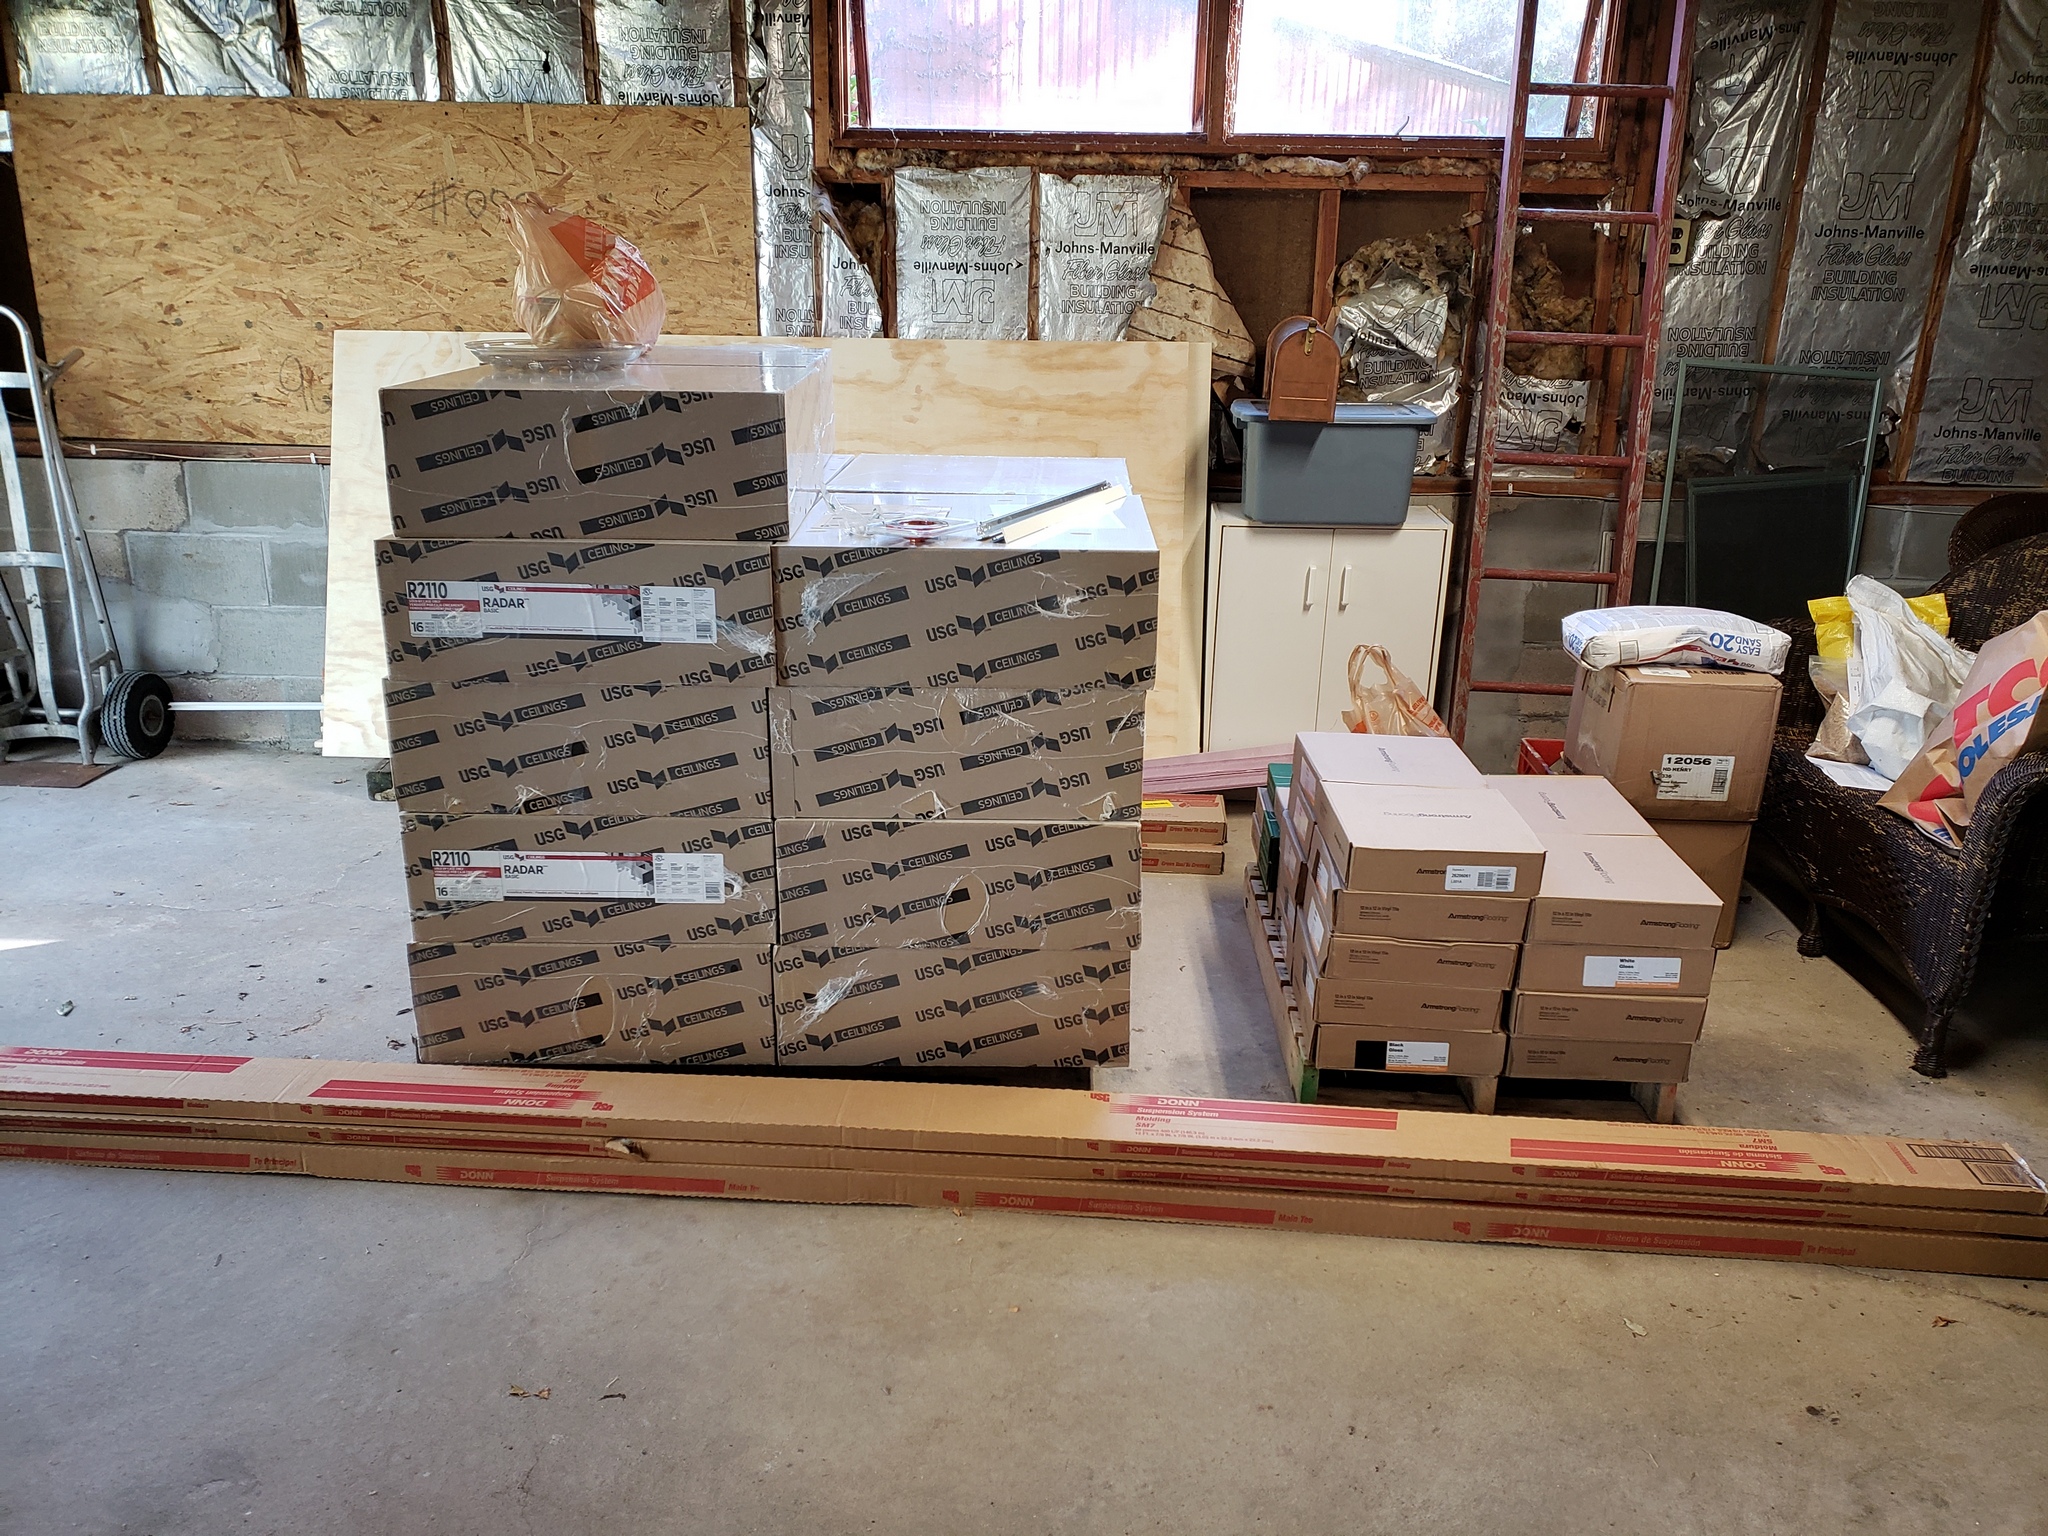
Here are the materials. The long boxes are the 12 foot long mouldings and main beams. It was fun getting those home. Behind them are the 17 boxes of ceiling tiles. Each box has 16 pieces in them. You can’t really see them well, but behind the tiles are the two boxes of 4 foot and 2 foot cross bars. Also in this photo on the right are the boxes of vinyl floor tiles. More about them later.
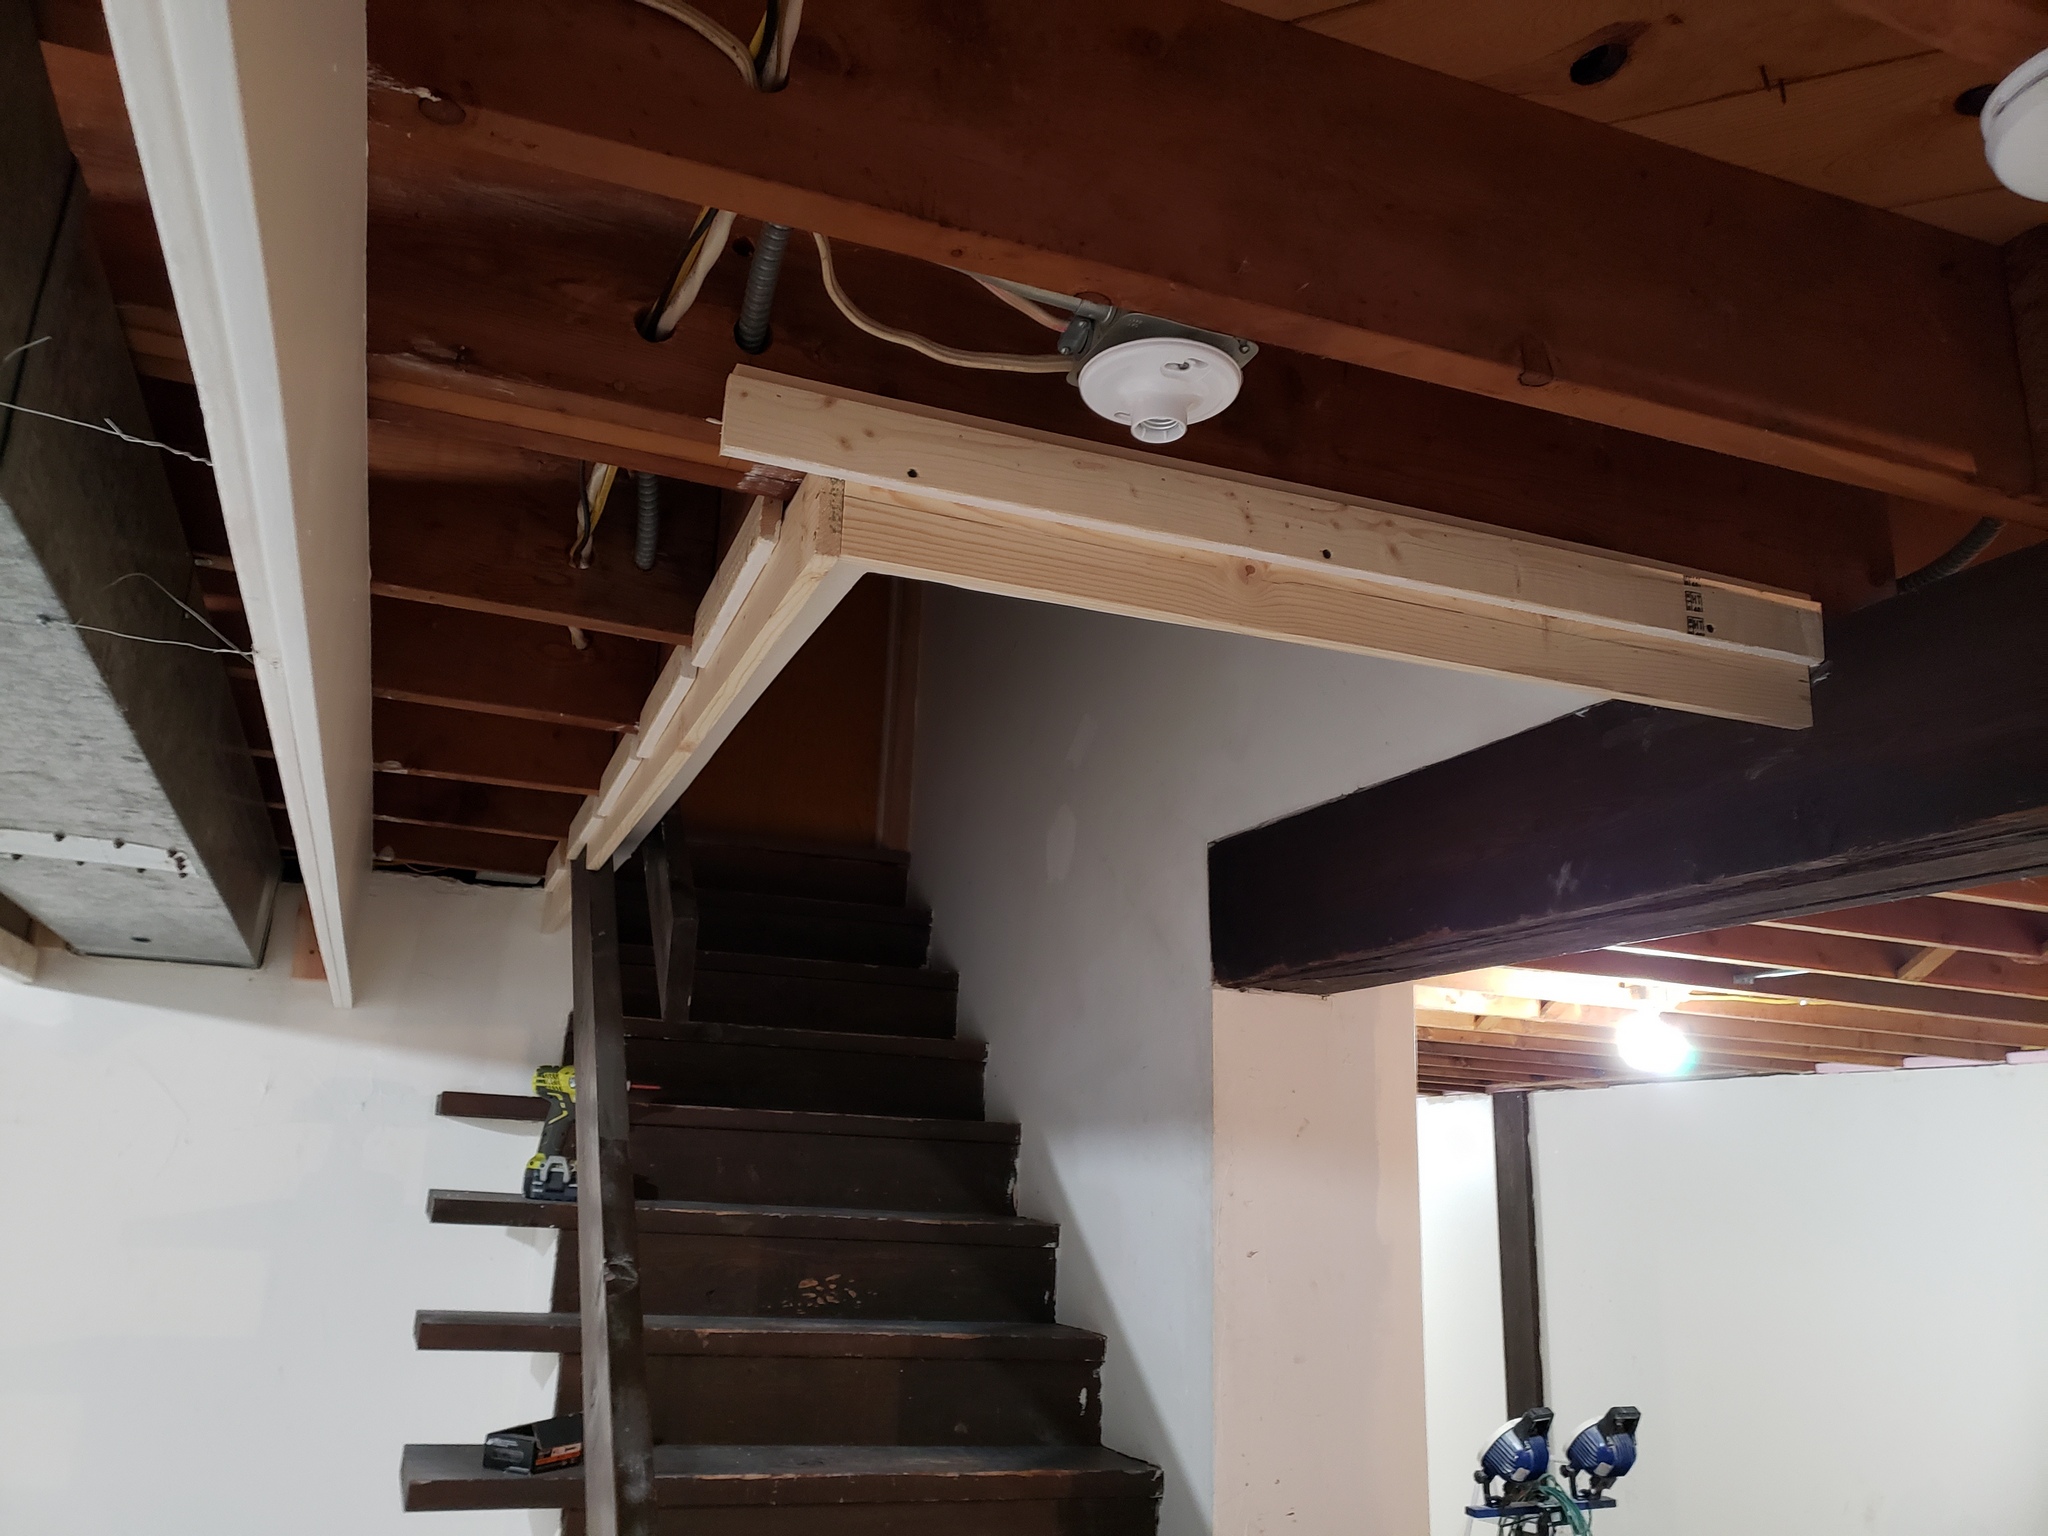
In Part 1 you can see some of the special work I had to do for the ceiling around the stairs and the duct work. I also had to do some special work around the door and windows.
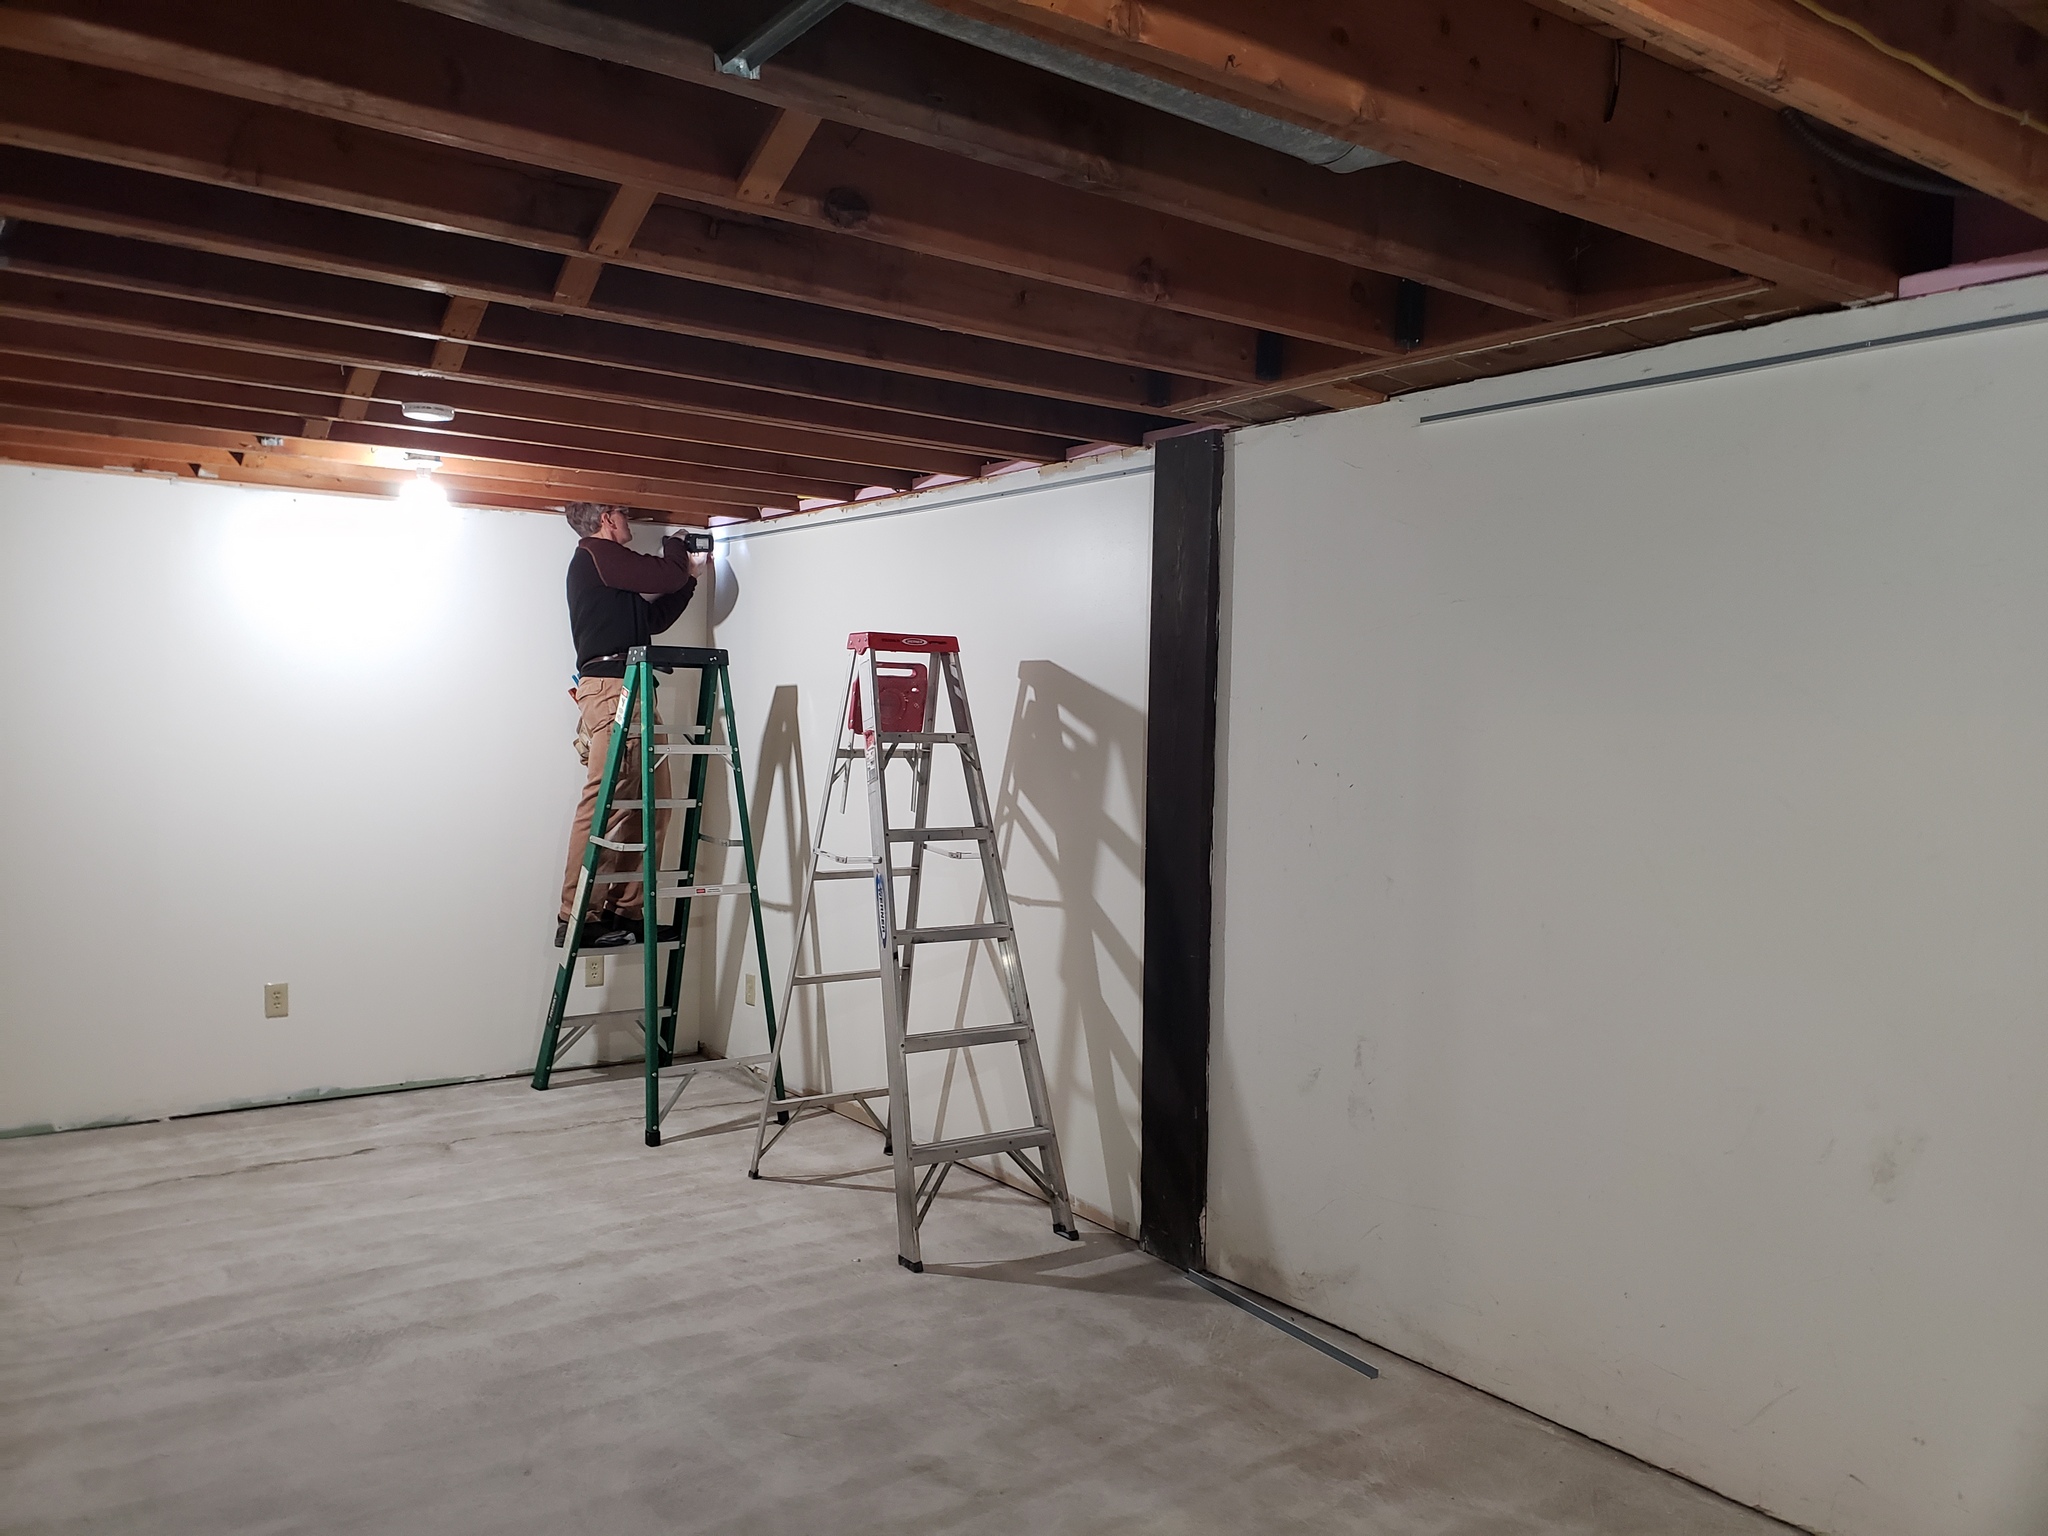
Step one was to mark the walls where the molding would be attached. I have a laser level, but apparently it’s not level so when I started on one wall and made my way around to the other end I was off by more than an inch! Luckily Mark brought his laser level and we got it all sorted out.
Next we installed the moulding all around the perimeter of the room. Here is Mark fastening the end of one piece.
The next step was to install all the hangers, then the long main beams, then the cross beams. I don’t seem to have any photos of that process. Once we got the hang of it we got in the groove and it went pretty quickly.
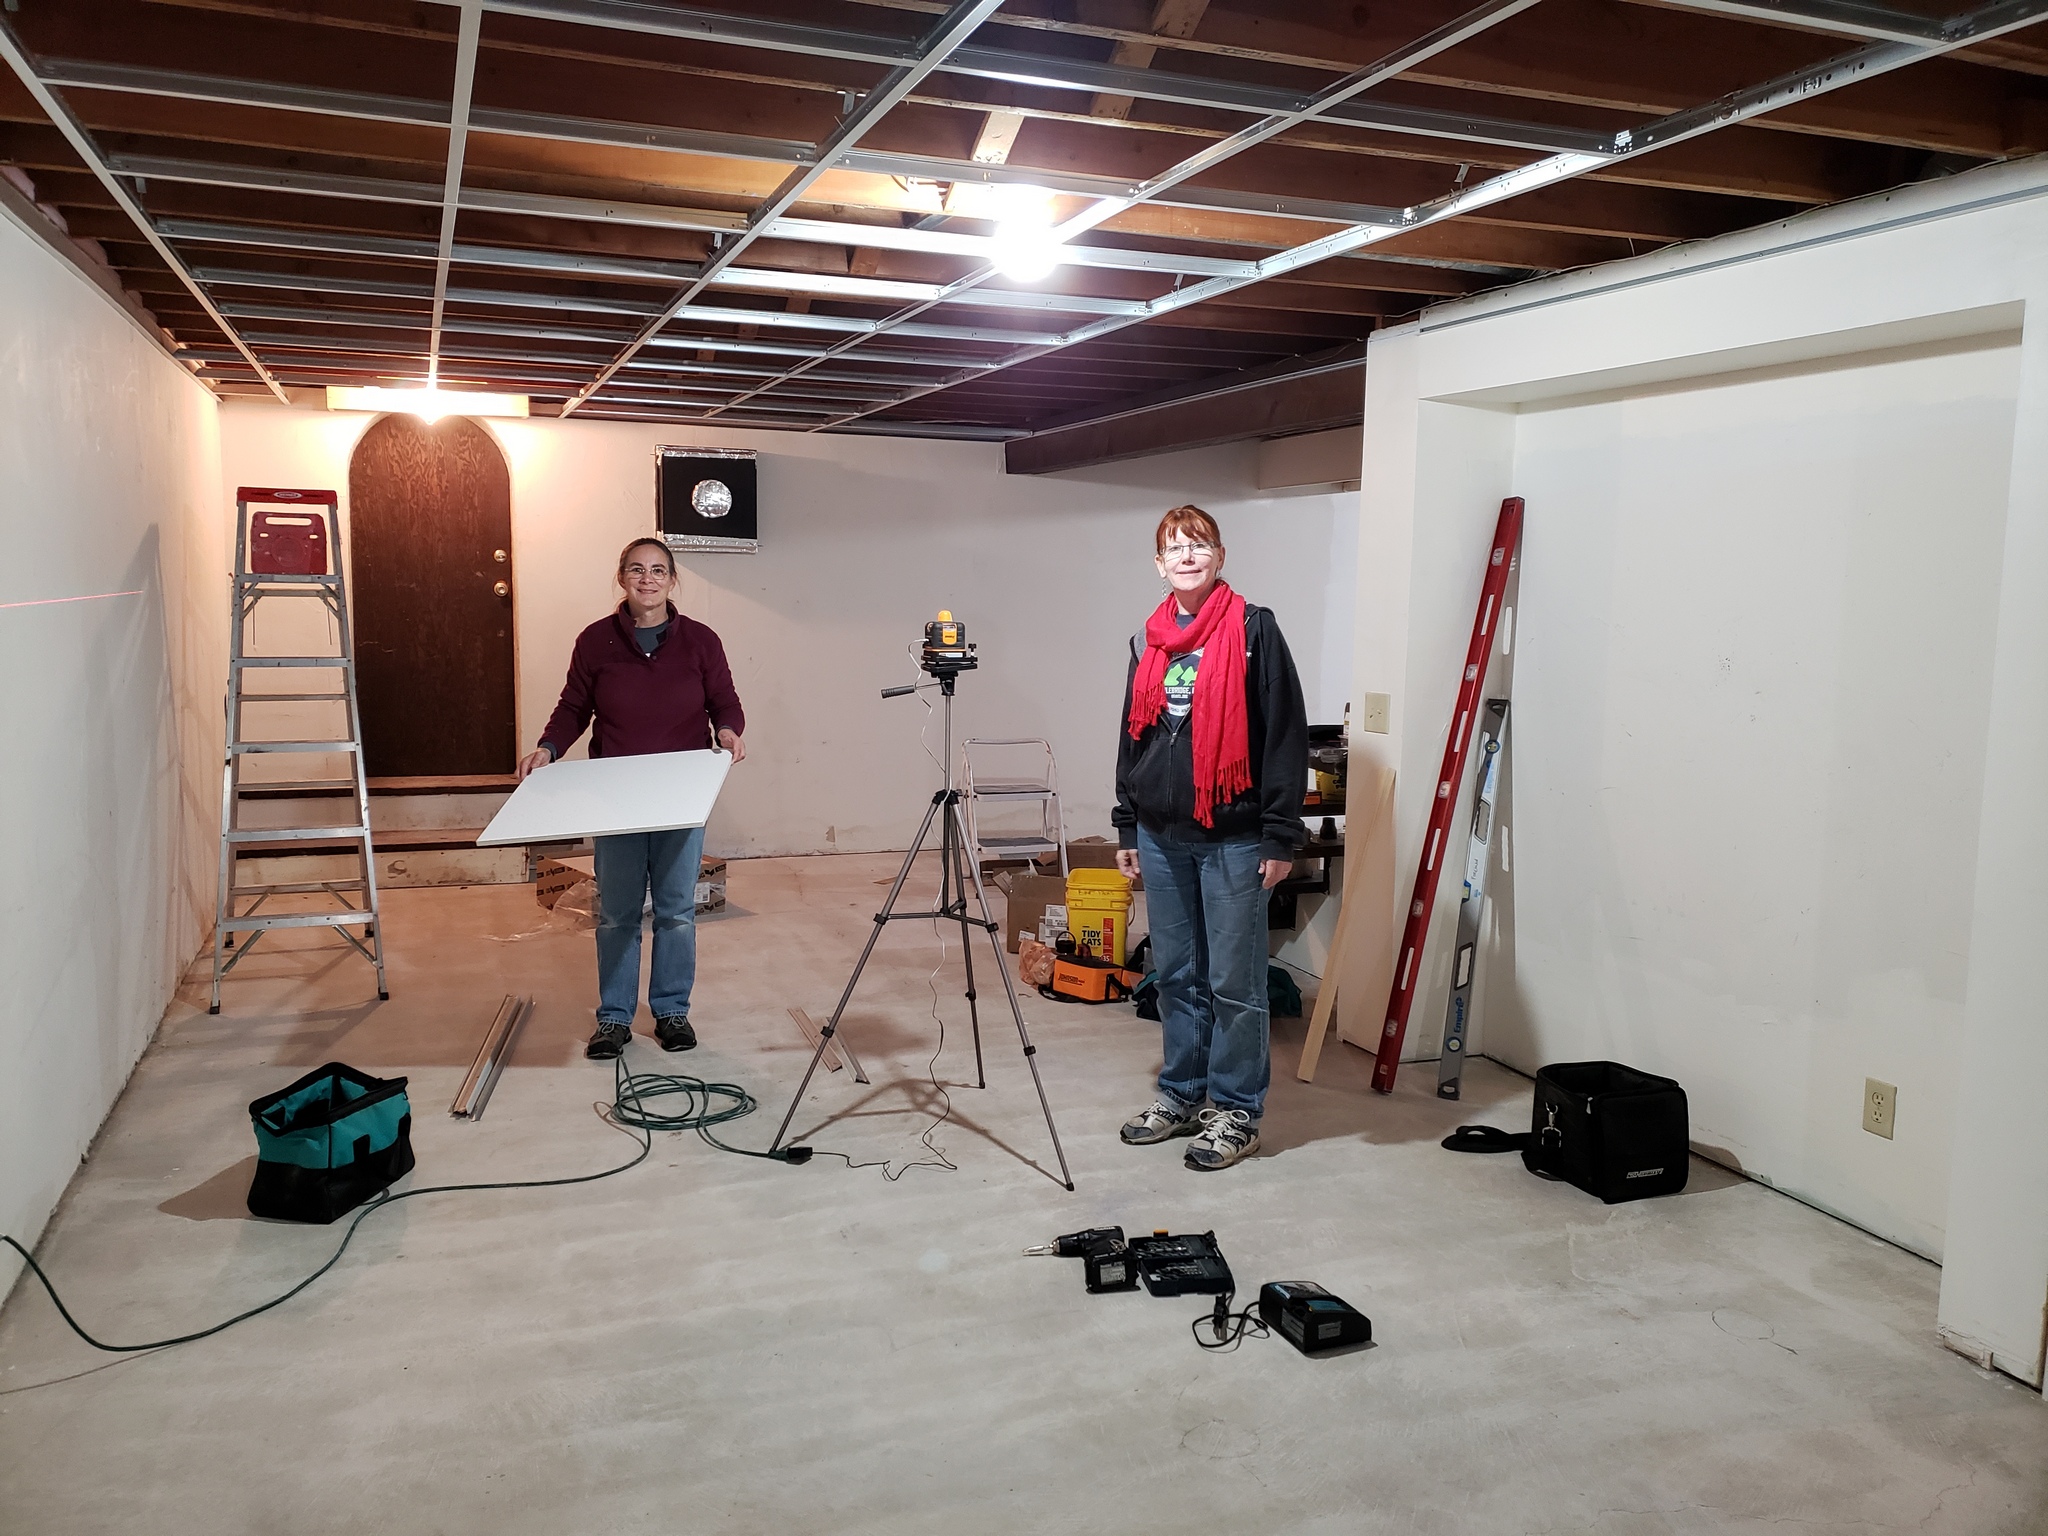
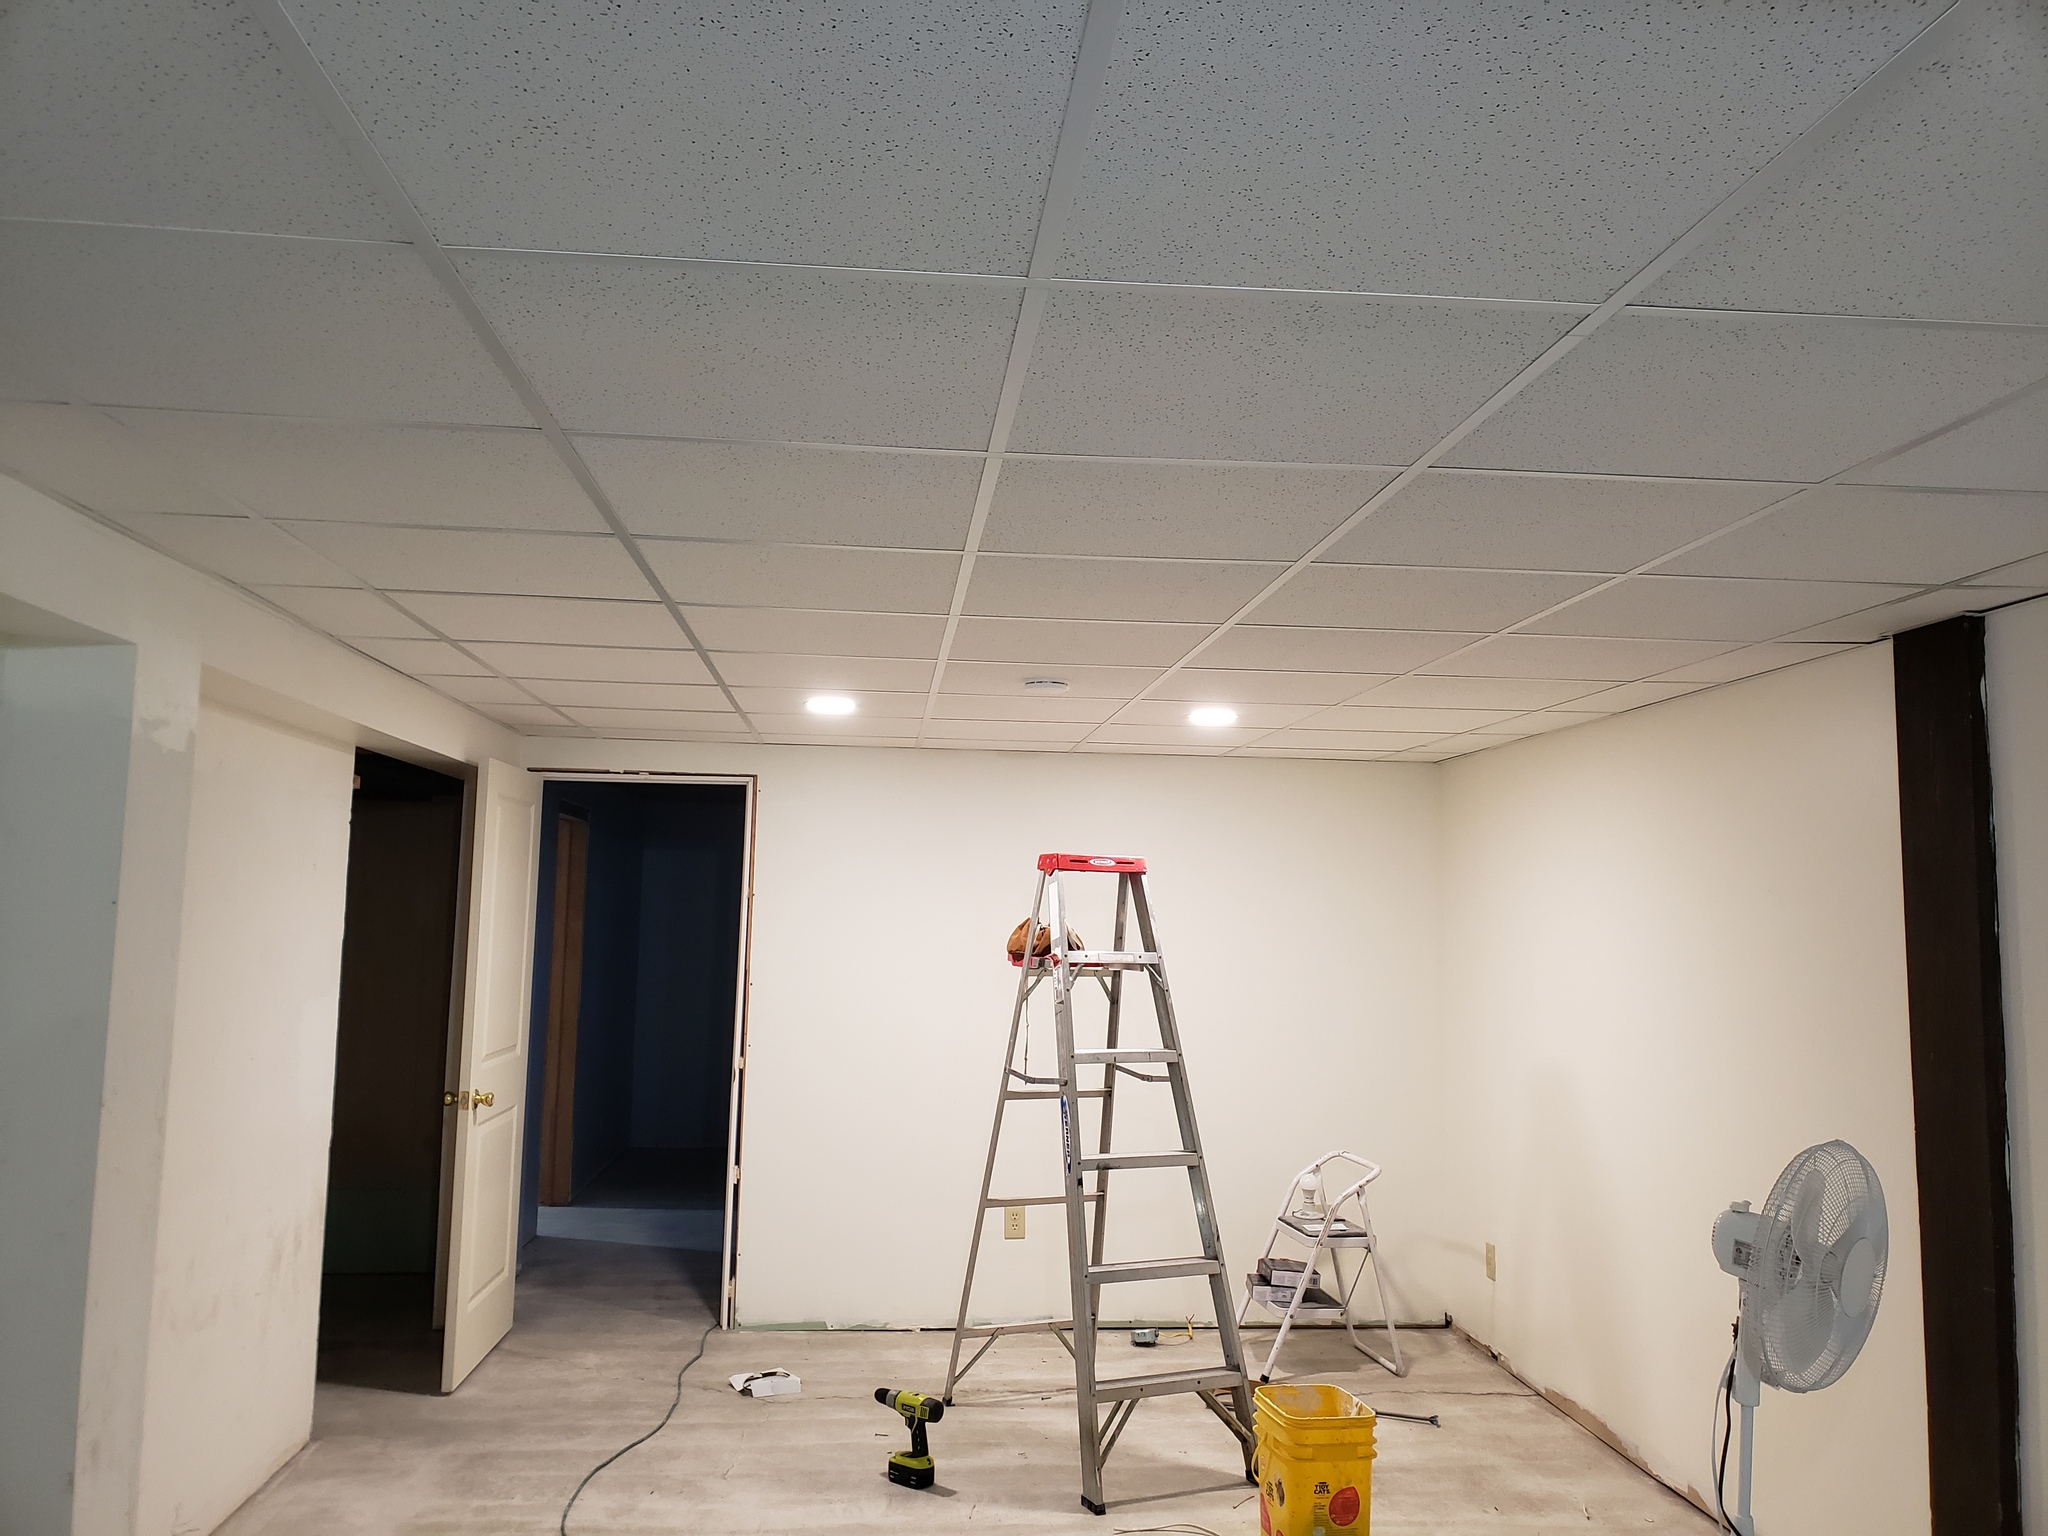
Here is a photo of the grid work with no panels. Liz along with Mark’s wife Sari are installing panels. The whole panels go in very quickly but you have to cut all the edge pieces.
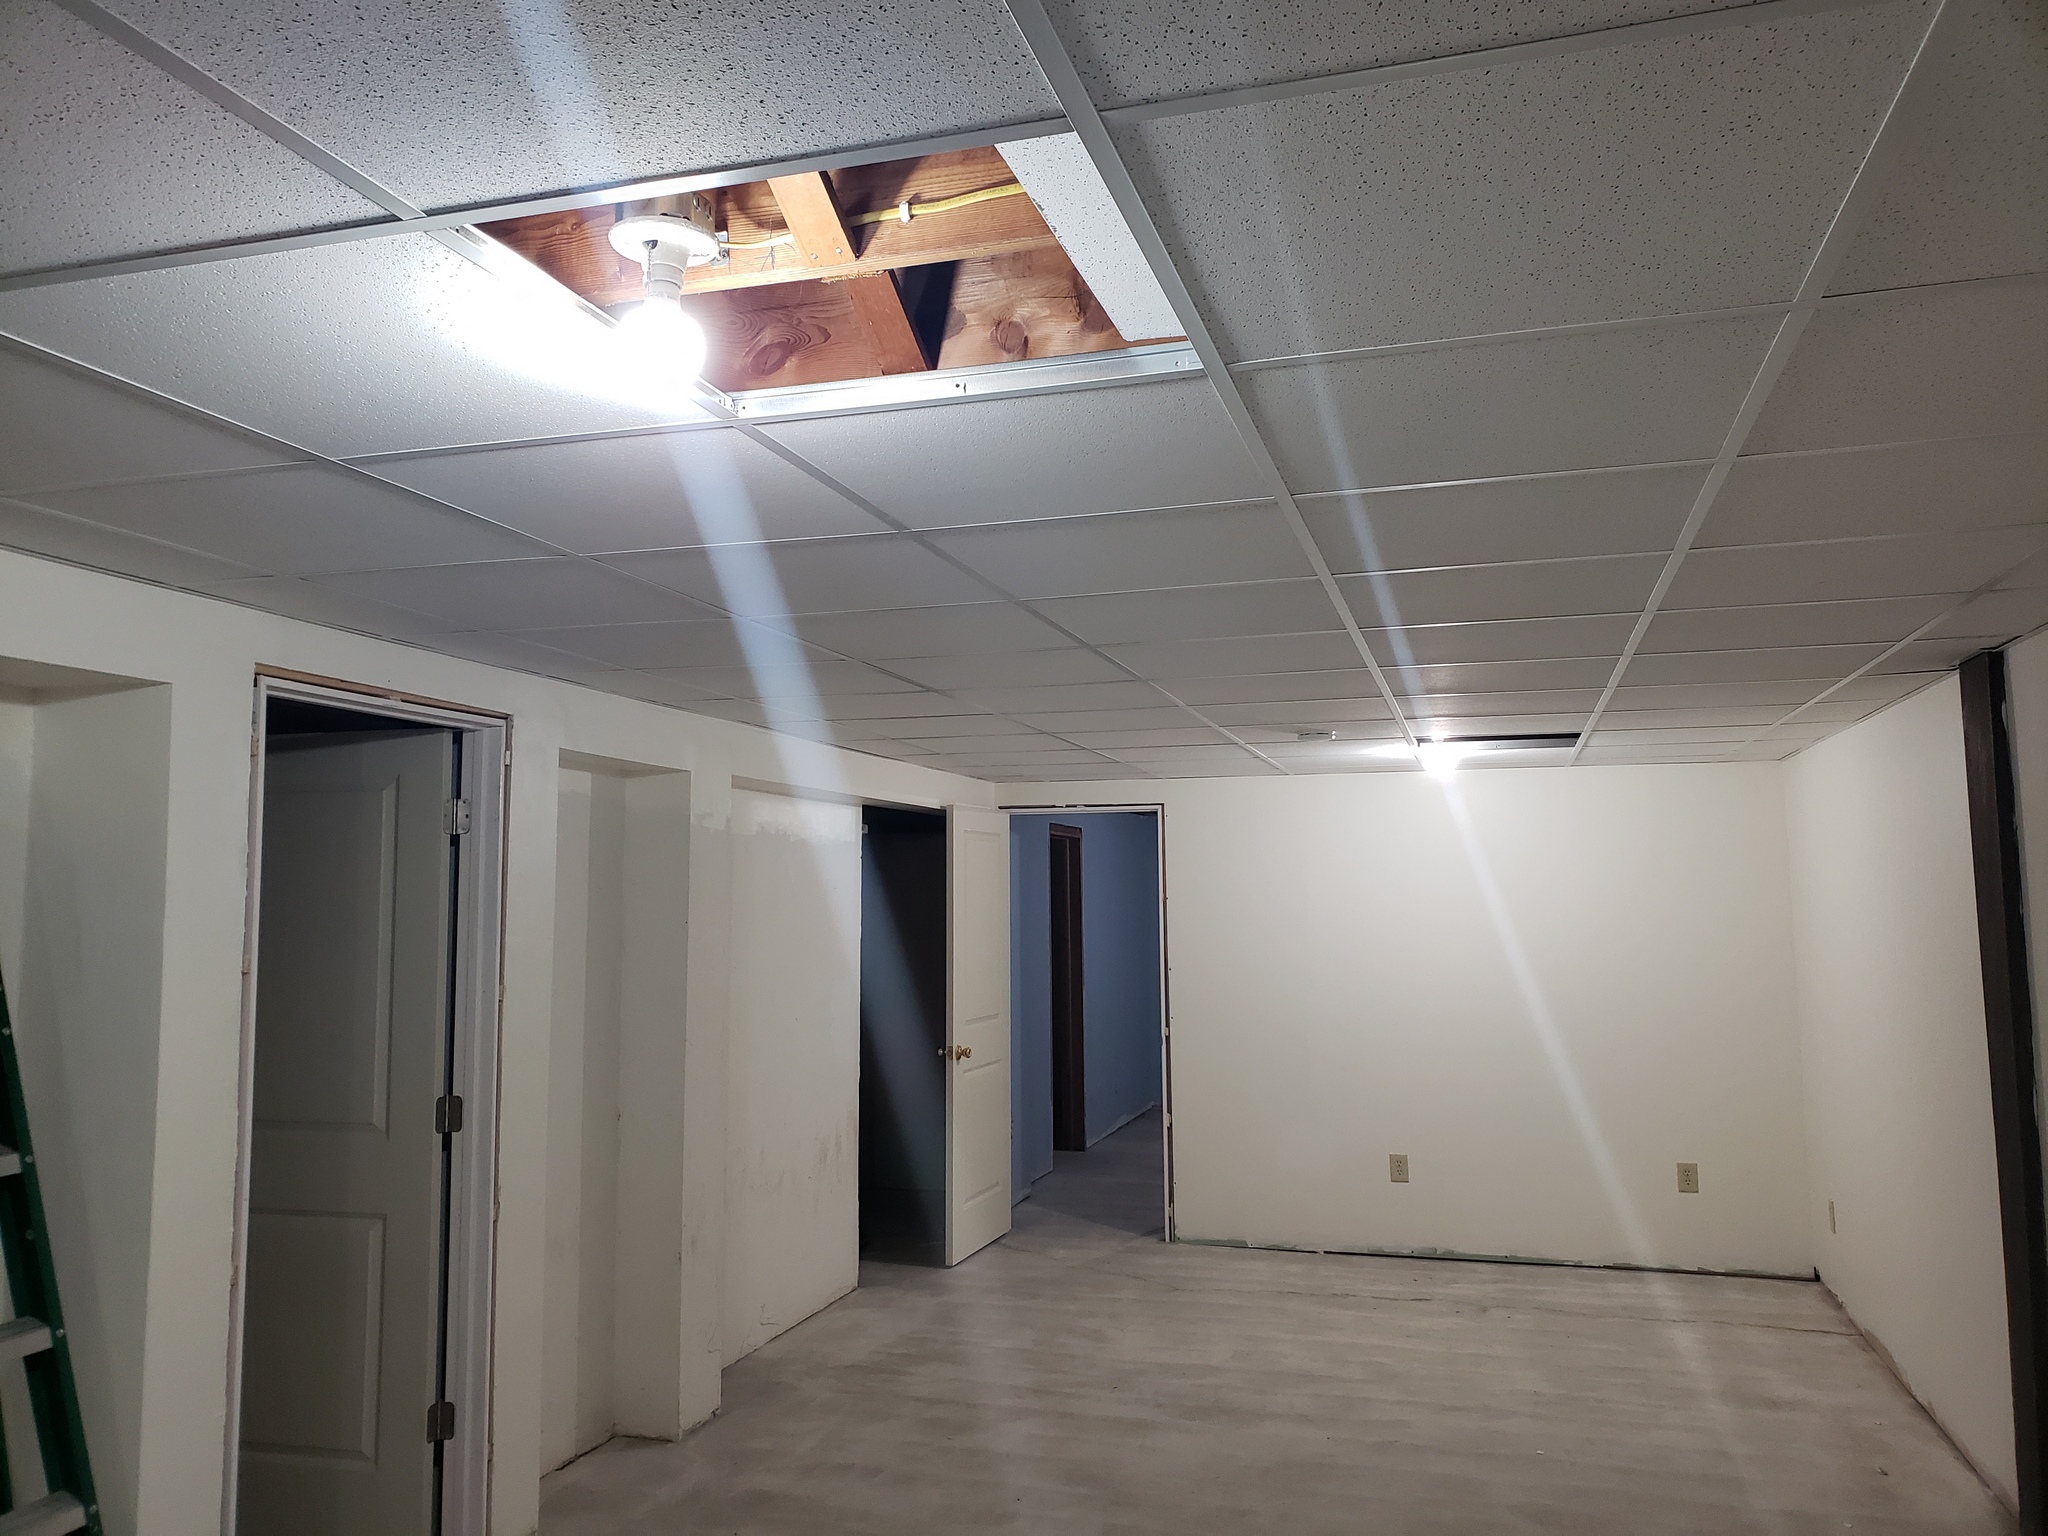
This is what we got done in one day – the whole of the main room except for some edge work. We left out the panels where the lights were until I picked up some lights made for drop ceilings.
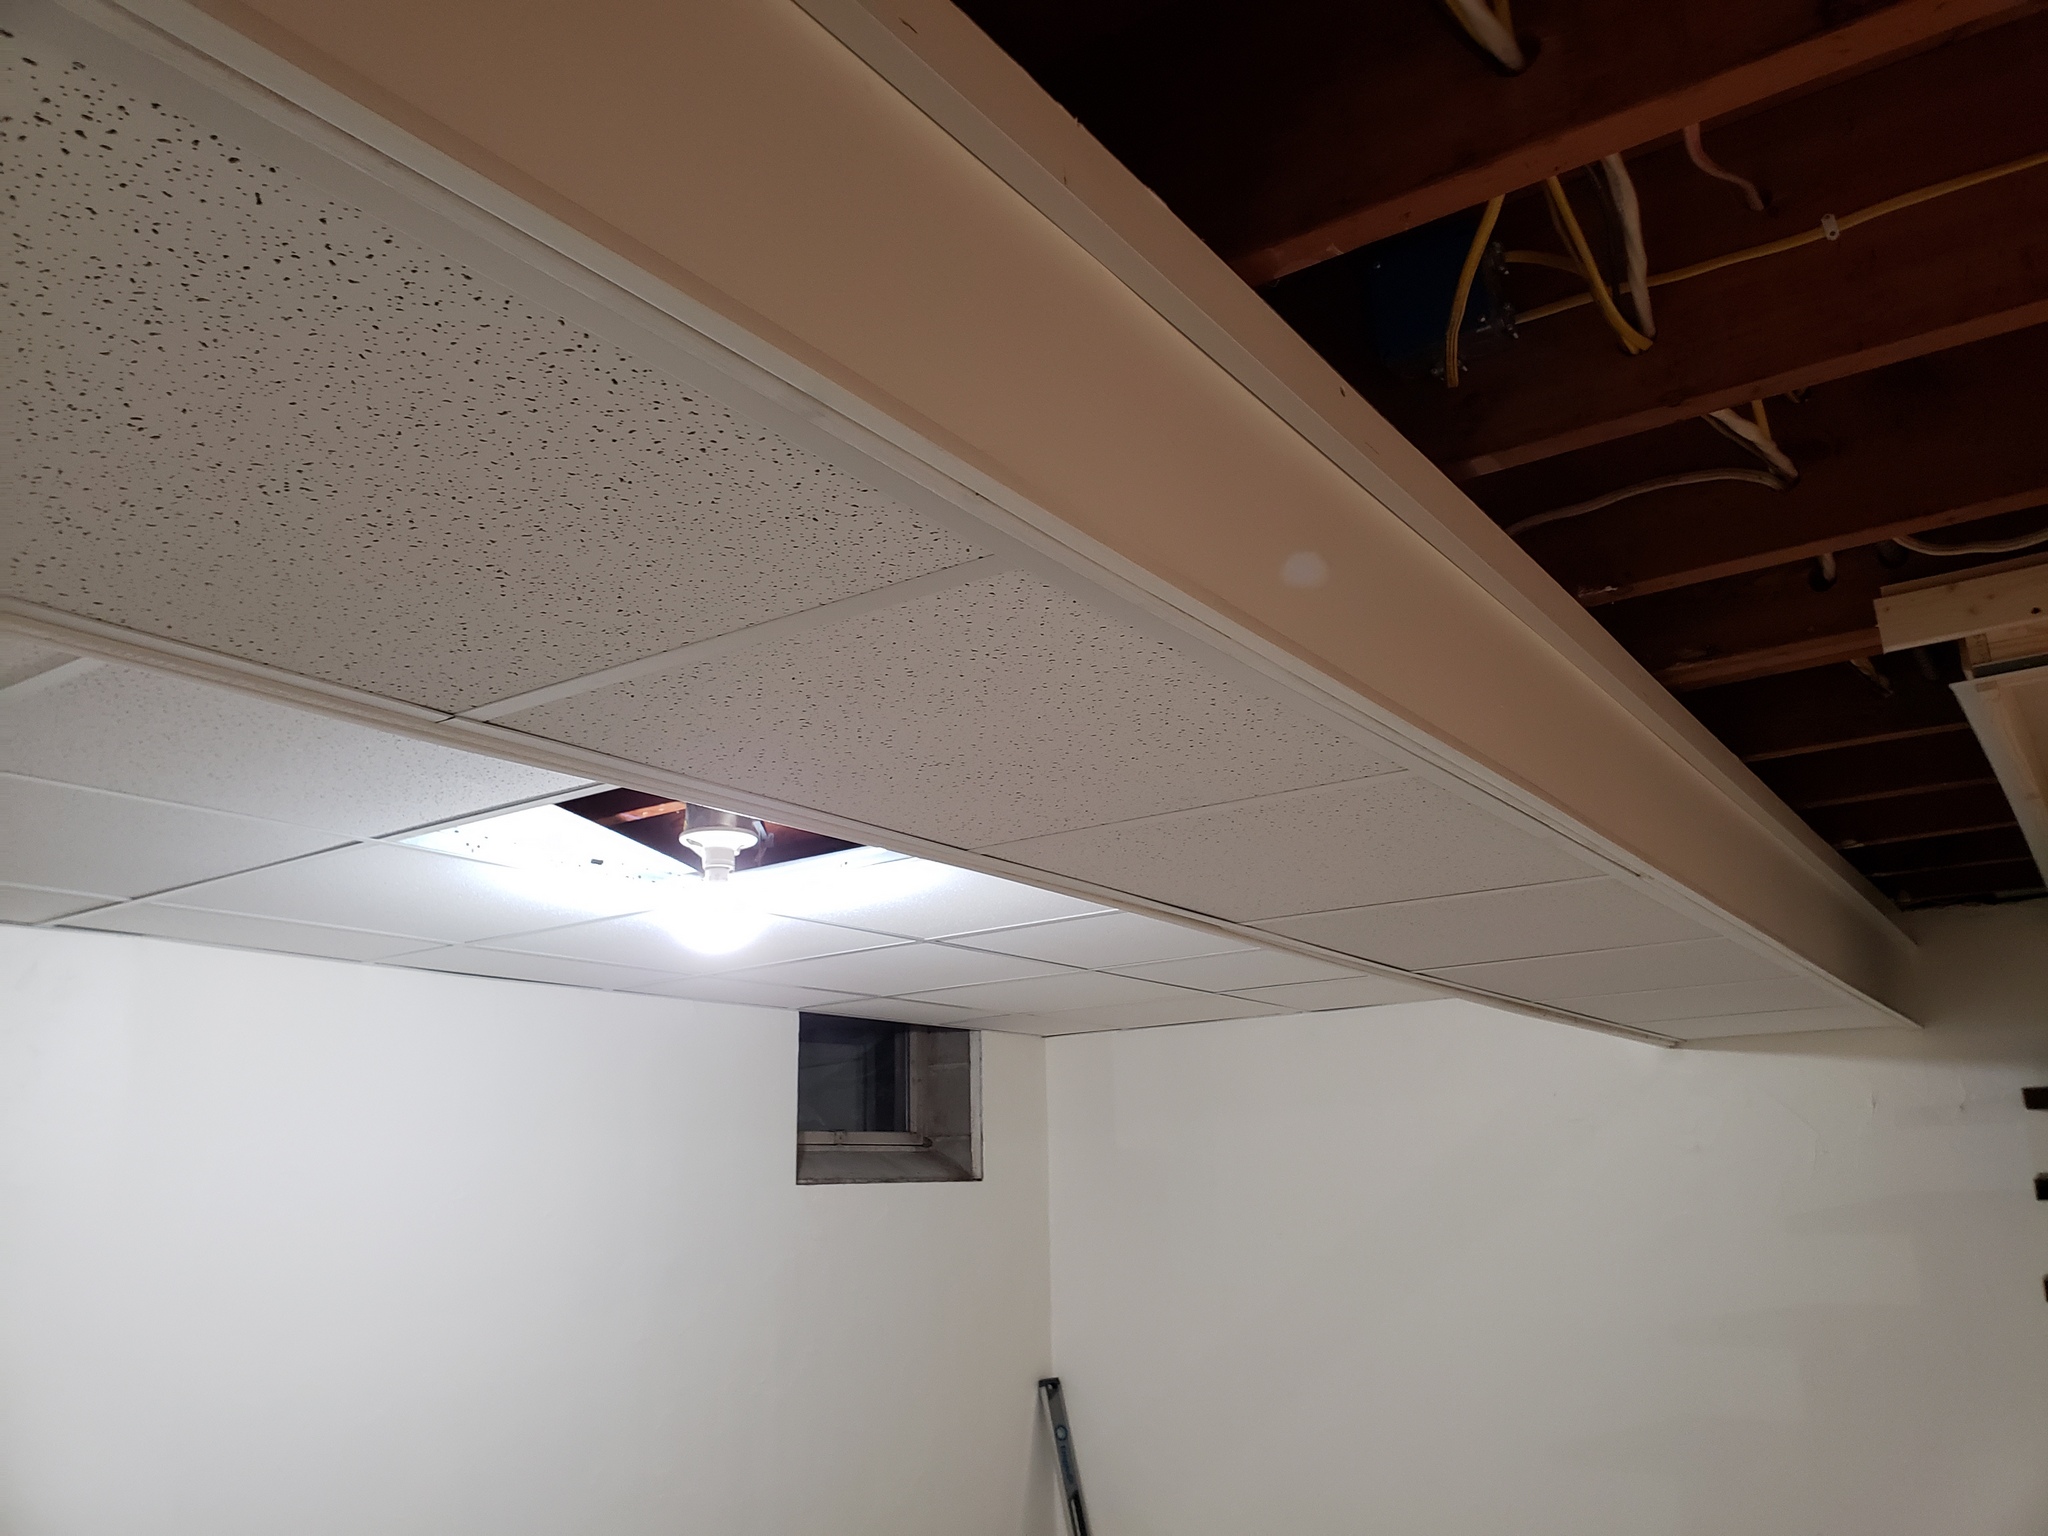
My friend Tim came over another weekend and we did more ceiling work. This is the office area. You can see what we did for the duct work.
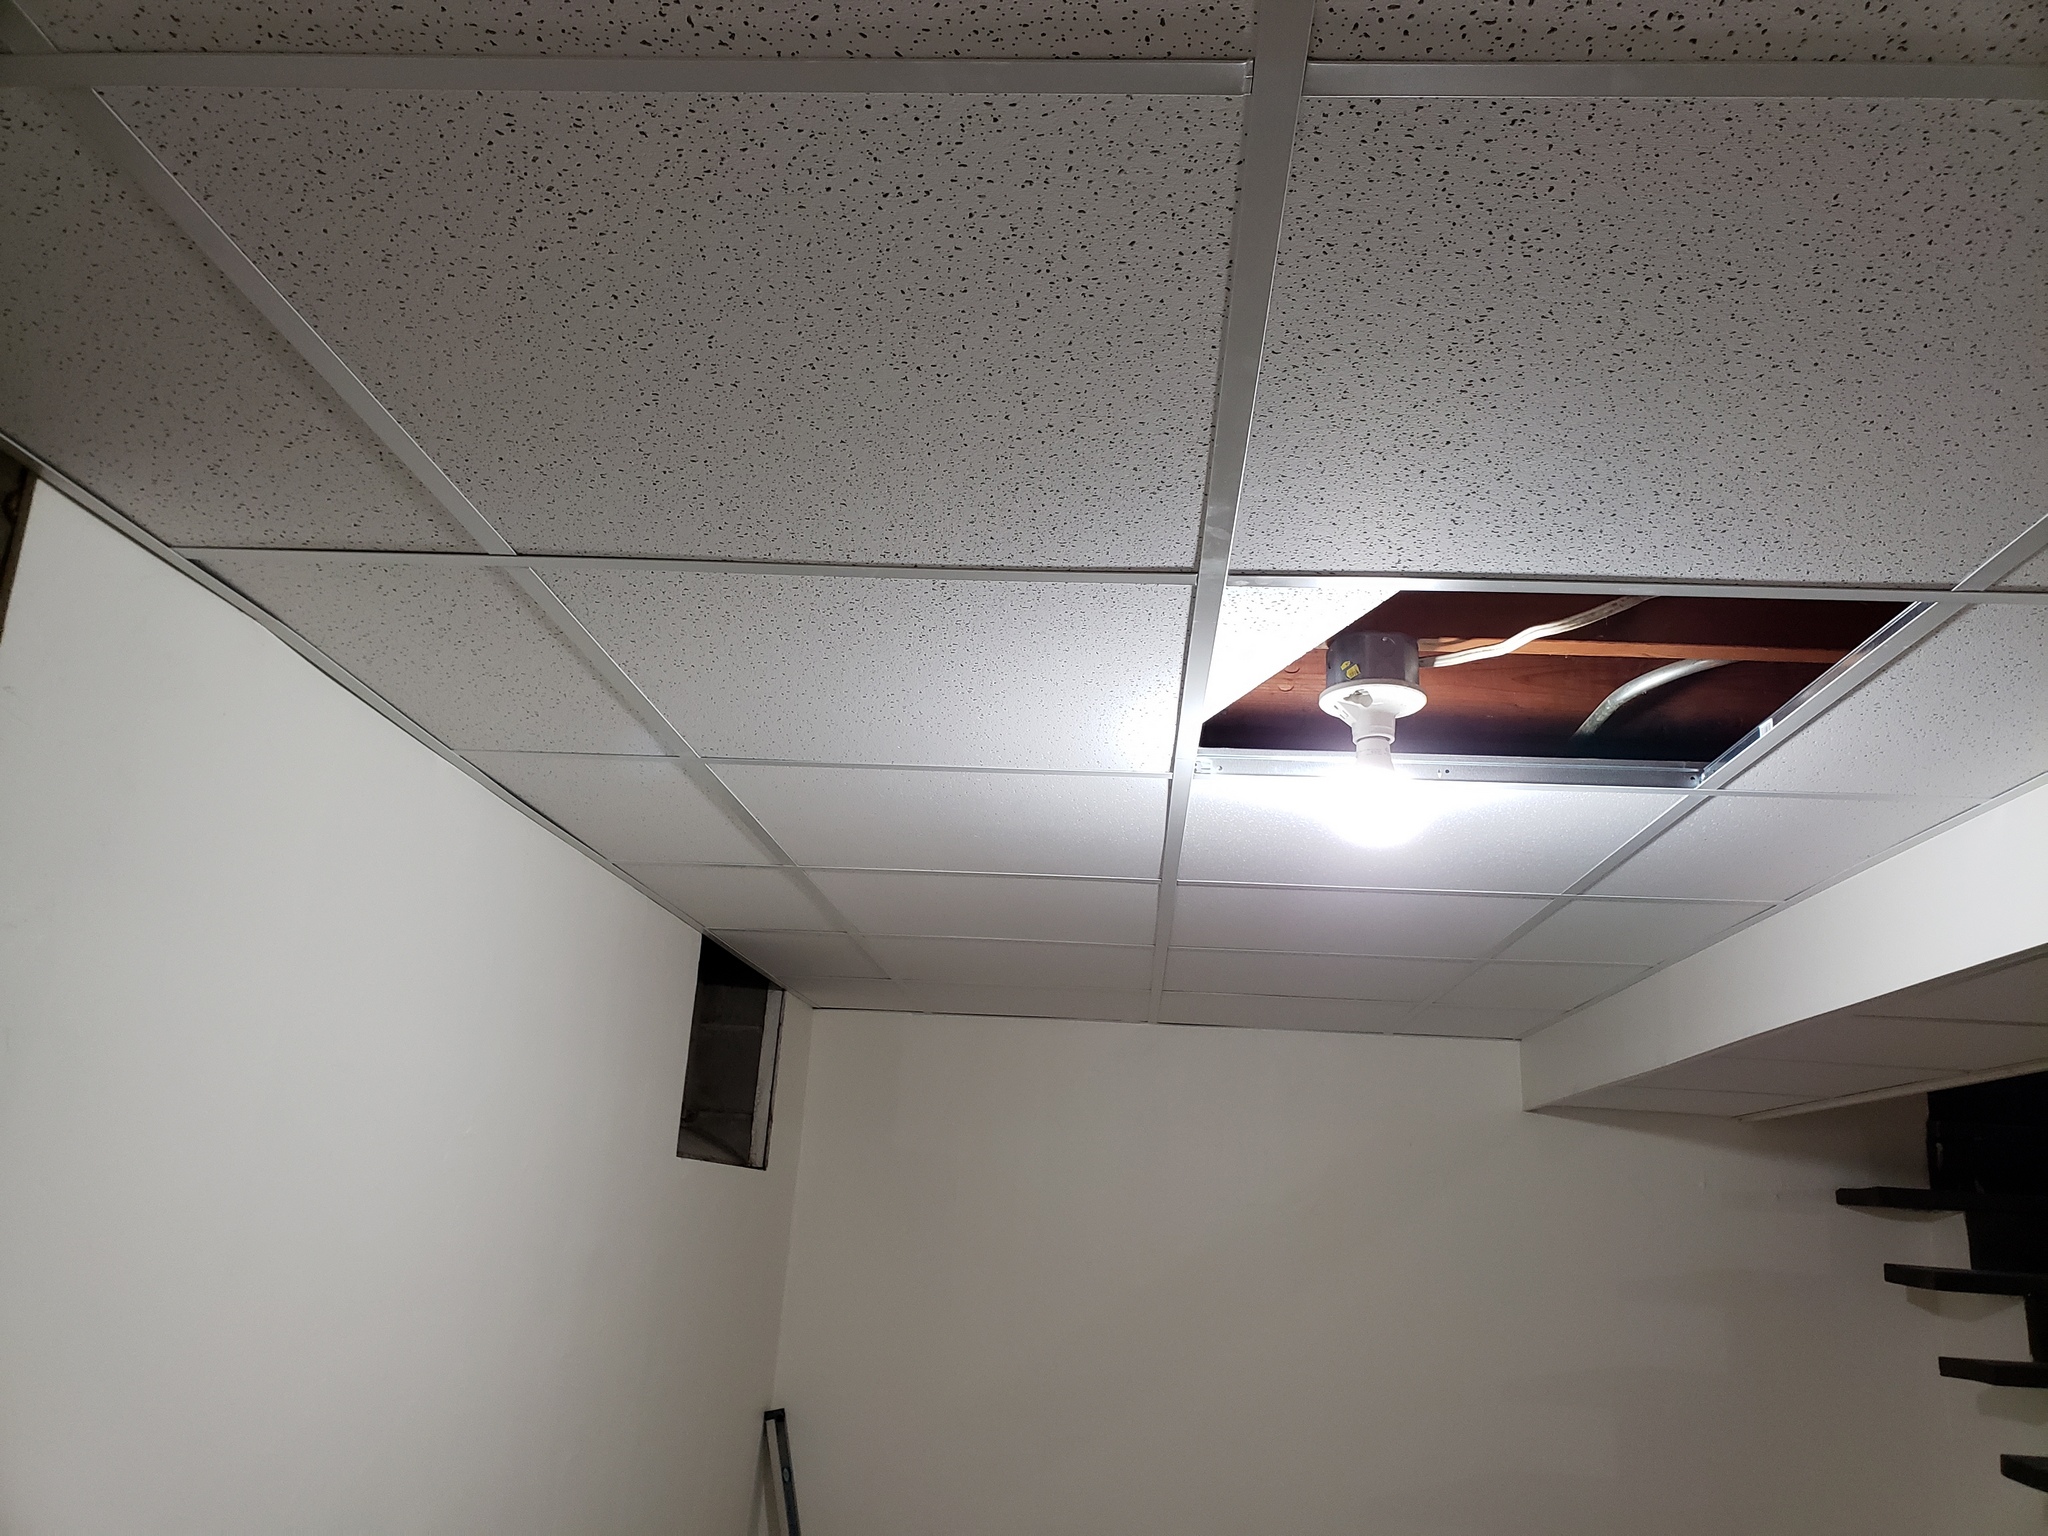
And here is a better shot of the duct work.
And here is the end of the main room after installing a couple of can lights. They are not really cans, they are the ultra-thin circular LED lights, but they still call them “can lights”.
That concludes the ceiling installation post. There was some fill-in work that was still required and the room in the back corner still doesn’t have it’s drop ceiling yet. But the main areas are done.