Lead melts around 600 degrees. My melting pot has a basic thermostat marked 1-10. It’s nice to know how hot your lead is when casting, as it aids in consistency in bullet size.
The easy answer would be to buy a thermometer. But who wants to use the easy answer? I’m a nerd, I have to use the technical answer.
There are a few threads over on the CastBoolits forum about adding a PID controller (proportional–integral–derivative controller) to your melting pot. It’s not expensive and it’s a techie thing to do. How could I not?
So I read the threads over on CastBoolits and chose the PID and ancillary equipment to buy.
I ended up buying:
- Auber Instruments model number SYL-1512A Universal 1/32 DIN PID Temperature Controller
- Auber Instruments model number RS1A40D25 25 Amp Solid State Relay and heat sink
- A type K high temperature termocouple
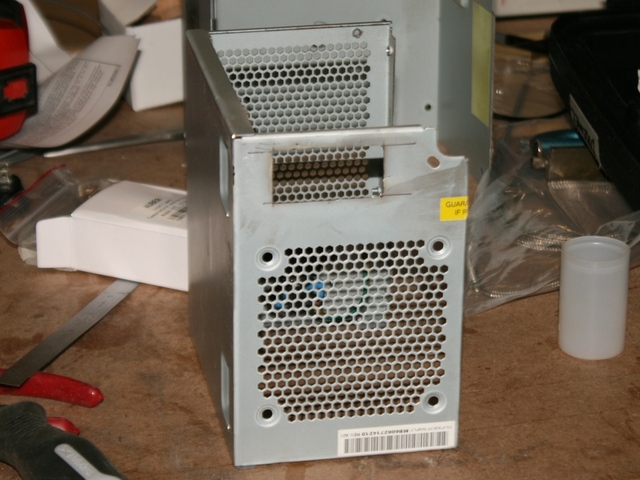
One of the people over on CastBoolits built their controller in an old PC power supply. I thought that was a great idea, so I snagged one from work.
Total cost – $95 including shipping.
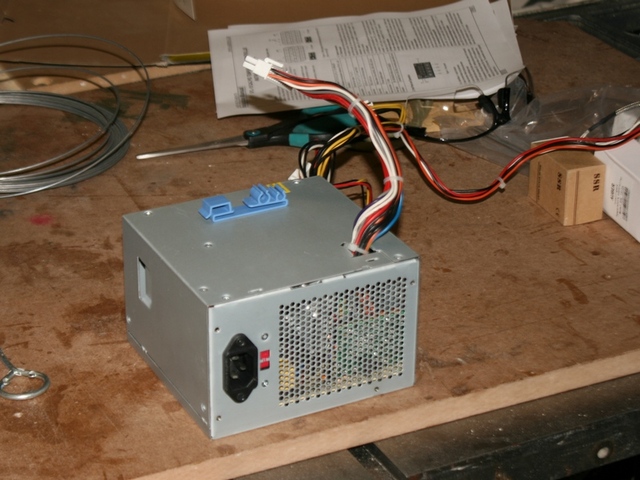
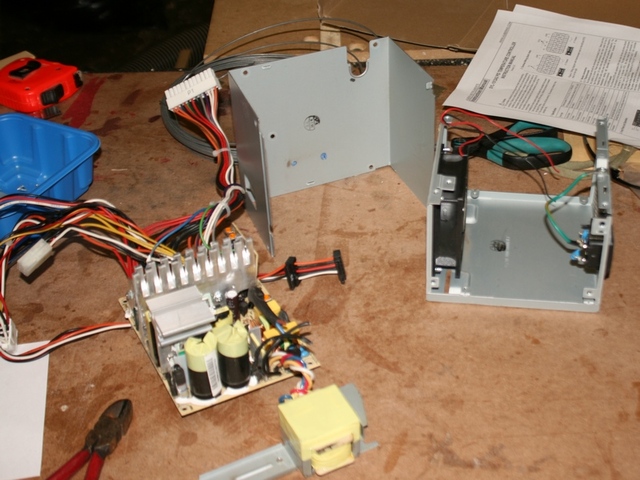
Step one is to open it up and gut it.
Here is a shot of the parts I bought. I added a fuse holder, because it’s always good to have a fuse. I also bought a switch but decided not to use it. Unplugging it works well enough.
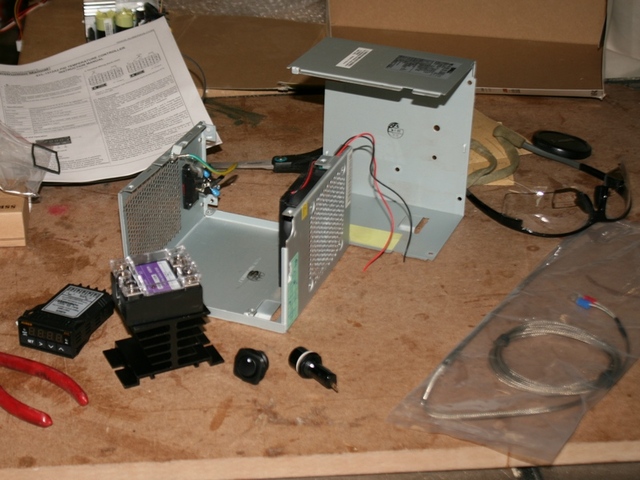
Next I marked out the hole for the PID and used my Dremel tool to cut it out.
I also drilled the hole for the fuse holder and the mounting holes for the heat sink. No photo, we all know what a drill looks like.
The wiring is pretty simple. From the line side you need both legs to the PID, the hot leg to the SSR and the Neutral to the output side. The output terminal of the SSR goes to the output side. The two SSR terminals on the PID connect to the SSR control side. The thermocouple connects to the PID – make sure you get the polarity correct or it will read backwards.
Here are a couple of photos.
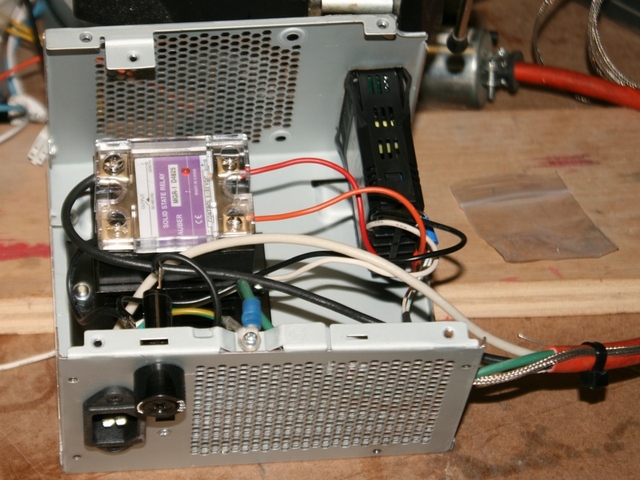
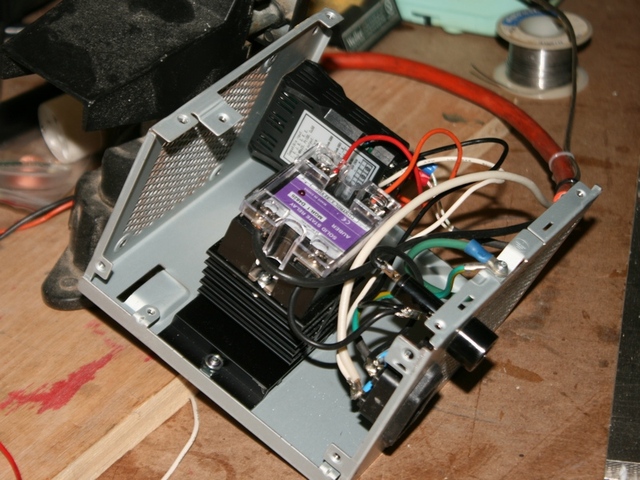
If the wiring doesn’t make sense to you there are plenty of examples in the threads over at the CastBoolits forum.
Now the test. Plug it in and see what happens.
No smoke! The PID lit up and displayed the ambient temperature and the SSR light came on showing that it was passing power.

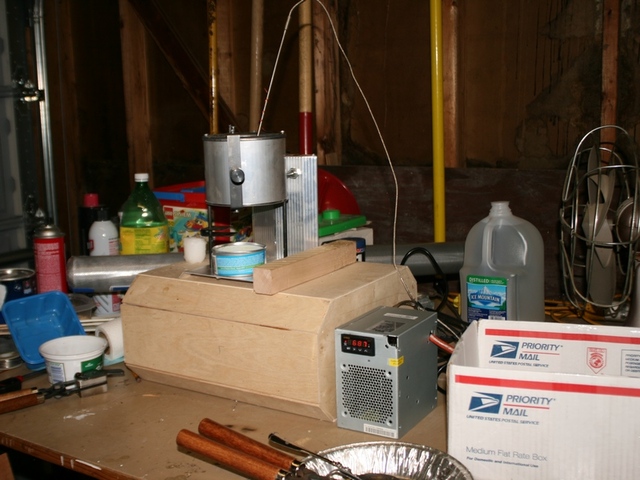
The next thing is to take it out to the garage and plug the pot into it. So I did.
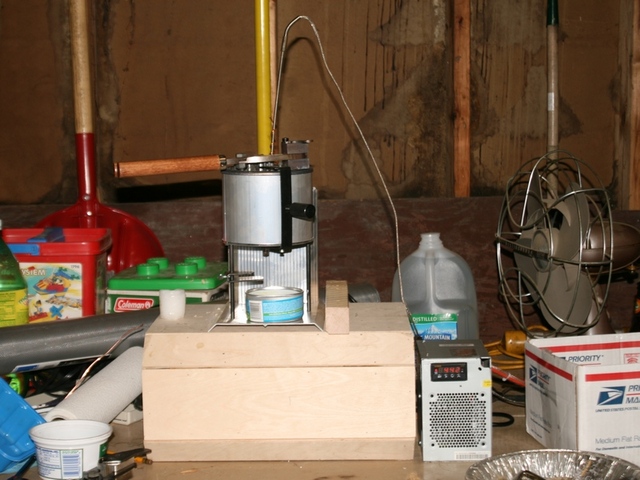
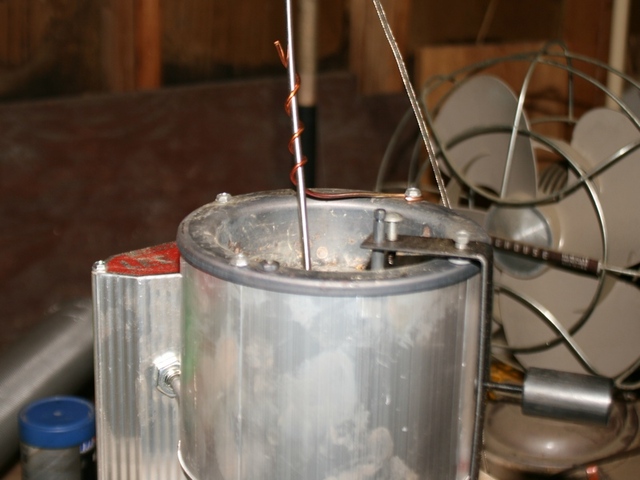
Here is a closeup of the mount I made for the thermocouple. It’s just some 12 gauge copper wire.
I turned on “auto tune” mode – which teaches the PID about how fast the pot heats up and cools down and then went away for a while.
I came back and it was ready for casting.