I bought a Rock Island Tactical 1911 pistol this spring and have been trying to get good at shooting it ever since. I have not been doing a very good job. I think part of the problem is that I have old eyes and have difficulty seeing the front sight. I tried painting it white but that didn’t really help.
I had been thinking about getting a red dot light pipe style sight to install, but because I am cheap, and have tools, and think I can do anything, I decided to save the $25 or so that a real front sight costs and do it myself.
Of course I ended up spending more than $25, and it took me longer than I expected, but that’s not the point. Or maybe it is and this is a warning. 🙂
Anyway, over on the 1911 forum there was a guy who had a 1911 with trench sights. I didn’t know what that was, but apparently the sights are just a groove down the top of the slide. He decided that he needed more than that and he bought some light pipe and glued a piece in the trench at the front.
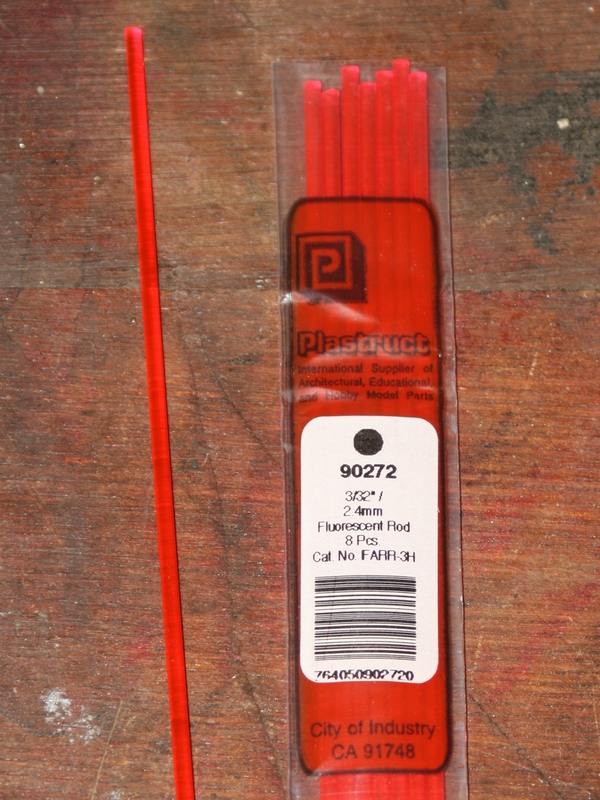
The light pipe is just colored plastic rod that they sell at hobby stores! Wait a minute! So I ran to the hobby store and bought a package. I bought 3/32″ diameter in red. They had red, yellow, blue, green and clear (white) in three different diameters. It was $6.25 for 8 12″ pieces (enough to do at least 96 front sights…)
Details and photos below the fold…Here is the stuff:
I figured I could just file a groove in the top of my front sight and glue a piece in. How hard could it be? Well, it wasn’t really difficult, but it was time consuming, and it turns out that the 1/8″ needle file that I have is all worn out, so I had to go buy a new one. And you can’t buy just one, so I had to buy the set for $24. So there goes the budget. 🙁
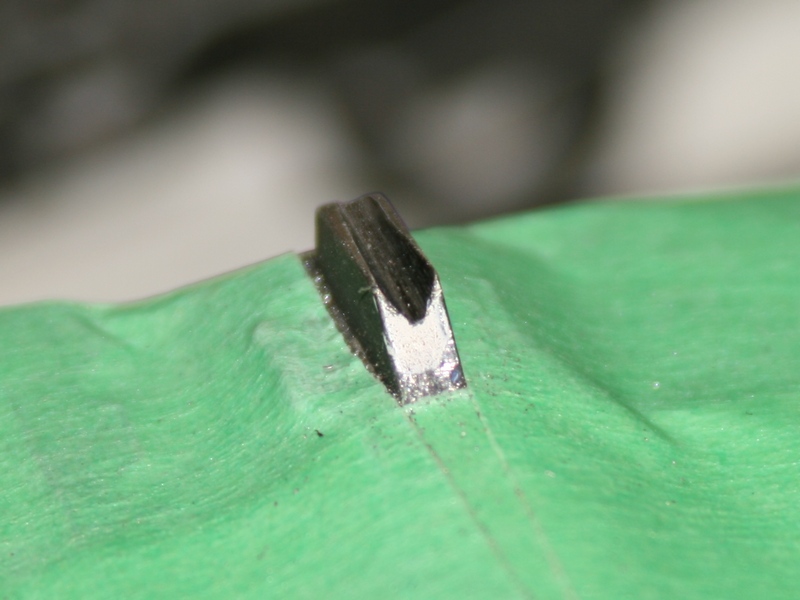
Anyway, enough griping. Here is what I did. First I measured the height of the existing sight – I wanted to keep the same height. It was .170″ for reference.
I started out with a triangular file since I figured it would be easier to go straight and I could hog out some material. I went slow and careful to get it in the center.
After a few passes I had a nice groove down the center.
I kept filing and filing.
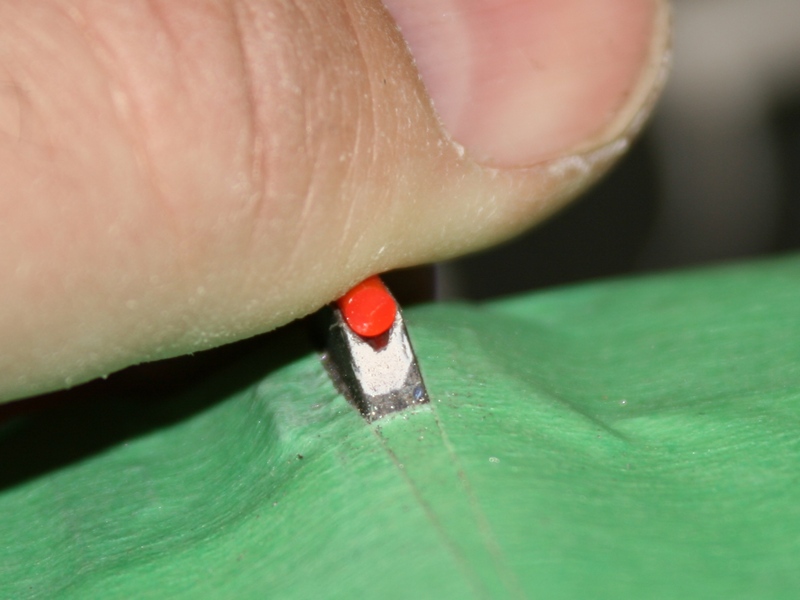
Here is a test fit. I have a long way to go until the tube is buried enough to be the correct height.
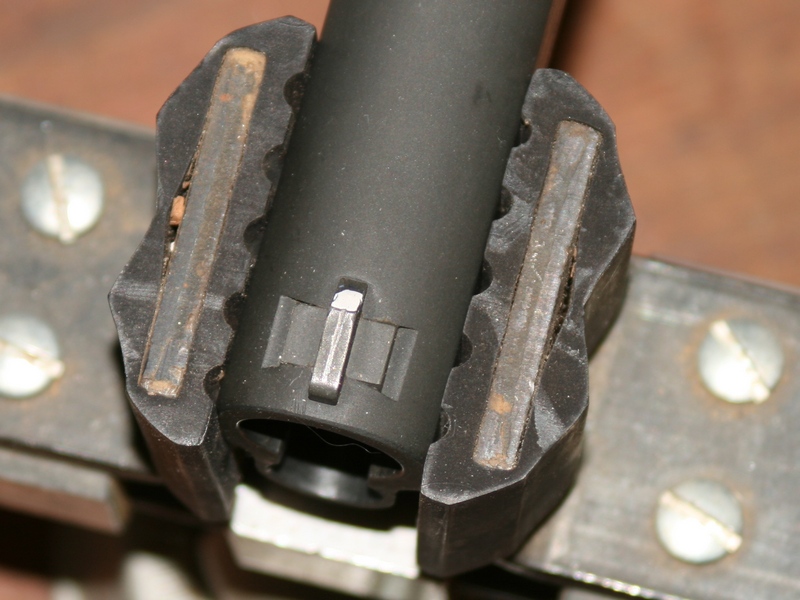
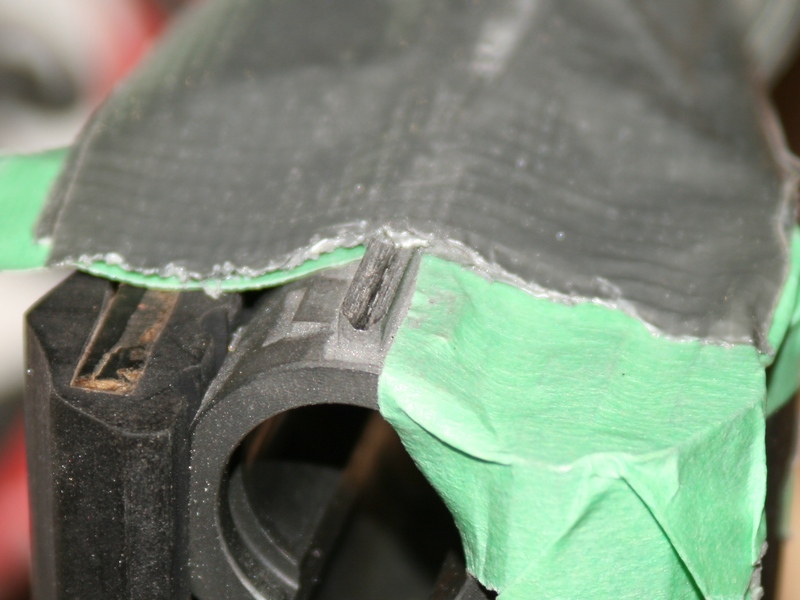
Here is the final trench. If you compare to the earlier photos you can see how much material I had to remove. It was a substantial amount. You will also note that there is more tape on the top of the slide. As I got deeper I got more concerned with scratching the slide. I did hit the tape a few times, so it was a good precaution to take.
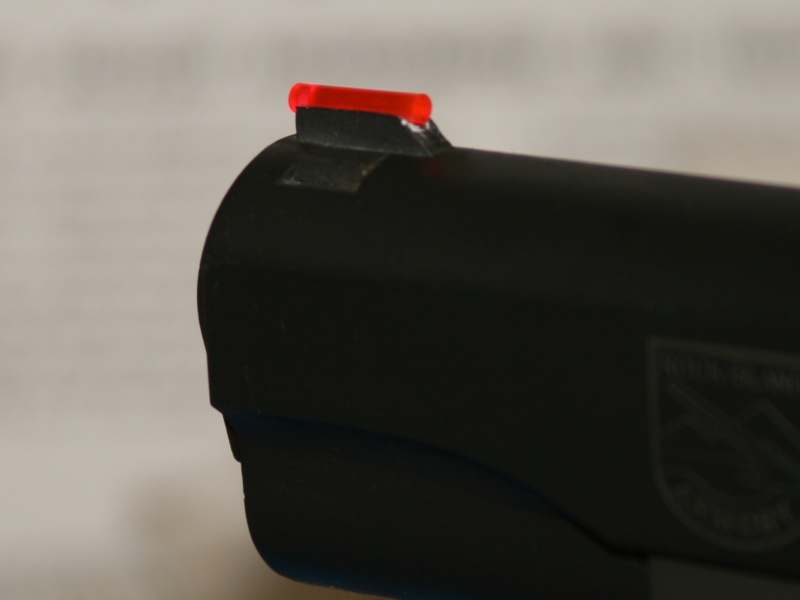
One thing I’m still not happy with is the end of the tube. I did not get a nice clean polish on it. So I only used wood working glue to attach it. I figure I’ll try and polish up another piece and replace it later.
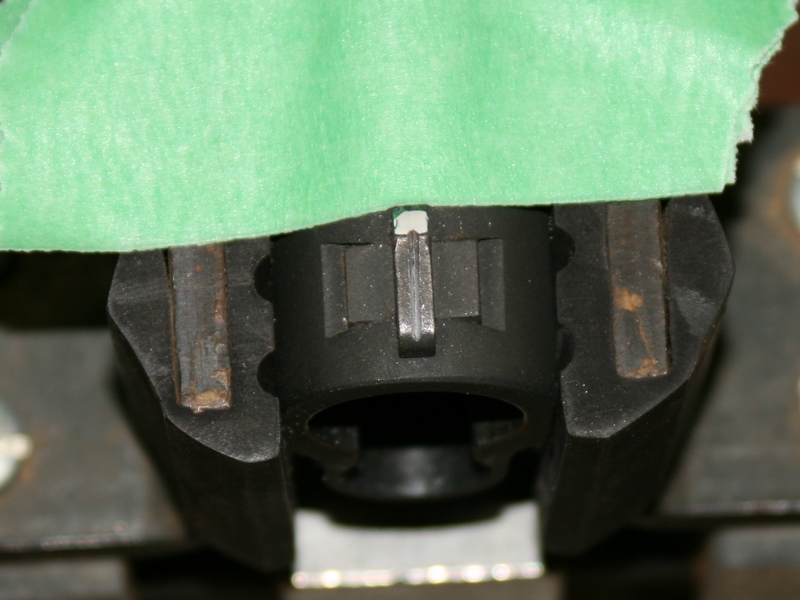
Here is the final install.
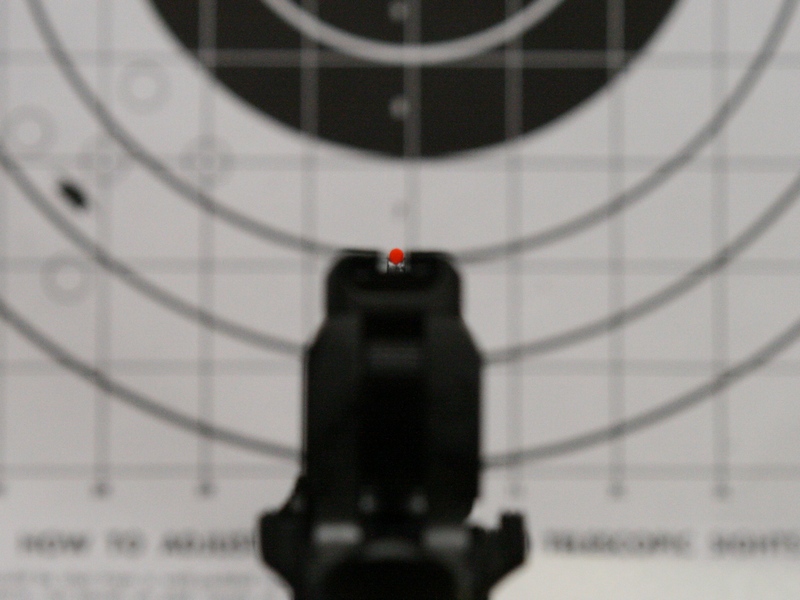
And this is sort of what it looks like in use. It’s not a great photo, I was too lazy to go get my tripod.